In part 1 of this step-by-step guide, we looked at how to install and configure Veeam Backup for Office 365. But it’s no good to us until we start to actually use it to protect our data, right? So let’s configure a backup job and investigate what recovery options are available to us.
So, we’ve configured a repository and added our Office 365 organisation. If you highlight the organisation, you’ll see that the Backup button on the ribbon can be clicked to start the New backup job wizard (you can also start the wizard by right-clicking the organisation):

Give the job a meaningful name and description. Click Next:

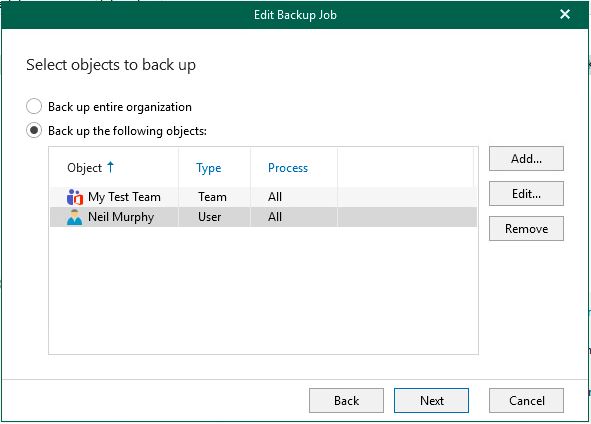
Here we can choose to backup either the entire organisation or select individual objects. I’m going to start by adding a user:

Here I’ve used the filter box to display just my own account. You could also scroll through a full list of accounts an select all that you want to protect. Click Add:

For user objects you’ll see that you can click the Edit button and be a bit more granular with the types of user data you want to protect. By default all that users data will be backed up – email, archives, OneDrive files and any personal SharePoint sites.

I’m also using Teams so I’ve created a test team and uploaded a few files. I’m going to backup this up also. Click Next:
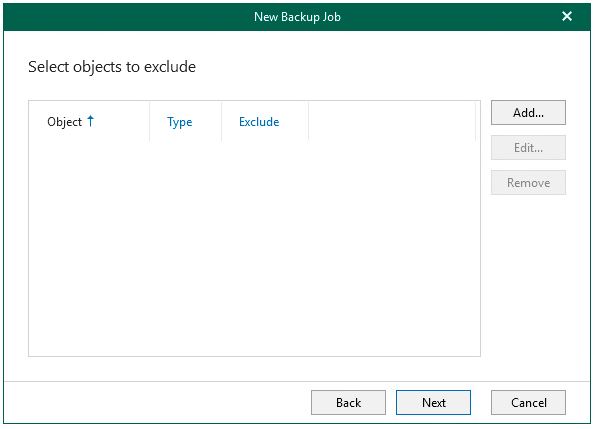
I can also now choose to exclude certain objects from the job if I wish. Click Next:
Now I’ll need to select a backup proxy and repository for the job. You’ll recall that the proxy is the Veeam component responsible for copying data from source to target and the repository is the storage location for backup files. Click Next:

Now we can set our backup job scheduling options. In this case I’ve chosen all the defaults but I’ve also checked the box to start the job as soon as it’s created. Click Create:

So, if you’re familiar with the Veeam Backup and Replication (VBR) product, you’ll have noticed a major difference in the way the job is configured. In VBR, the retention settings are configured as part of the backup job. In VBO retention is a property of the repository – there is no retention policy attached to the job itself.
Back to the VBO console and we can track the progress of the job:

Once we have some backup data we can start looking at the restore options open to us. If we right-click on the organisation, we will see options to launch each of the Veeam Explorers that we installed earlier. Let’s start by choosing the option to Explore latest Exchange state:

This will have the effect of launching the Veeam Explorer for Microsoft Exchange. As you can see, we can now navigate the chosen user account and select individual items for restore, export, save or send by email. We can also restore an entire user account:
Had we selected the option to Explore Exchange point-in-time state we would first have been presented with a dialog giving us the option to select a specific restore point – handy if we need to restore an item that had been deleted some time in the past that is no longer in the Office 365 recycle bin..

Now let’s have a look at some of the options for restoring SharePoint data. This time we’ve launched the Veeam Explorer for Microsoft SharePoint. As you can see, we can either restore an entire site…
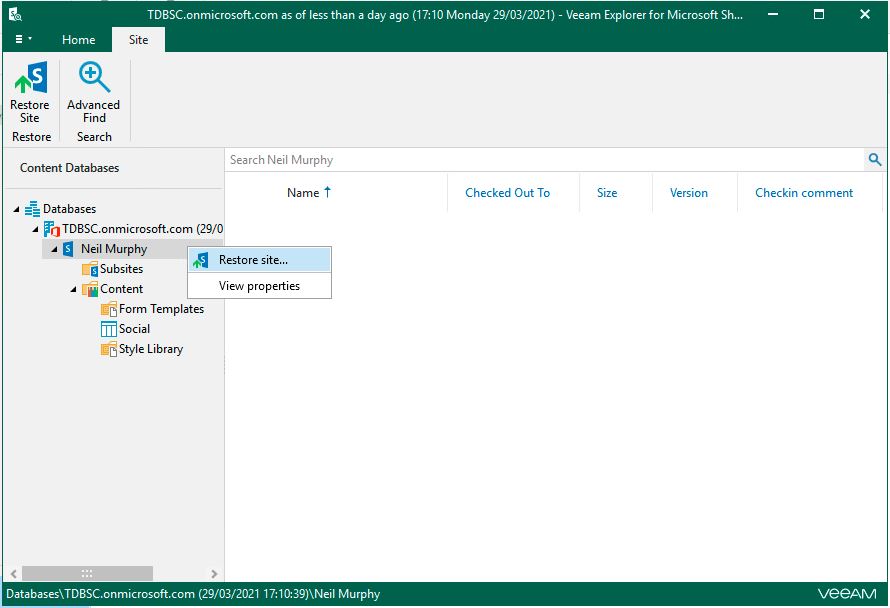
…or select individual site items..

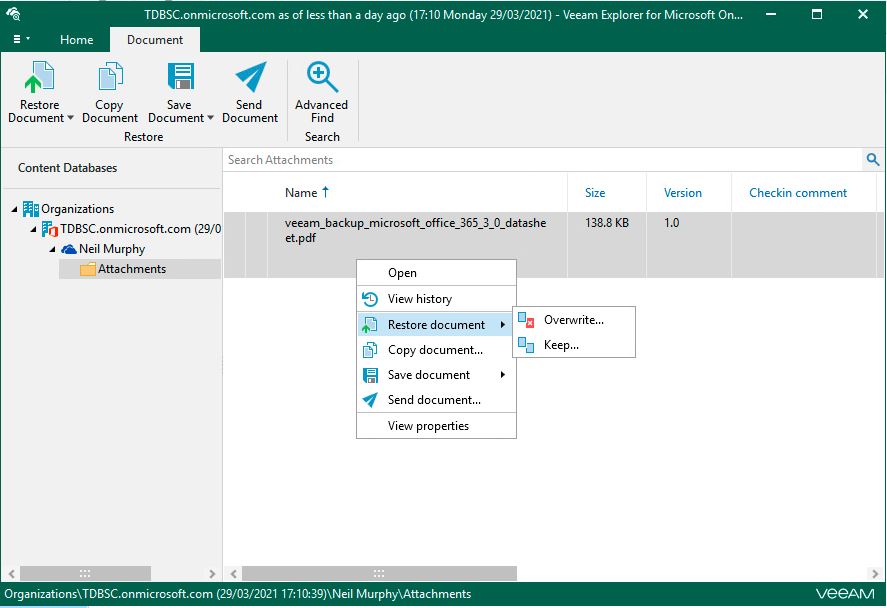
..and documents.

Here’s the view when using the Veeam Explorer for Microsoft OneDrive:
Finally, for organisations using Microsoft Teams, here’s the Veeam Explorer for that product. Again, it provides us with multiple recovery options including restore, save and send as email attachment.

So that’s all there is to it. Pretty straightforward, right. Remember when reading this guide that it is not necessarily based on best practices in all respects and you should always read Veeam’s Best Practice Guide when planning any production deployment.
Until next time…
