So lets get started building our VMware Site Recover Manager 8.2 lab. In my last post I outlined how my lab was set up – yours may be different. In this post we’re going to start deploying all the systems necessary for the lab, beginning with a couple of nested ESXi hosts representing my production and DR sites.
Read on…
Note: this is part 2 of a 10 part series. Links to the rest of the series can be found at the bottom of the page.
In order to test Site Recover Manager in my lab, I’m going to deploy 2 nested ESXi hosts. These will be connected to 2 internal-only vSwitches which will be connected together via a VyOS router. In the screenshot below I’ve logged into my physical server running ESXi 6.7 and I’ve gone to the Networking section so you can see the vSwitches. Generally I name my vSwitches based on the IP subnet that I’ll be using there. So here I’ll be connecting the Production ESXi host to the vSwitch called 10.0.1.0/24 and the DR ESXi host to the vSwitch called 10.0.2.0/24.
(Note: although it is no longer a requirement to enable promiscuous mode on vSwitches in oreder to make nested ESXi work, I still do it just in case anything else relies on this setting.)

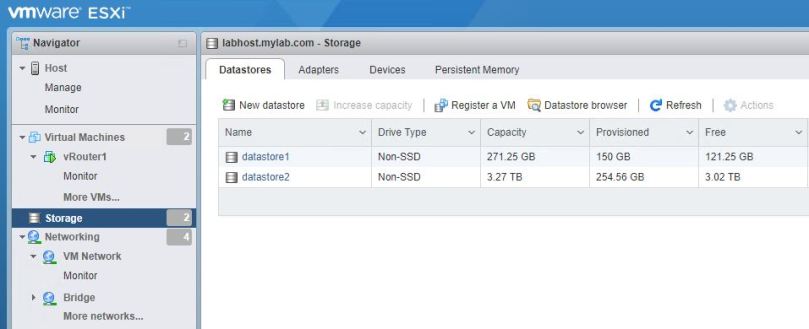
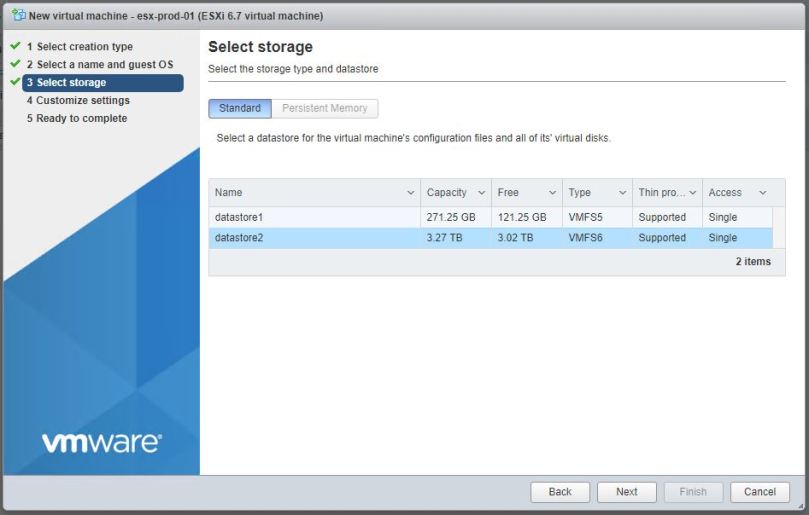
My physical server has 2 datastores. datastore1 is where I keep all my ISOs, VM templates, etc. datastore2 is where all my test workloads are installed.
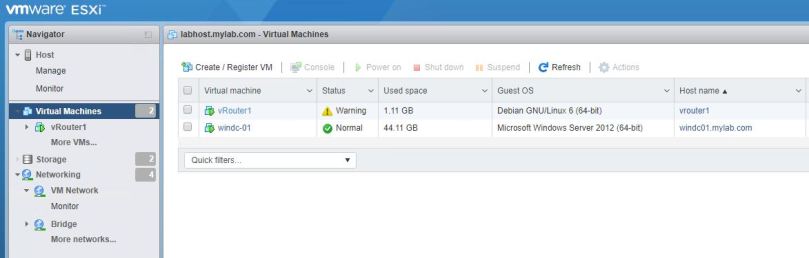
At this stage I have just 2 virtual machines running, the VyOS router and my Windows Server 2016 domain controller that serves as my management system as well as providing AD, DNS, DHCP and file sharing services for any labs that need it.
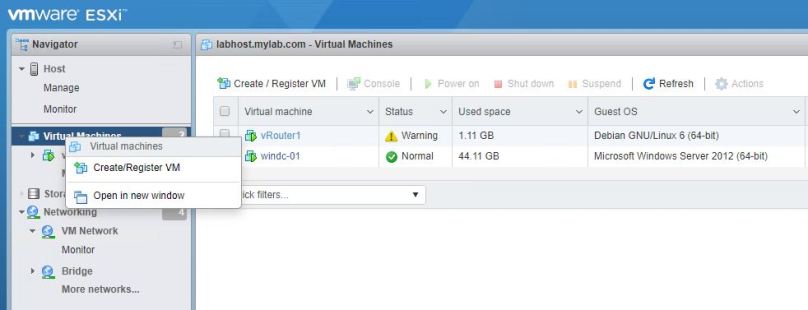
So let’s start by deploying the Production ESXi host. Here I’ve right-clicked on Virtual Machines and selected Create/Register VM:
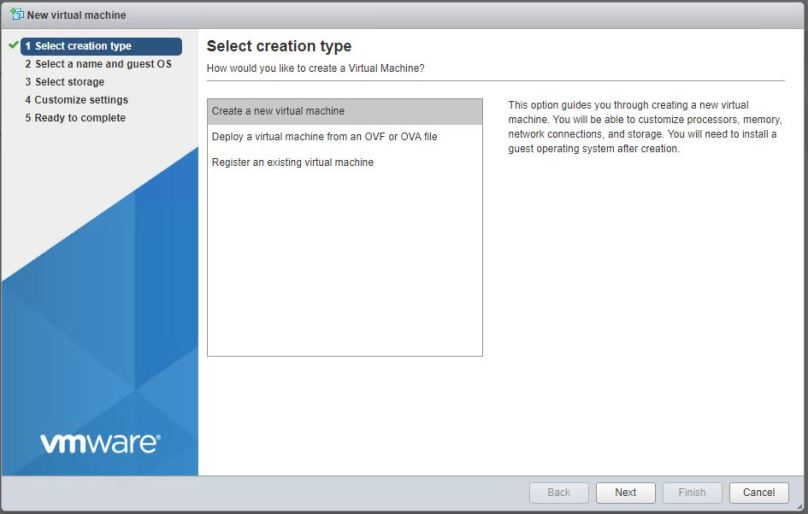
Select the option to Create a new virtual machine and click Next:
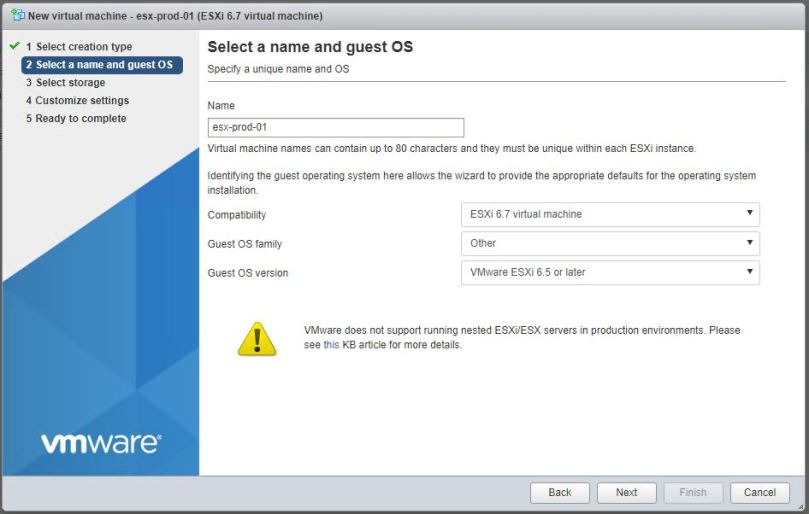
Give the VM a meaningful name (here I’ve called it esx-prod-01 to match its DNS entry). Set the Guest OS Family to Other and set the Guest OS Version to VMware ESXi 6.5 or later. You’ll get a support warning that you can ignore. Click Next:
Select the datastore where you want to install the VM and click Next:
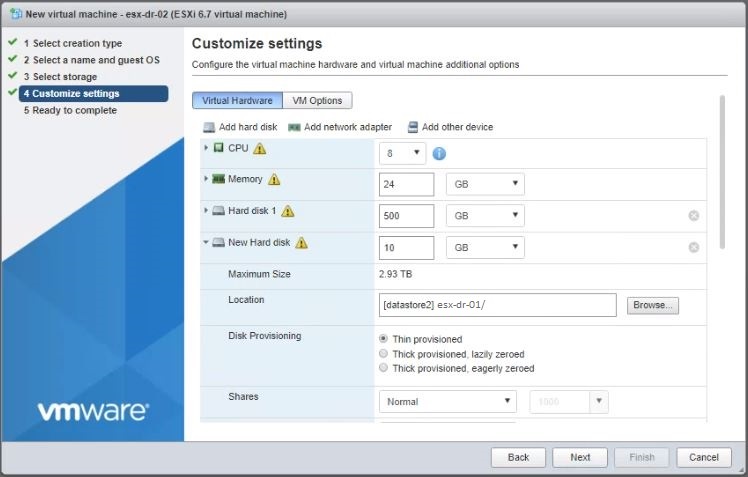
You’ll need to configure the VM with at least 2 CPU cores in order to install ESXi. Here I’ve set the CPU count to 8 with 1 core per socket.
In order to run ESXi in nested mode we need to select the option for Hardware virtualization as shown:

I’ve set the memory to 24GB and I’ve set the hard disk size at 500GB, thin provisioned. This will be the main datastore on the nested ESXi host.
You should also add a second smaller disk at this stage to be configured as a placeholder datastore for SRM later. This can be small so you can create it as a 10GB thin provisioned disk. A separate placeholder datastore isn’t strictly required when using vSphere Replication but it can help to avoid confusion when distinguishing between replication targets and placeholder VMs. See here.
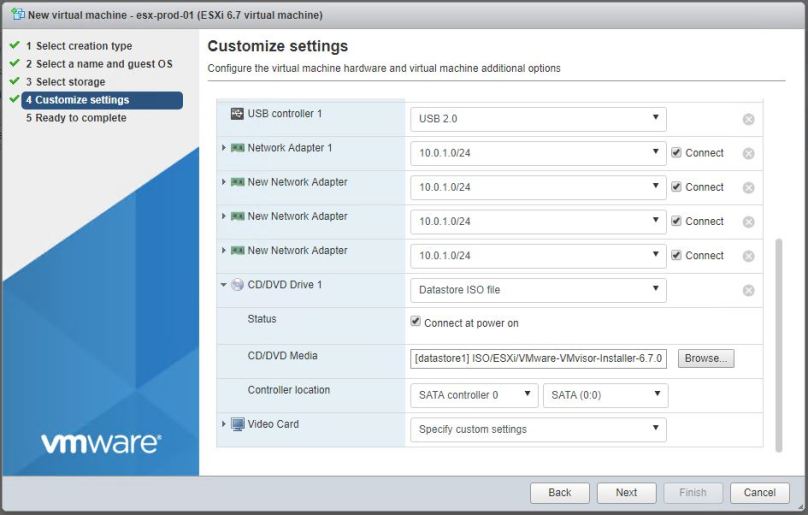
Now add some NICs. Here, I’ve configured 4 NICs, all connected to the 10.0.1.0/24 portgroup (i.e. my production network). I probably won’t use all of them but I like to have enough to give myself plenty of options. I’ve also connected the ESXi 6.7 installation media to the CD/DVD drive and checked the box for Connect at power on. Click Next:
Review the VM settings and when you’re happy click Finish:

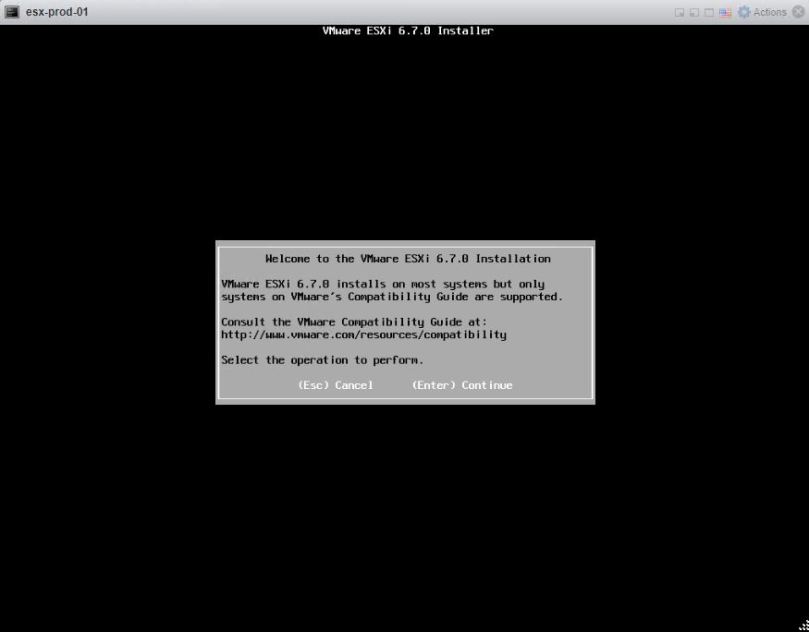
Power on the VM and open a console. To start the installation, hit Enter:
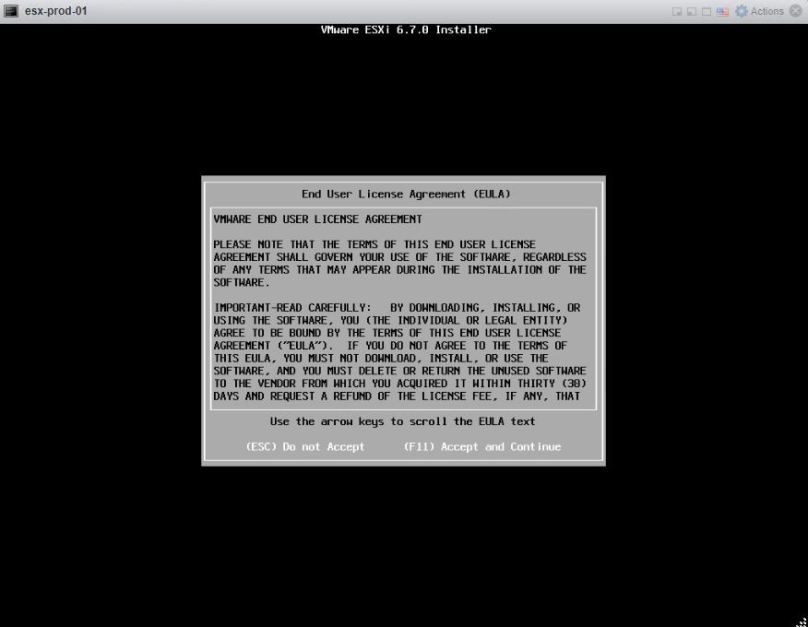
Press F11 to accept the EULA:
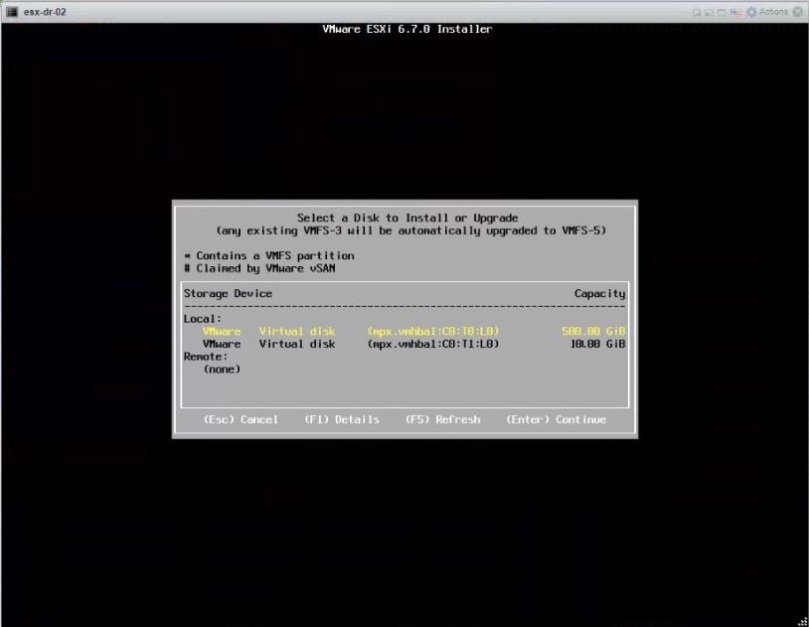
Select the 500GB disk as the installation device and hit Enter:
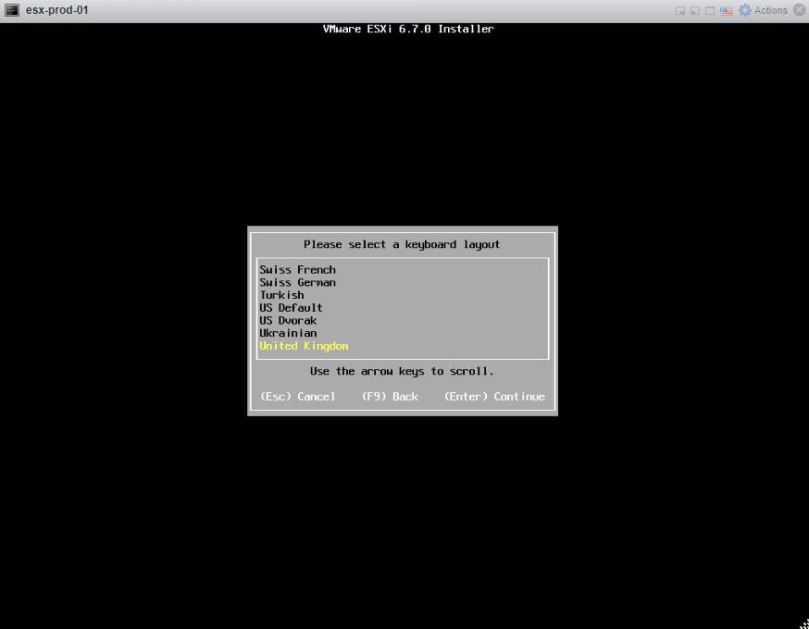
The keyboard layout defaults to US Default but you can change that at this stage. Hit Enter:
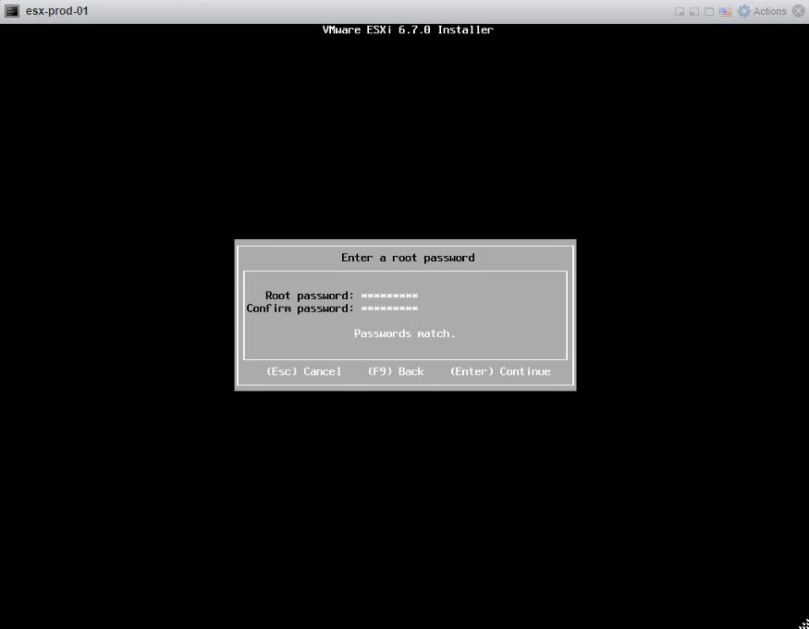
Set the root password and hit Enter:
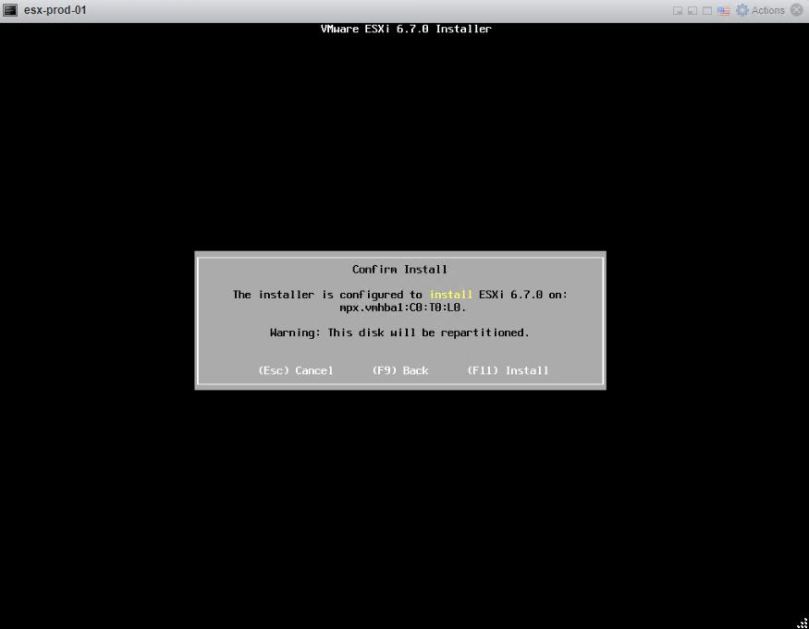
To start the installation process, hit F11:
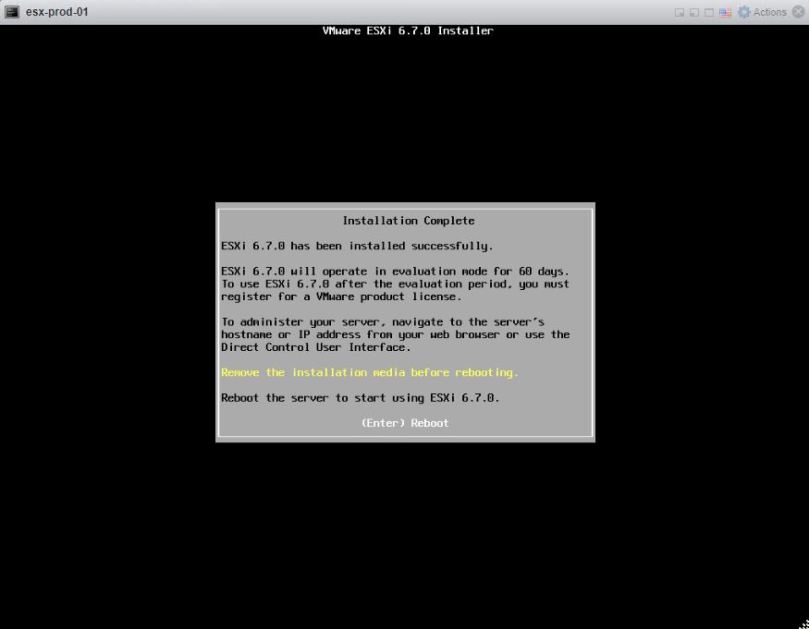
The installation will take a few minutes depending on the speed of you disk drive. Once it completes you can hit Enter to reboot the VM and load the hypervisor:
When the hypervisor has finished loading, hit F2 to customize it:

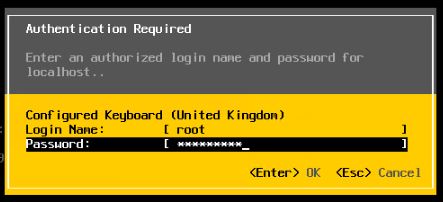
Log in as the root user:
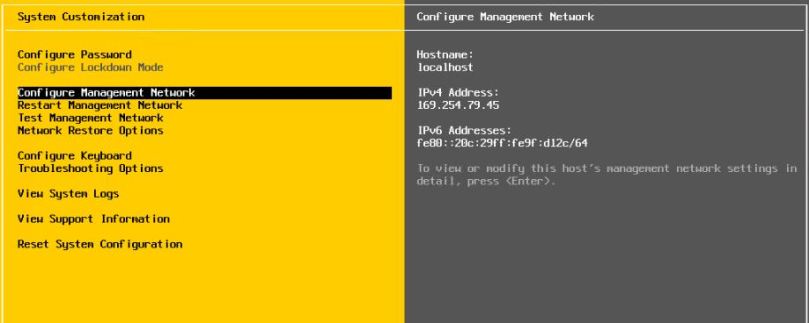
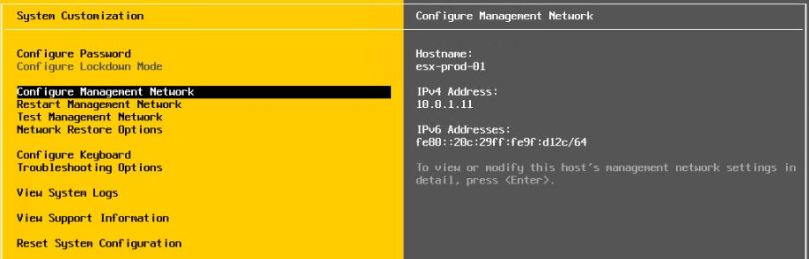
Scroll down the Configure Management Network and hit Enter:
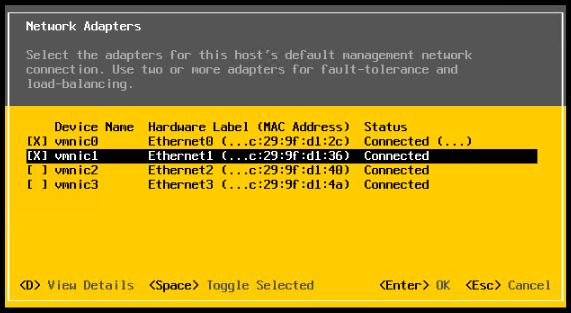
Select the adapters that you want connected to the management network and hit Enter:
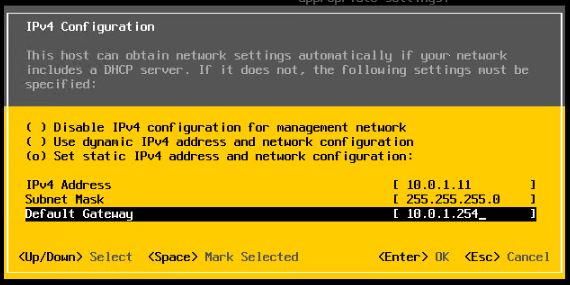
Set static IP address options and hit Enter:
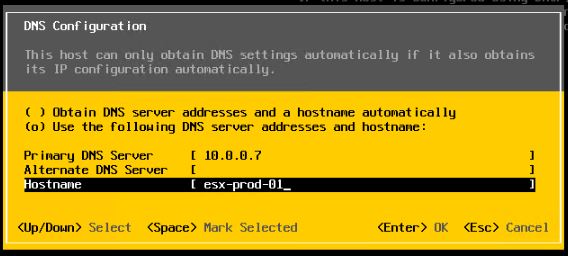
Set the Primary DNS Server (here I’ve specified the IP address of my Windows Server Domain Controller where I’ve created DNS entris for all the systems I’ll be deploying) and the hostname and hit Enter:
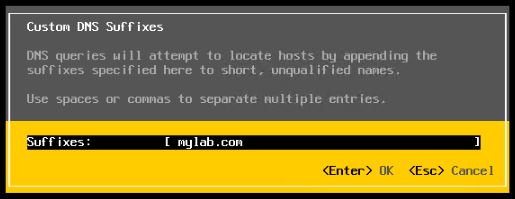
Set the DNS suffix and hit Enter:
Finally hit esc. You’ll be prompted to confirm the changes by hitting Y:

Here we can see new hostname and IP address have been applied:
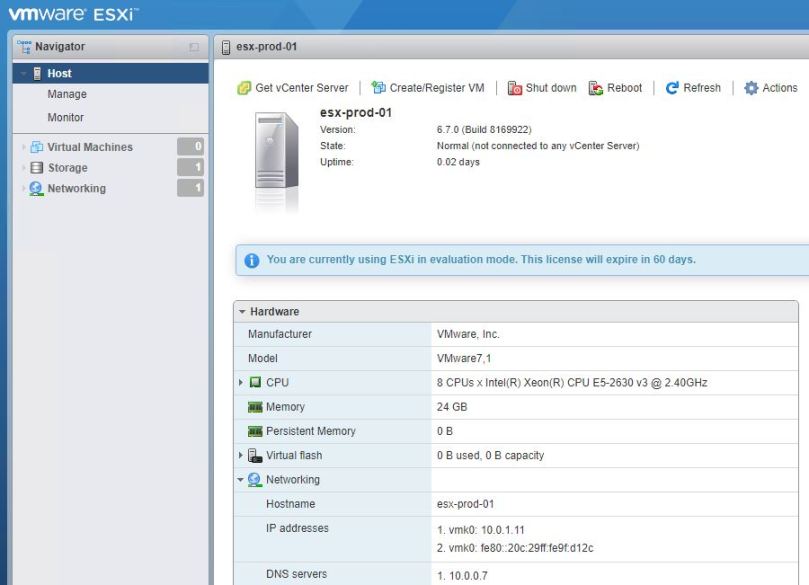
Now we can point a browser at the managment IP address of the nested ESXi host and examine its properties:
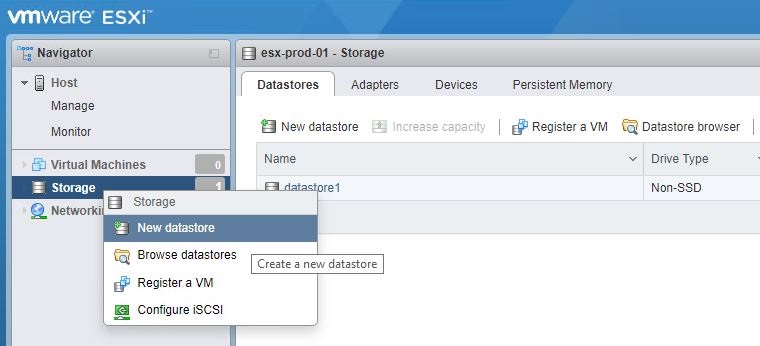
The installation process will have formatted the 500GB installation drive as a VMFS datastore. Now we’ll need to format the second 10GB volume. Right-click on the Storage icon and select New datastore as shown:
Chose the option for Create new VMFS datastore and click Next:

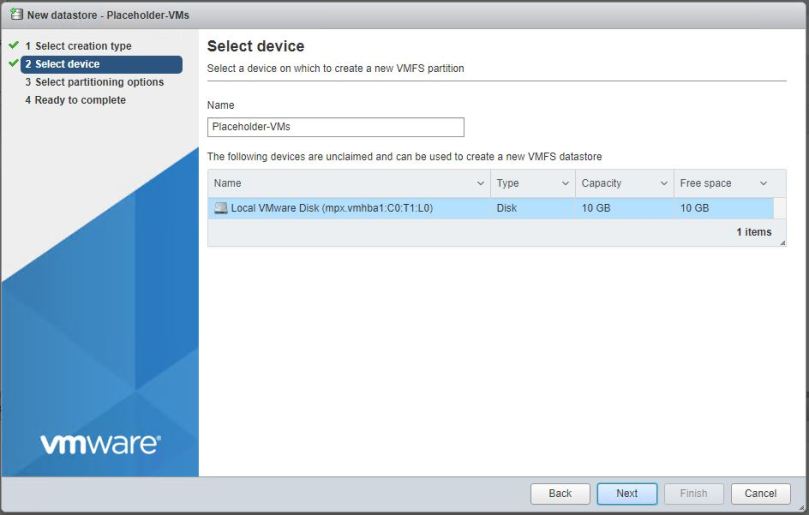
Give the placeholder datastore a meaningful name. Select the available unformatted disk that we added to the nested ESXi host and click Next:
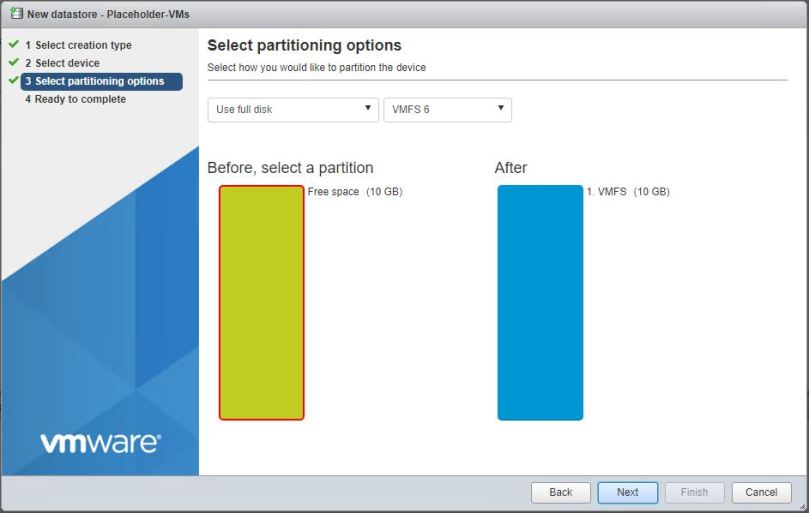
Select the default partitioning options and click Next:
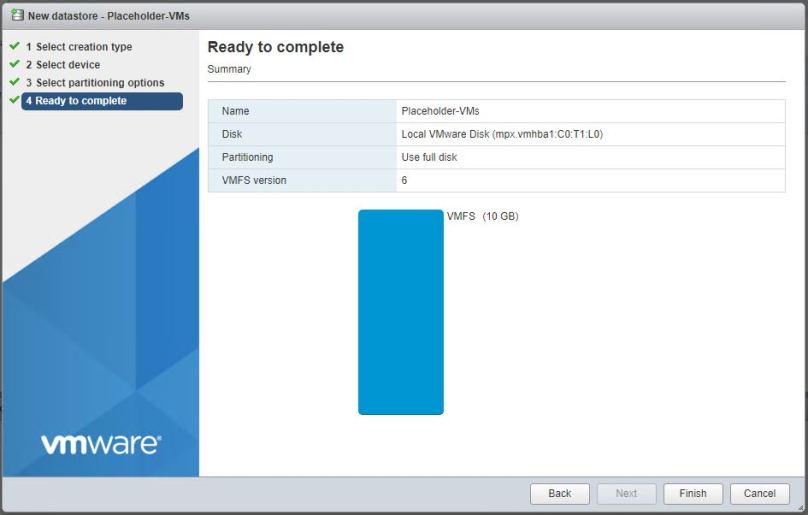
Click Finish:
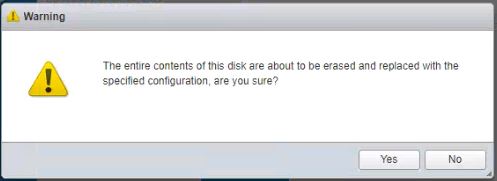
Click OK to accept the warning:
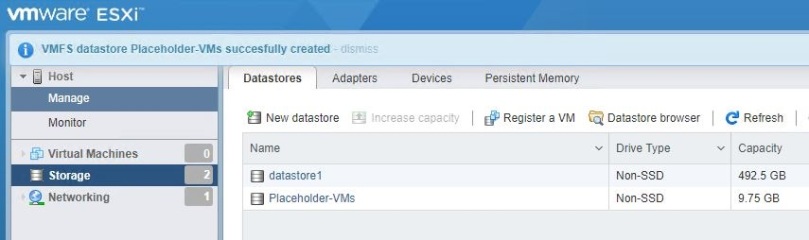
We should now be able to see the new datastore in the list:
So that’s our first nested ESXi host deployed, to be used as the central resource of our production site. Now we’ll need to go all the way back to the start and deploy a second identical host to be used as the basis of our DR site
Now that we have our two nested ESXi hosts deployed, we can proceed to deploying two vCenter Servers, one for each site, Production and DR. And I’ll be showing you how to do that in my next post.
Until then…
<–Previous Next–>
Part 1 – Overview
Part 2 – Nested ESXi Hosts
Part 3 – Deploy vCenter Servers
Part 4 – Deploy vSphere Replication
Part 5 – Configure vSphere Replication
Part 6 – First Replication Job
Part 7 – Deploy SRM Appliance
Part 8 – Configure SRM – Site Pairing
Part 9 – Configure SRM – Mappings
Part 10 – First Recovery Plan
