
In this post I wanted to run through setting up a new Synology DS1621xs+. Deploying a Synology at home has been on my to do list for some time now. With multiple PC’s and a lab running at home I have accumulated a fair amount of data and as always its stored in all different places. Time to start consolidating!
The 6 bay unit has an Intel Xeon D-1527 4-core 2.2Ghz CPU and comes with 8GB of DDR4 ECC Memory which you can expand out to 32GB if required. It also has two M.2 2280 NVMe SSD slots which I will be using to setup an SSD Cache. There is also a front mounted USB 3.0 port in the lower right hand corner which will come in handy when copying data onto the NAS. For now, I have 6 x 2TB drives which I will be using during this setup example.
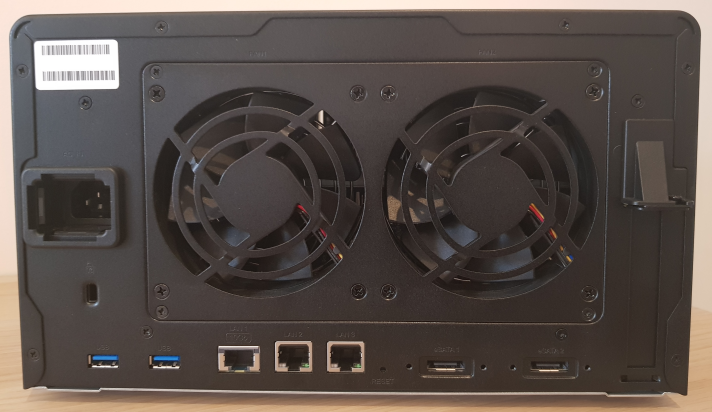
On the back on the unit you can see the 2 x 1GbE ports and the 1 x 10GbE port. Unfortunately I don’t have 10GbE at home so I will just be connecting both of the 1GbE ports for now but I do like having the option. It also has 2 more USB 3.0 Ports and 2 x eSATA ports.
I will then be installing 2 x M.2 2280 NVMe SNV3400-400G Solid State Drives. These will be used later to configure my SSD Cache.

I would recommend removing a few of the empty drive slots to give yourself enough room to install the M.2 drives. Then the M.2 drives just click into place in the mounts provided on the inner left hand wall.

Next up you will need to install your hard drives. Push on the base of the drive slot at the front to unclick it from the main unit. Then slide the empty drive caddy out. The outer side rails just clip off allowing you to then install your drive into the caddy. Clip the side rails back into place and slide the drive caddy back into the Synology. Then push the base of the caddy down and it will click into place. You can also lock the drives in place with the key provided.

Now when ready you can connect the two 1Gb Ethernet ports to your switch and then connect the power cable and power on the Synology unit.
Before we get started make sure the pc that you are going to use to configure your new NAS is on the same network as your Synology and you are able to access the internet.
Open you browser and enter – http://find.synology.com/

Once your Synology is located on your network click Continue.

Click Next on the End User License Agreement.

Click Continue on the Synology Privacy Statement.

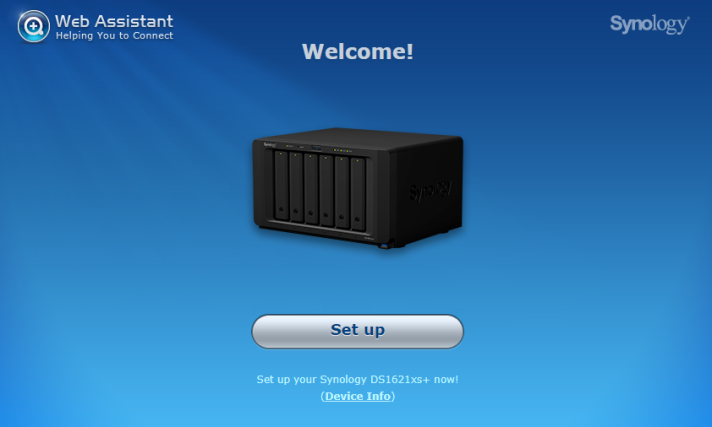
Then on the Web Assistant page click Set Up.
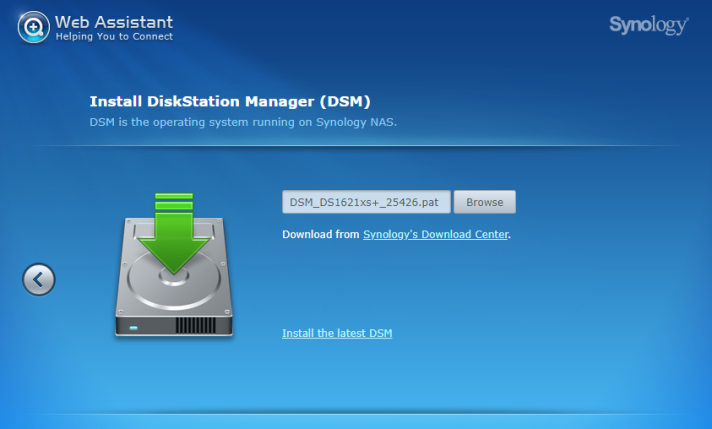
Download the latest copy of DSM from the Synology download center.

Select the copy of DSM that you just downloading using the Browse Button.
Once started you will be prompted that all of the data on the disks will be removed. Tick the box and click Ok.

The process will now commence.

This takes around 10 minutes to complete and the NAS will be restarted during this process.

Then enter a Server Name for your Synology and a Username and Password.
Once complete click Next.

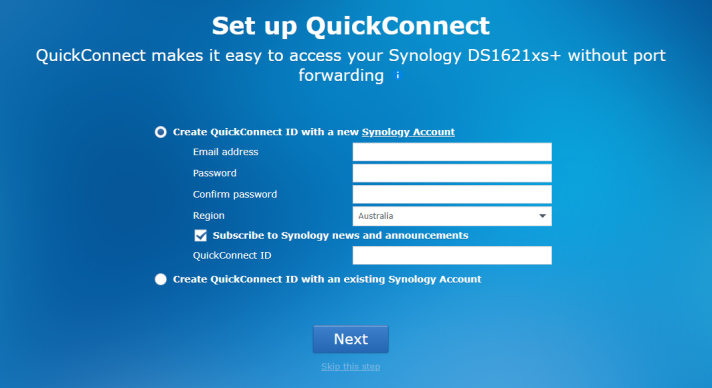
Setting up QuickConnect allows you to access your Synology from outside of your home network without having to configure any port forwarding on your home router or firewall. To do this you will need to setup a Synology Account.
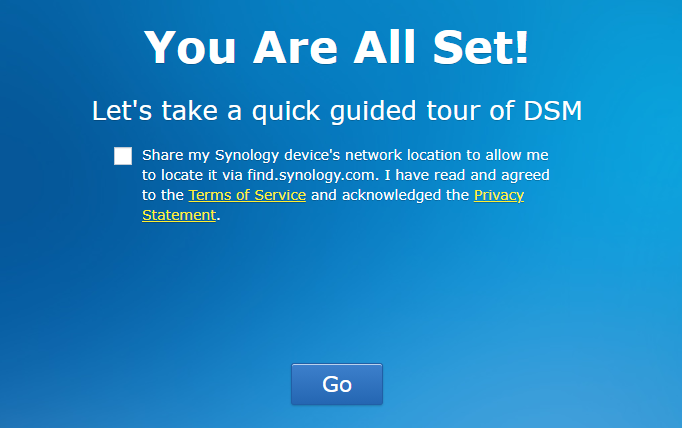
For this example I will set this up after the initial setup of the unit so I have selected Skip this step.
With the initial setup complete click on Go.
When the Smart Update screen appears click Got It.

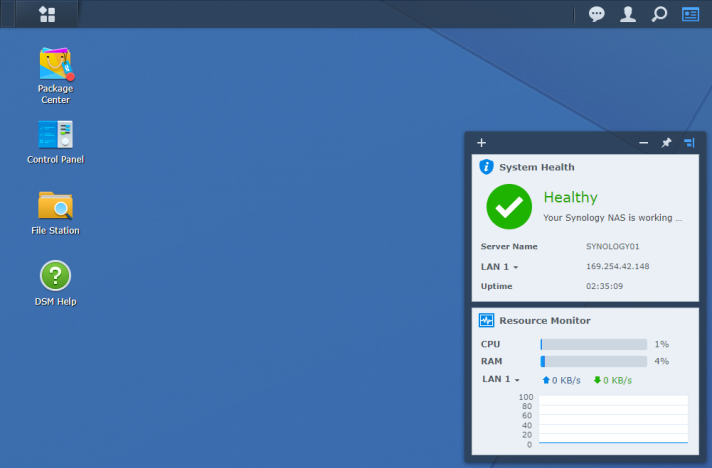
You should now see your DiskStation Manager Desktop.
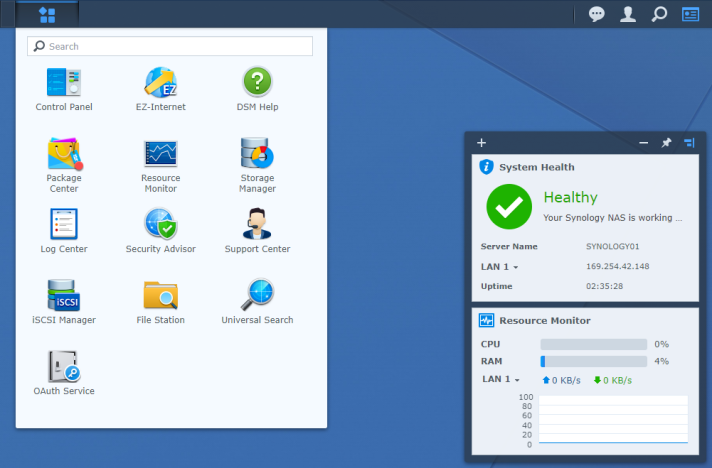
Select the menu from the top left, then select Storage Manager.
You will then see an overview of Storage Manager. You should be able to see your disks but no volumes or storage pools just yet.

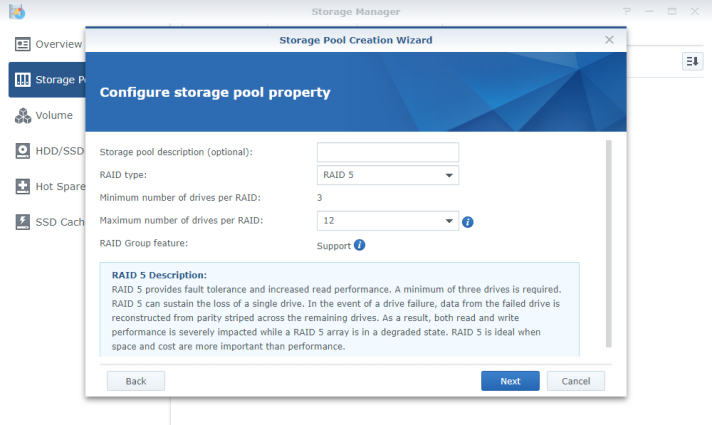
Select Storage Pool from the left hand menu and then click Create.

You have 2 options here, Better Performance or Higher Flexibility. Better Performance supports only 1 volume and Higher Flexibility support multiple volumes. For this example I have selected Higher Flexibility. Then click Next.

Select your RAID type based on the number of disks you have installed. For this example I am going with RAID 5.
Once complete click Next.
Drag each of your available hard drives over to the right.
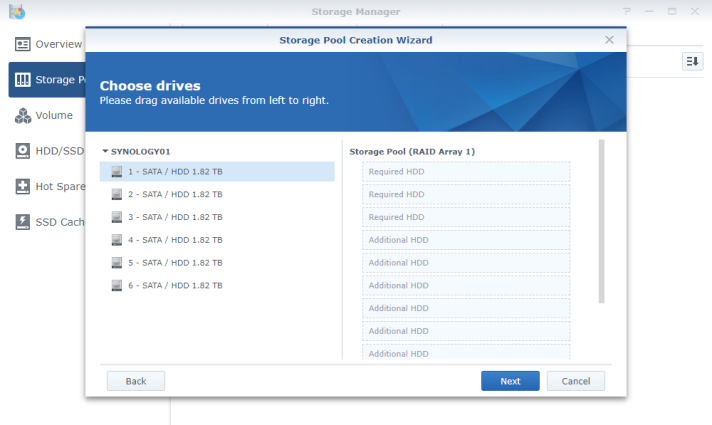
Then click Next.
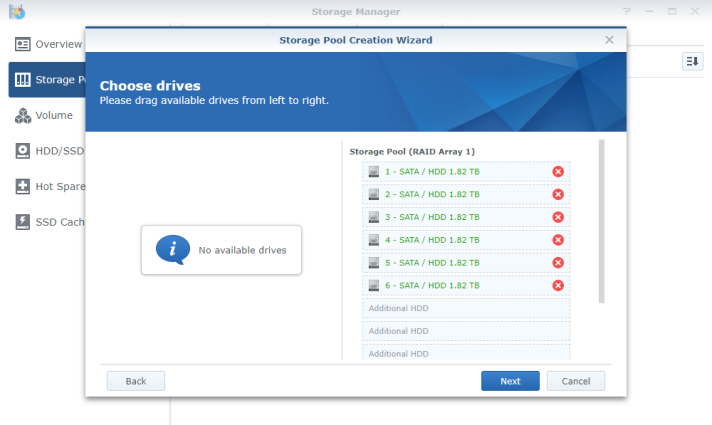
A warning will appear informing you that all of the data on the disks will be erased. Click Ok to continue.

Then click Apply.

When prompted to create a volume click Ok.

The Storage pool should display a status of Healthy once complete.

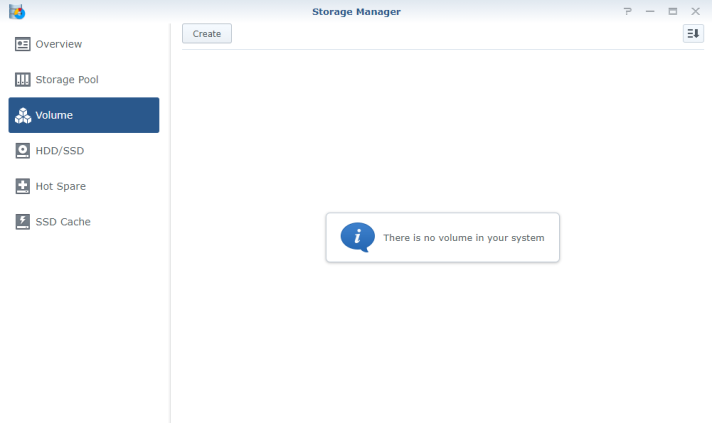
Once the storage pool has been created click on Volume from the left hand menu. Then click Create.
Select the Storage Pool and click Next.

Below is a table explaining the features of each file system. Note if you are looking to use applications like Active Backup for Business or Virtual Machine Manager then you will need to select Btrfs.

Make your selection based on your use case and click Next.

Set a description and the allocated size and click Next.

Then click Apply.

The volume will then be created and the status should appear as Healthy.

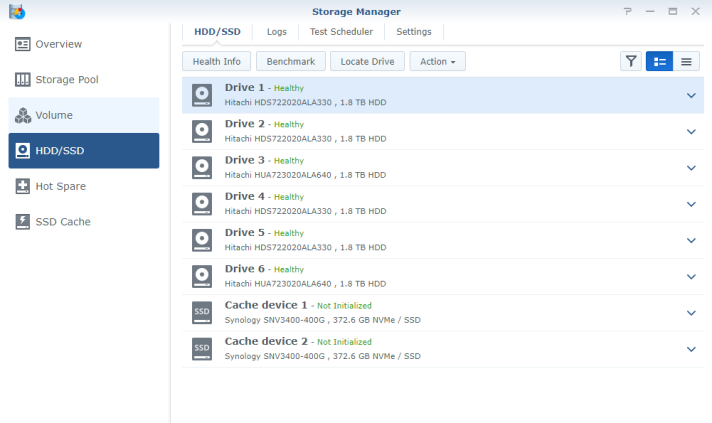
Then click on HDD/SSD from the left hand menu. You will see all of the disks installed in the system. You will also see the NVMe Cache drives I installed earlier.
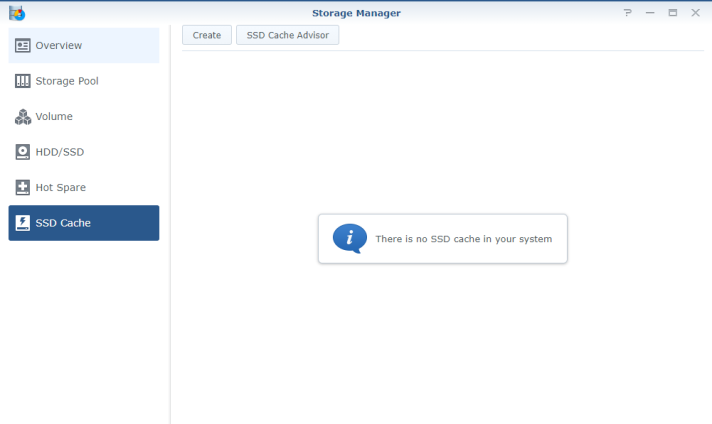
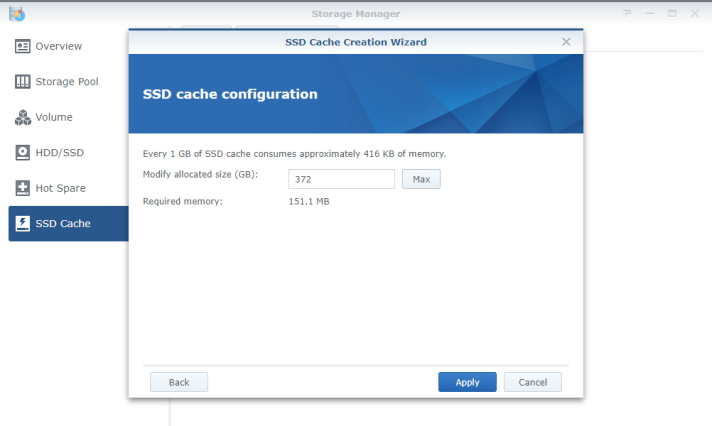
It is now time to setup the SSD Cache. Click on SSD Cache from the left hand menu and click Create.
Choose between Read-write cache or Read-only cache. For this example I am going with Read-write cache.

Select both of the NVMe drives and click Next.

Raid 1 is our only real option here so click Next.

Then click Apply.
Tick the check box which is informing you that all data on the SSDs will be removed and click Ok.

Once complete the SSD Cache should show as Healthy.

That’s it your Synology is now configured and ready to use. Close the Storage Manager window.
Launch Package Center which is located on the desktop.
Then browse through the packages available to install on your new Synology. A great place to start is Virtual Machine Manager, Cloud Sync and Active Backup for Business!

As you can see the Synology DS1621xs+ is very straight forward to setup and I have been extremely impressed with how it has been performing so far. With the Xeon 4-core processor and the dual M2 NVMe Cache drives you really can’t go wrong! If you are looking at upgrade options at the moment, I would highly recommend you checkout this NAS.
That’s it from me, I hope this has helped you get started with your new Synology DS1621xs+.
@steveonofaro
