Inside, like its predecessor Limbo, is an atmospheric puzzle game that puts a child in a disturbing situation. Your job is to solve puzzles, and our guide has the solution for every one — including videos for the toughest of the bunch. (You can also watch them on Polygon's YouTube channel.)
Inside doesn't name its areas, but we've organized the guide based on geographical locations. Just head to the table of contents below and click for help.
For more on Inside, you can read Polygon's review and press play above to watch our video review.
Looking for orbs? We've got your back.
Inside is filled with collectibles, and Polygon's guide to orbs will show you how and where to find them all, earn some achievements and unlock the game's alternate, secret ending.
Table of contents
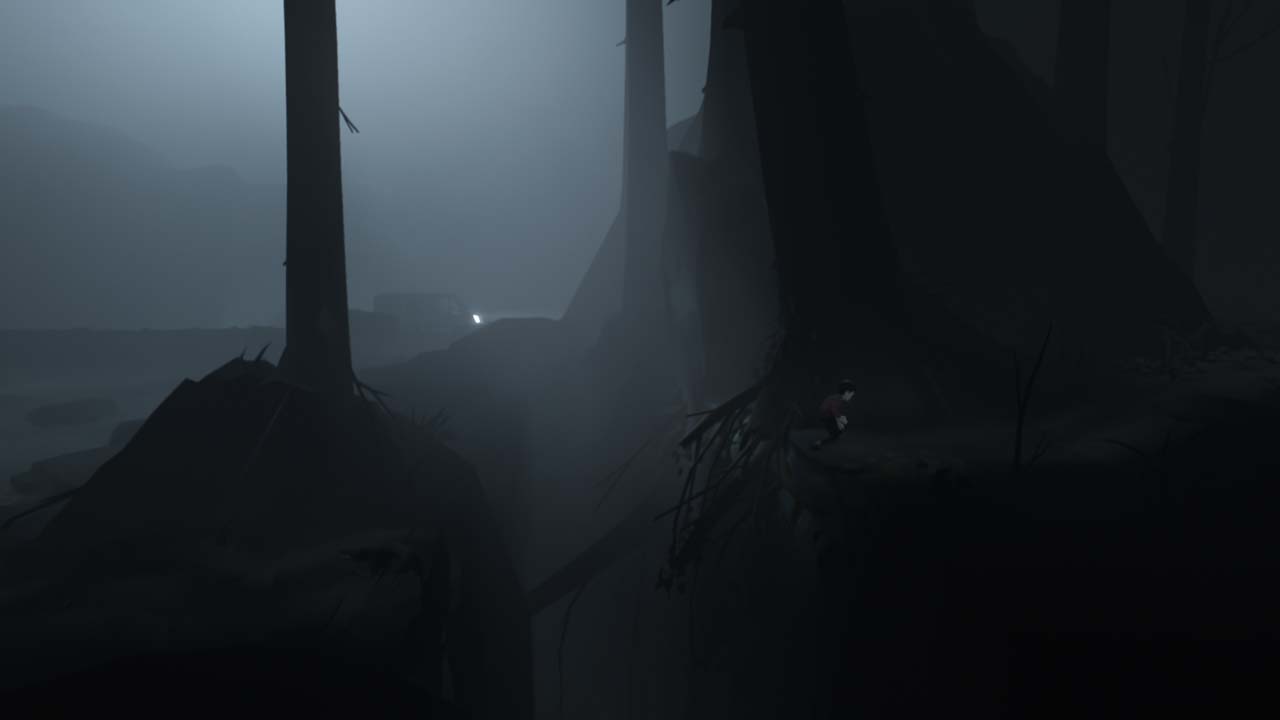
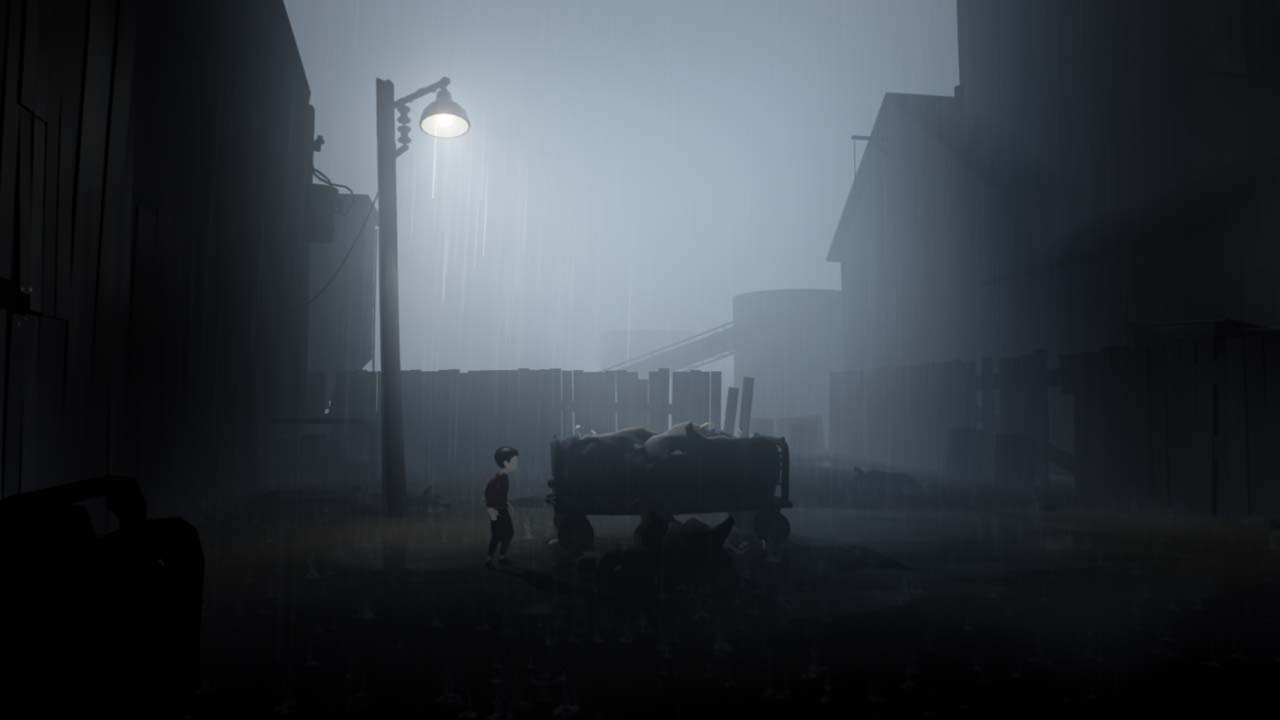
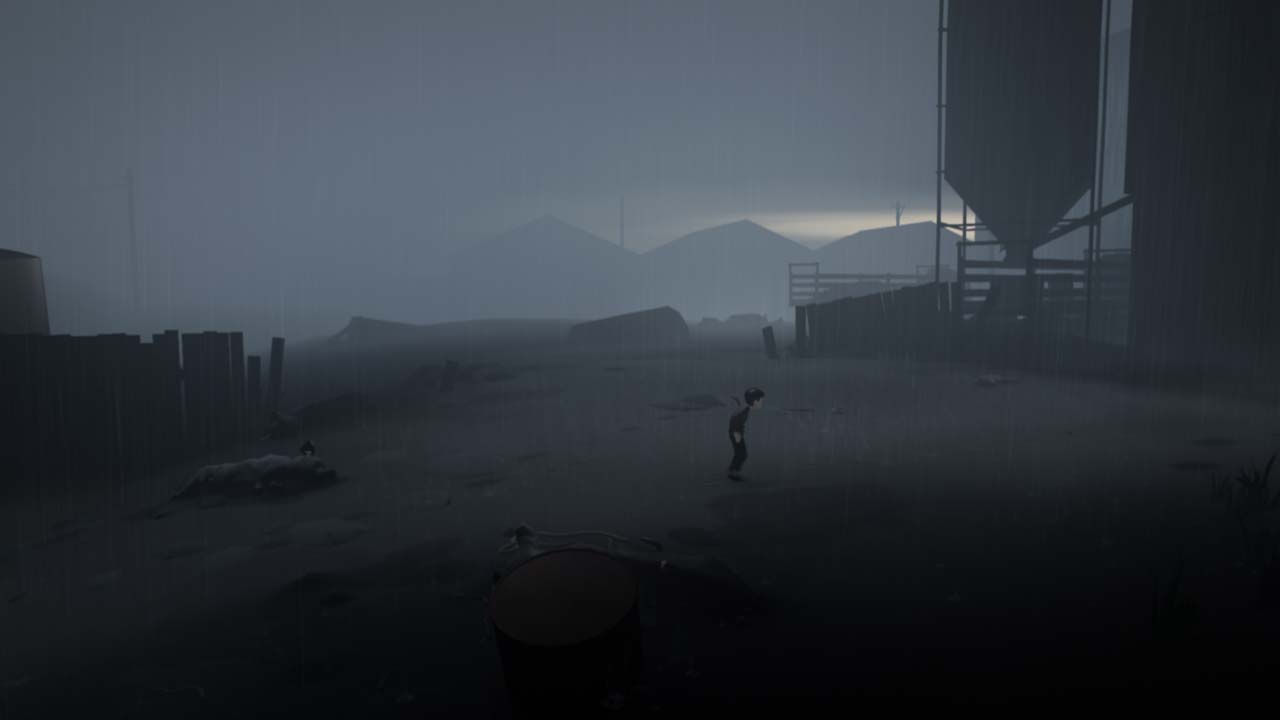
The Woods
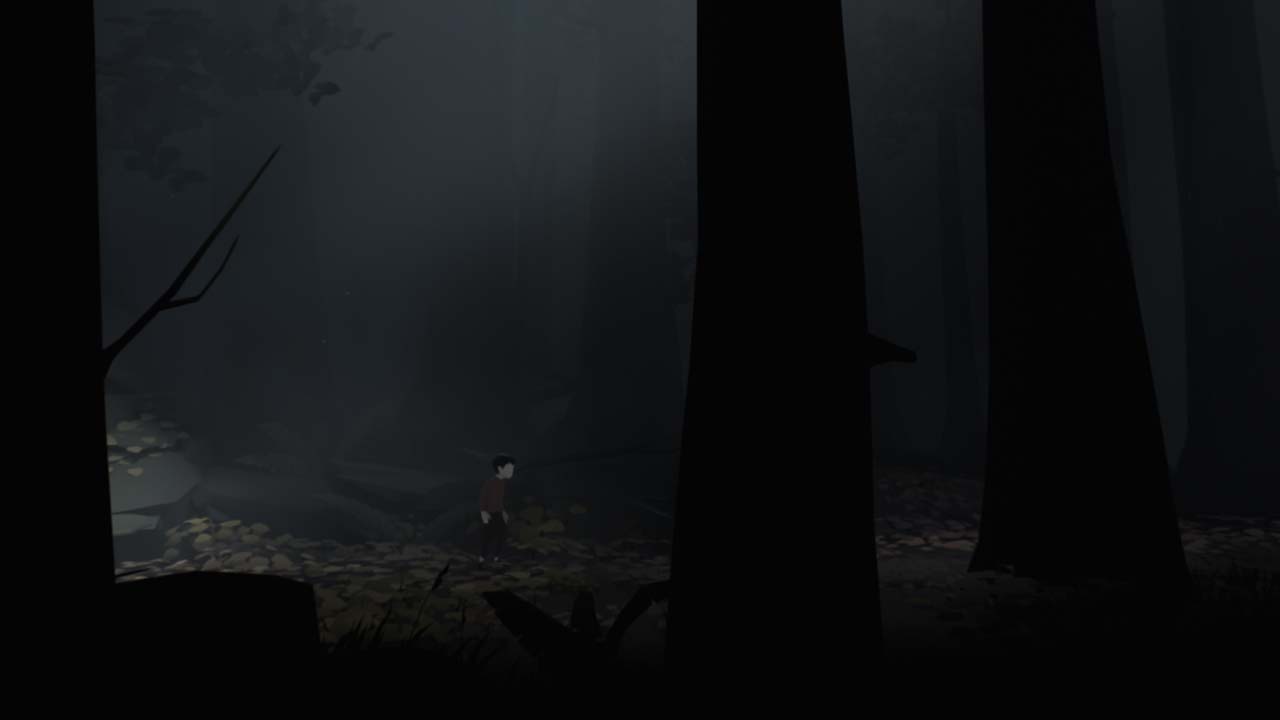
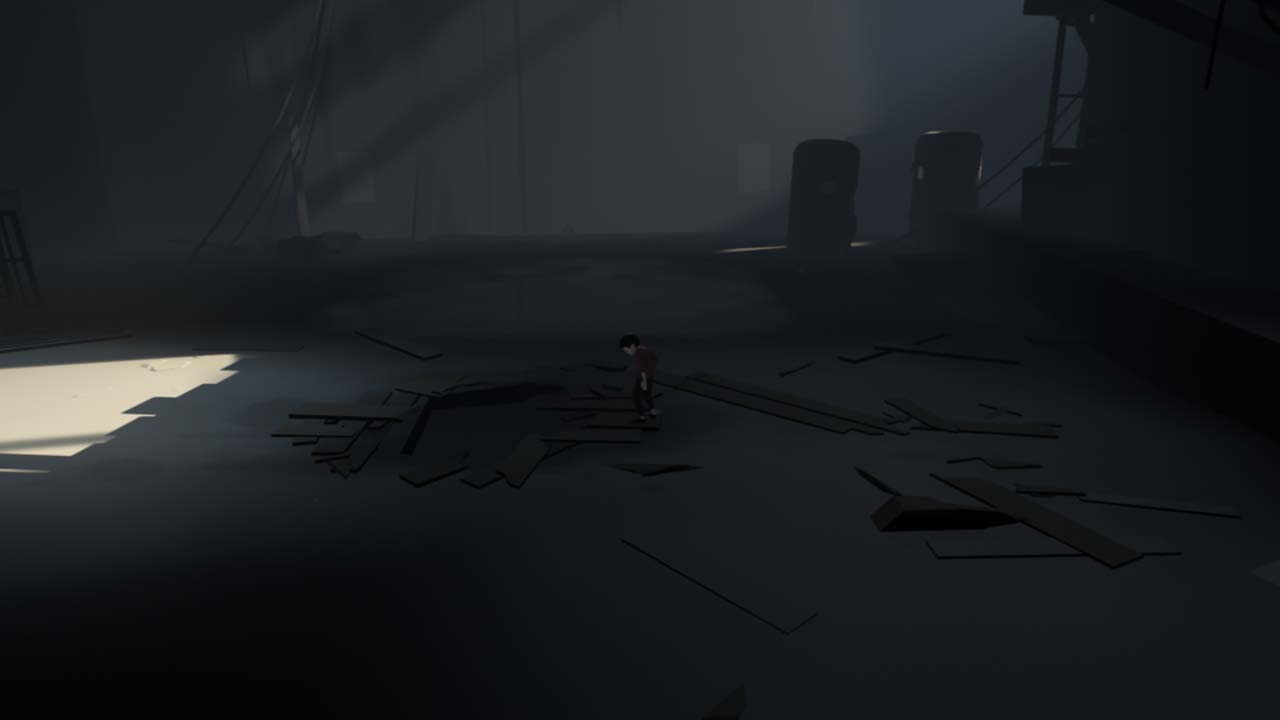
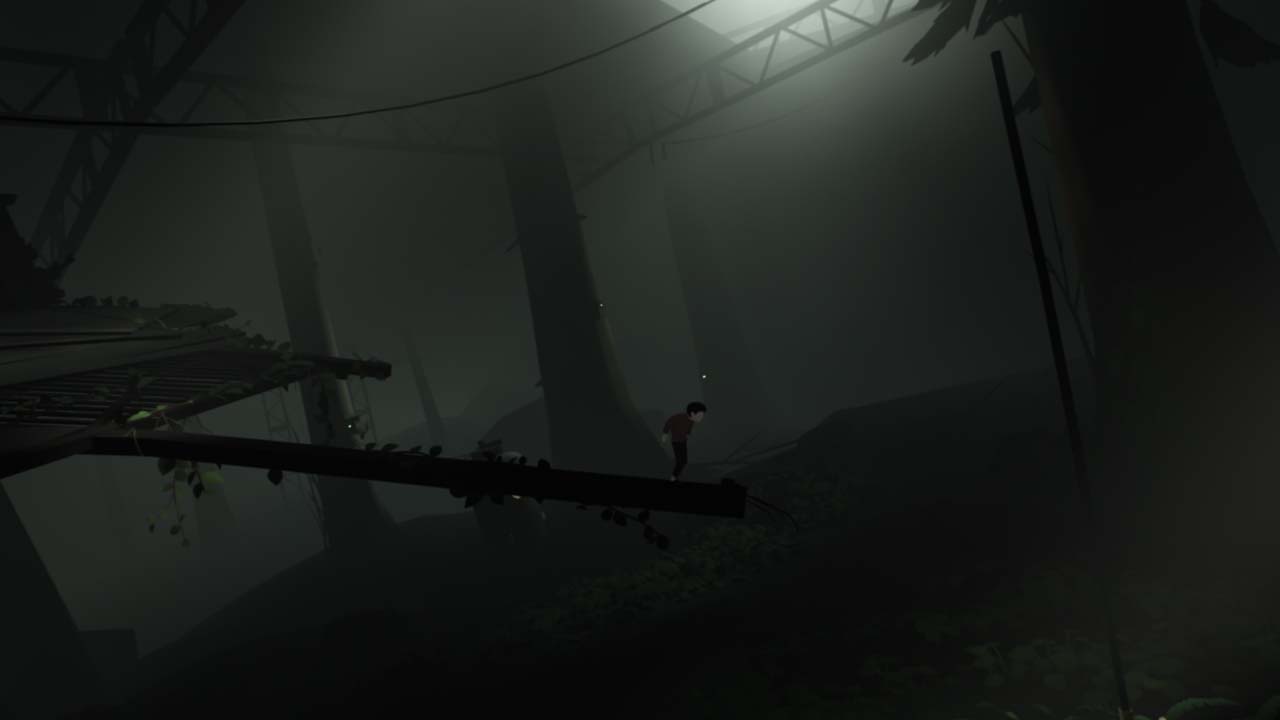
You're in the forest. Start to walk the only way you can walk: right. Jump over the guardrail and make your way past the truck that pulls away. You'll make some noise that will alert some guards just past the truck. Stay hidden behind the object until the guards walk away. Once you reach the wall that is too high to jump over, press B (or X) by the refrigerator. That will tip the object. Slide it closer to the wall to use it as a step to reach the top.

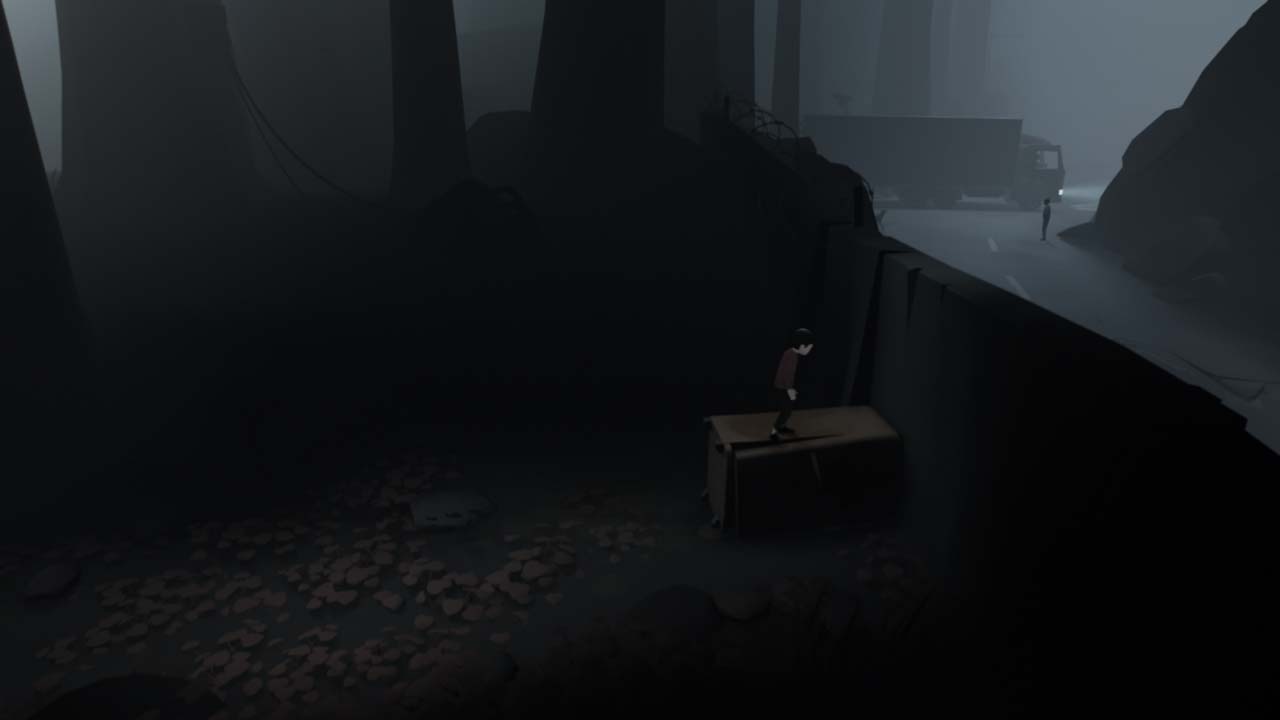
Head down the cliff to find a gap with another wall that is too tall to climb. There's a moveable box at the base of the cliff you just came down from. Drag the box into the gap to jump up the wall. Once you hit the water, don't stop moving forward. A dog will start chasing you from the background. Keep trucking forward and jump the gap at the last second. You'll grab some vines that you can climb the top of the opposing cliff.
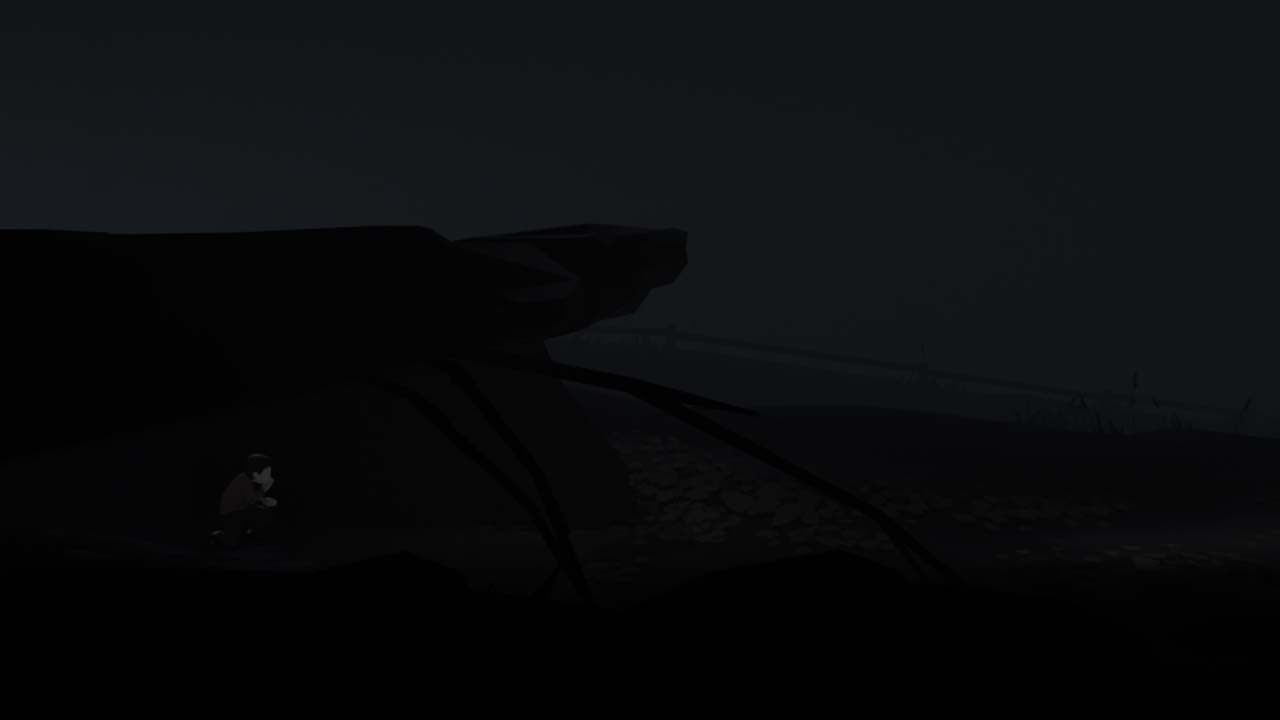
The idea here is to stay out of sight. In the next section, a truck will try to shine a light on you. Keep running forward until you reach a ledge. As soon as you drop down, head left to stay hidden from the light. Wait until the car passes to move forward.

Next, you'll pass a car with its headlights shining directly at the screen. You're going to have to book it from here. Continue running forward and be sure to jump the log so you don't trip. When you reach the broken down car in the background, stop for a brief moment to let the moving car pass. Another guard will hop out of that car and start chasing you. Keep running until you slide down the hill. They won't follow past that point but will keep shooting. Just keep moving forward. Now a bunch of dogs are on your tail. Run from them, and jump off the cliff into the water.
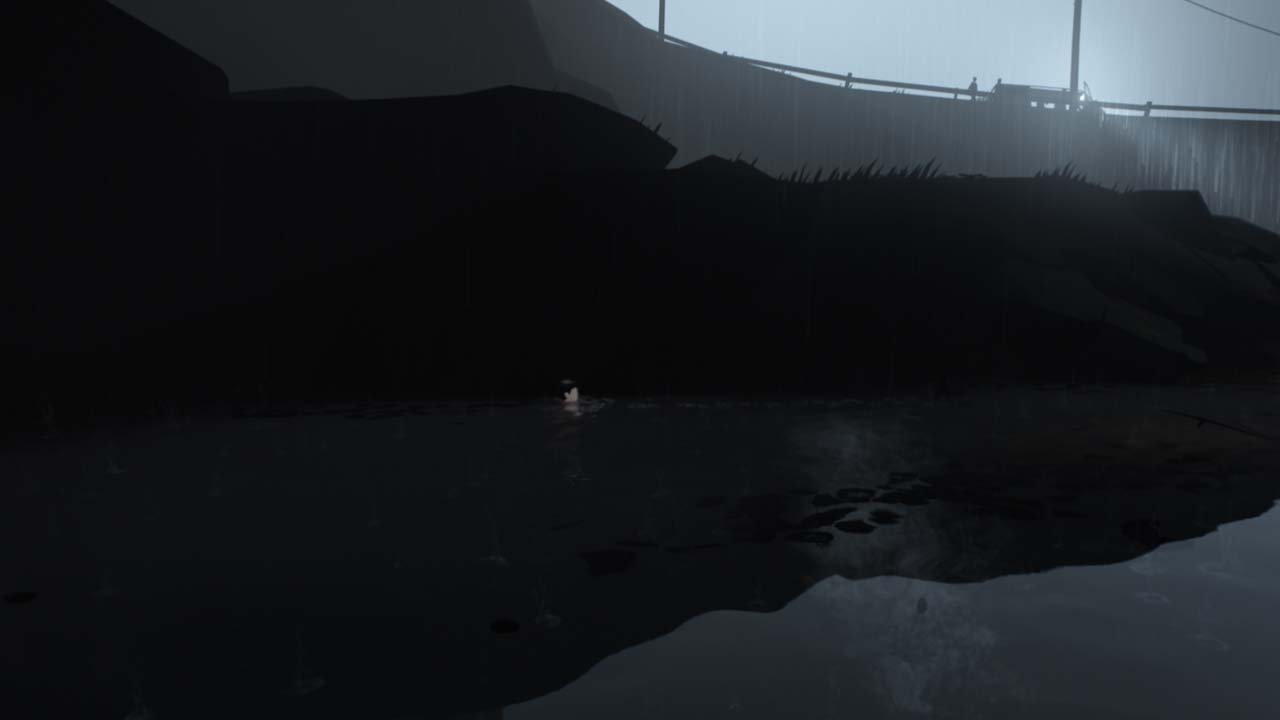
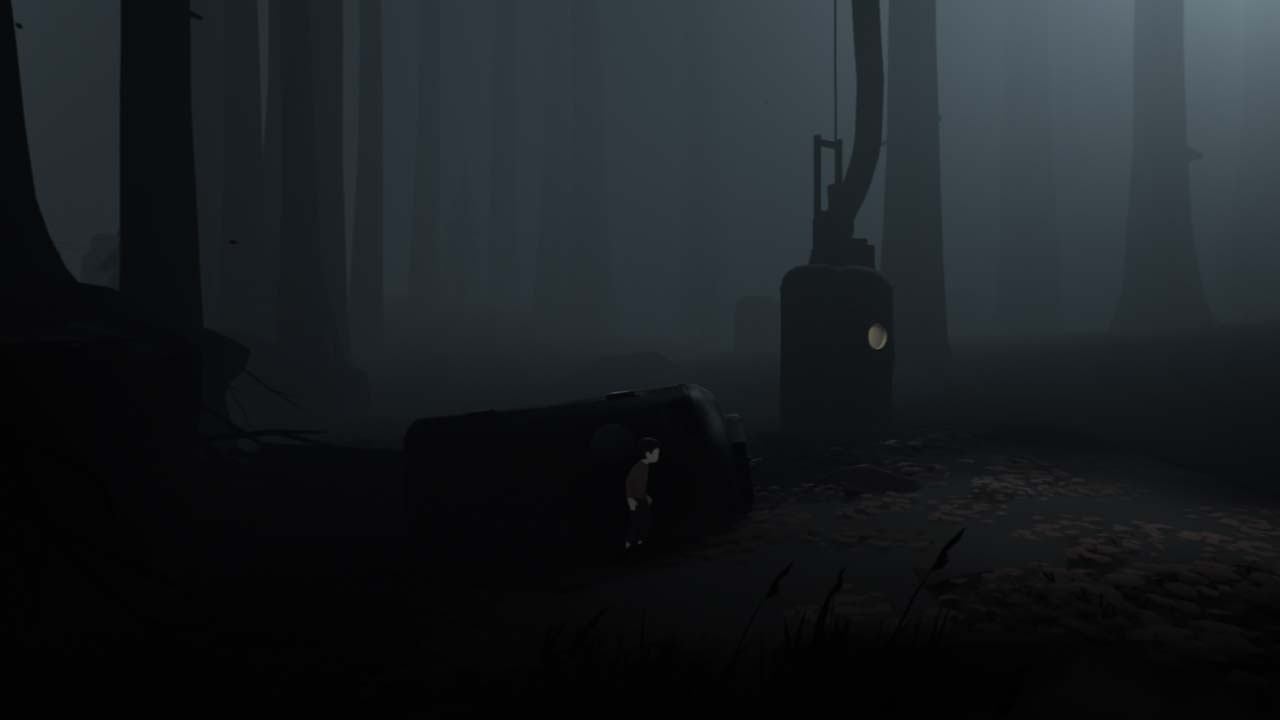
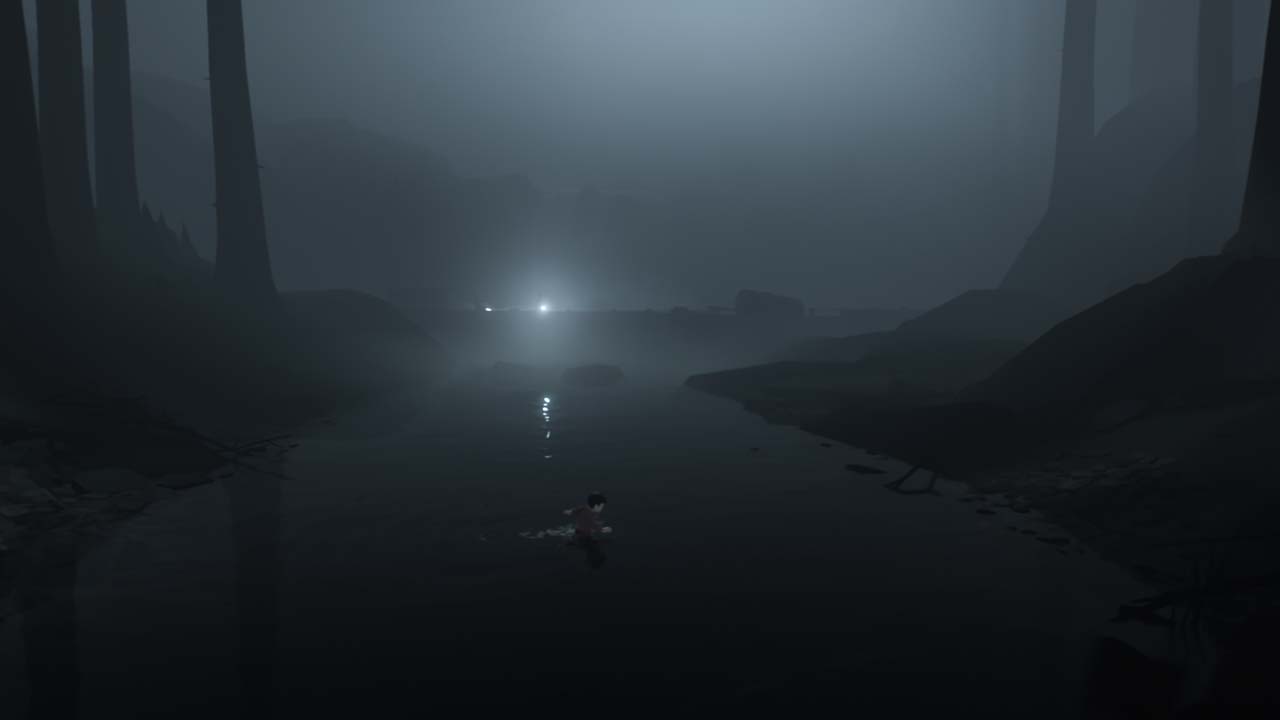
Once you're in the water, don't swim on the surface into the spotlight. You'll be shot on sight. Swim down and the the left to find a hidden cave. Be sure to get to the surface quickly since you can't hold your breath very long. You'll see a large plank. Press B to tip it. Now you can reach the strange generator on the other side. Press B to deactivate it and collect 70 gamerscore. Swim out of the cave and under the spotlight to get out of the water.
The Farm
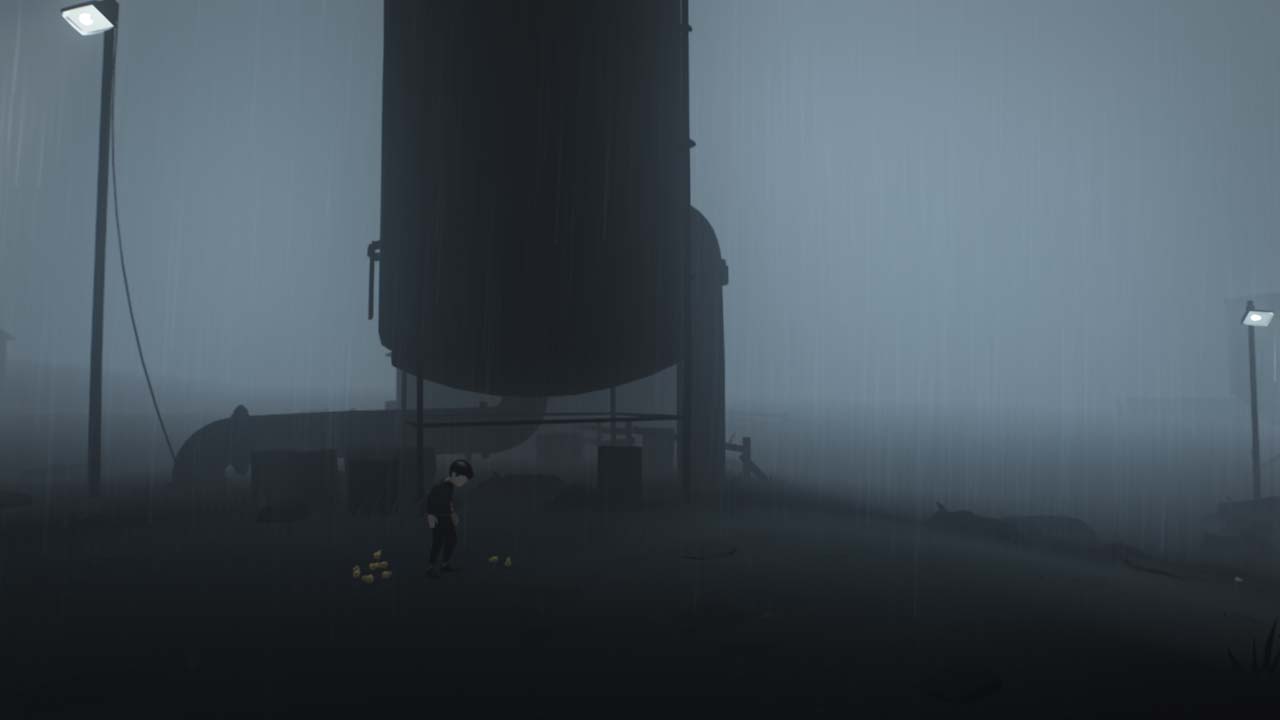

Make your way out of the cornfield and admire all the chirping chicks that follow you. Climb the rope at the end of the path and swing into the open window. Inside the barn, you'll find some machinery. Pull the starter by the wheel a couple times to get it running. Then head all the way to the left to open the door to let the chicks in. The goal is to get the box down from the rafters. With the chicks on your trail, run all the way to the right and wait until they meet you there. Then run back to the lever. That lever will activate the blower, which sucks up the chicks and spits them at the box on the rafters, knocking it down to your level. Don't worry, the chicks are all fine. Use the box to move to the next area.
Jump off the roof of the building. Make sure you hit the wagon full of pillows to cushion your fall. Push the wagon up to the wall in front of you to climb it. You'll pass two pigs that appear to be dead. One springs to life and starts chasing you. Jump it to avoid being trampled to death. Keep leading it over to the right where it will break the wall of the next building to grant you access.
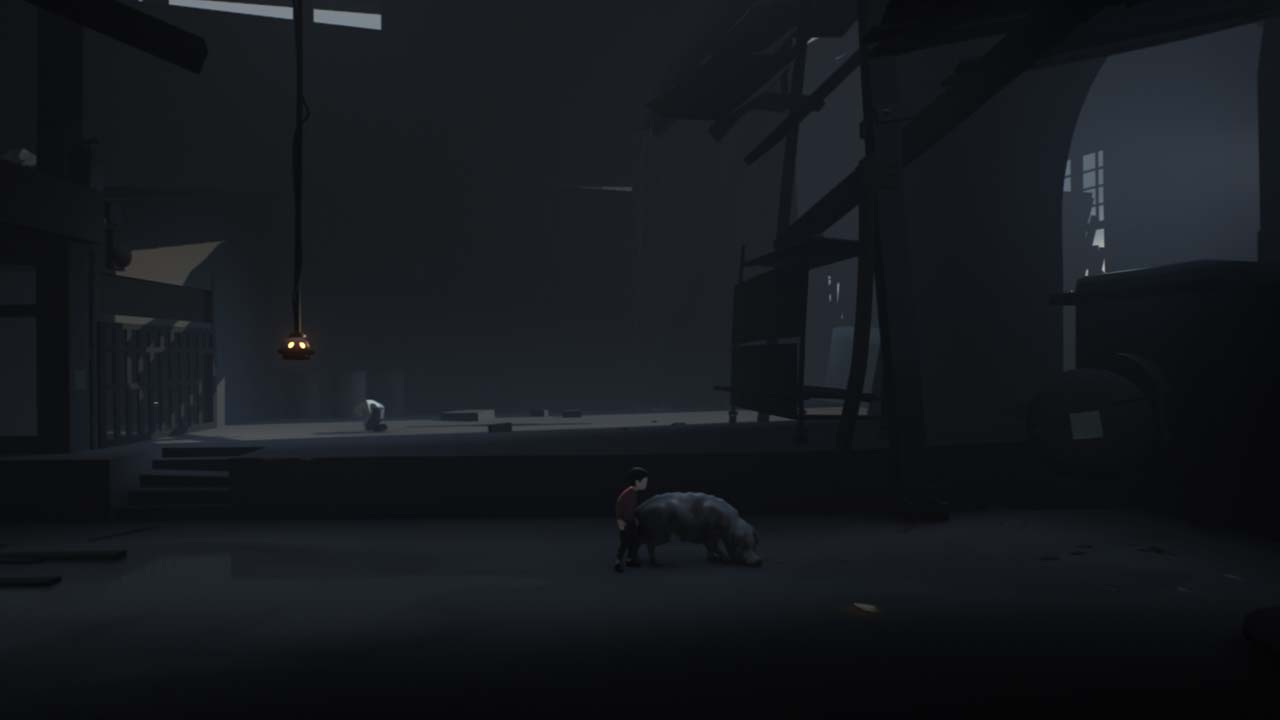
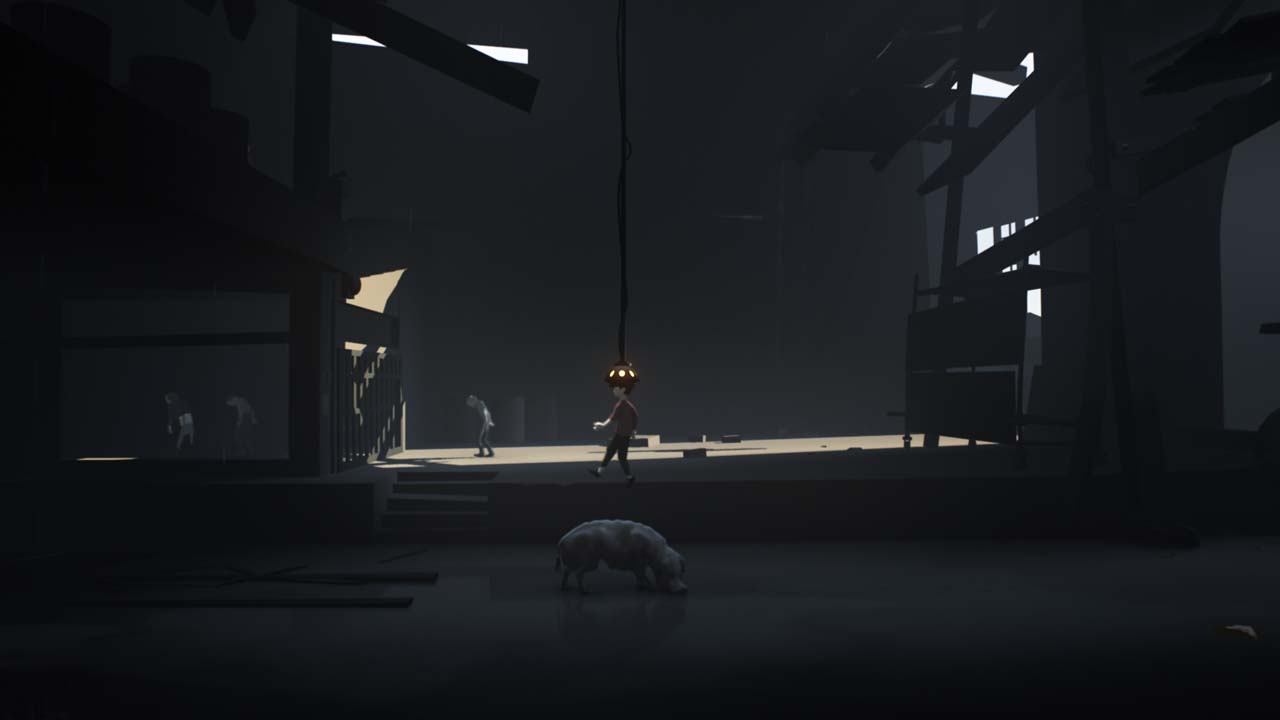
The pig will still be waiting for you when you go in. Keep jumping it, but lead it to the right where it will run into a wall. Once it's dazed, press B and pull the worm out of its backside. This will get it to stop charging. Drag the docile pig to the hanging wire. Jump on the pig to reach it. Jumping to this object allows you to control the creepy human husks in the background. There are four of them. Get them all to the ground level and lead them to the gate separating them. Bring two of them to the gate and press B to attach them to it. Then lead the two from the other side to the same gate. Press up while holding B to open it. Once they're all together, lead them to the right. Pull the structure to the far right to drop a ramp for your character. Disconnect from the contraption by pressing the down direction and A. Walk forward to find a door. Press B and up to open it.
Next up, we have a wagon attached to a gear system that controls the length of a chain. Push the wagon all the way to the right to drop the chain low enough to grab. Climb up the chain. Once you're at the top, swing to the right and jump off. Open the window with B and up.
Pass some more chicks that will fly away when you get to close. Keep running right until you find a ladder. Climb it and jump off before you get to the top. You'll see a hanging plank that you can turn to the left or right. Swing it to the the right and press the lever to the left of the plank. Raise the plank to the top. Now climb to the top of the ladder, jump onto the plank you just moved and jump to the ledge above the lever. Head left to the safe attached to a rickety plank. If you think that plank can hold the safe, think again. It will break and kill you if you're standing on it after you push it off. Push the safe and then run right to avoid falling to your death. Head back down to find the hole in the ground made by the falling safe.
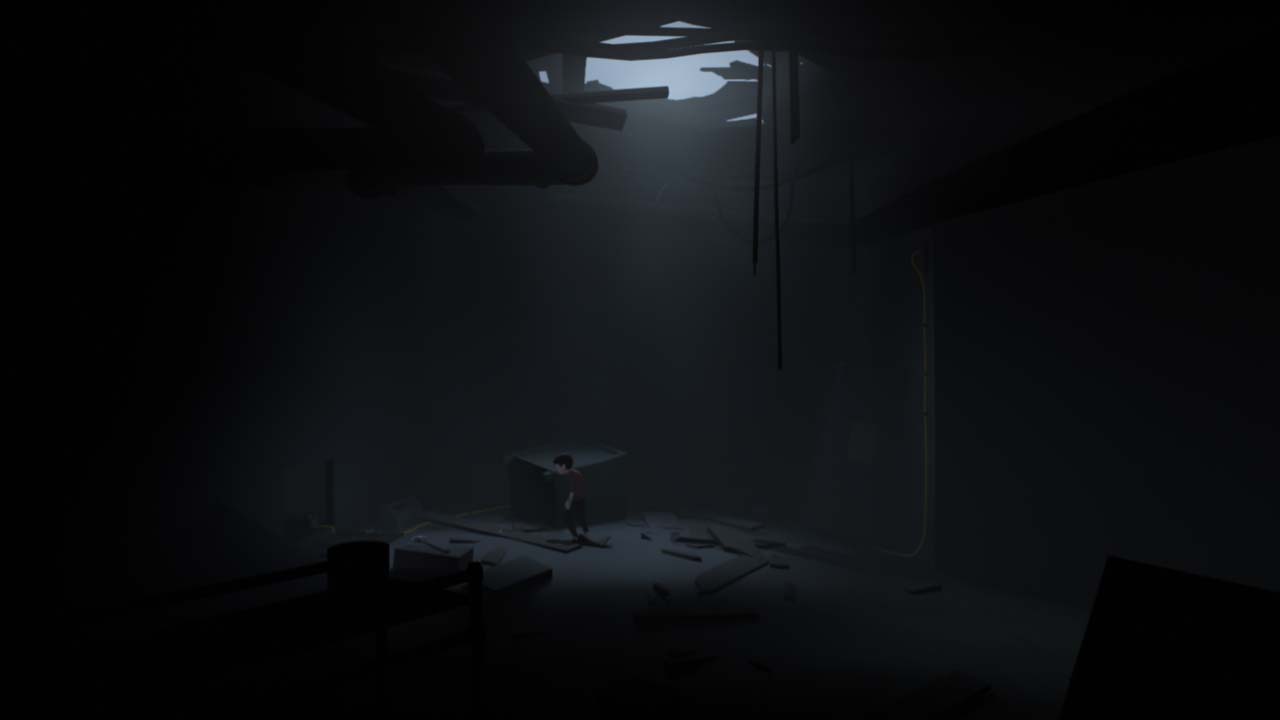

Drop down into the hole. To the left, you'll see a metal grate. Pull it open to reveal another strange power generator. Destroy it with B. Head back out and to the right. You'll find a lever and another mind control device. Jump into it from the ledge to the right. The object is to get the two human husks in the background so they're standing on the two platforms at the same time. Use the lever that controls the door to sync them up. It's easy to overthink this part. Get both husks on the right side of the door. Put them on opposite ends of the room with the door closed and walk them into the two platforms. This opens the door to the next area.
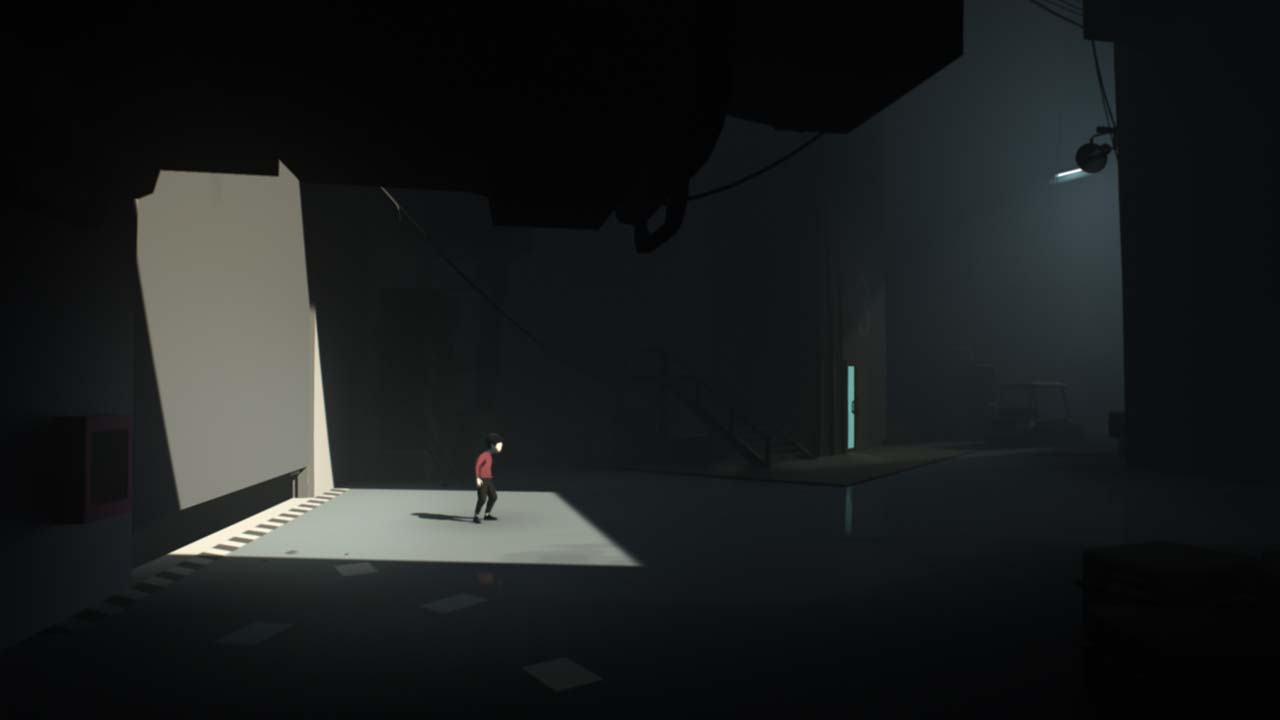
The City
If you played Limbo, you'll remember sequences like the next one. Slide down the slanted roof and jump off before you reach the bottom to grab a pipe on the opposite side of the gap. Don't climb to the top of the pipe just yet. Jump down and to the left and descend a ladder to find another strange power generator. Destroy it and climb back up and jump to the pipe.

Cross the wooden plank, which will break and drop you down into the next room. Jump the gap to the right and climb down the pipe on the right side of the building. Press B and hold back to remove the wood from the doorway. Slide down the hill to find a ladder that doesn't quite lead to anywhere. You can't jump to the right at the top to get where you need to go. At the bottom, tilt the ladder to the right. Now you can climb to the ledge to move forward.
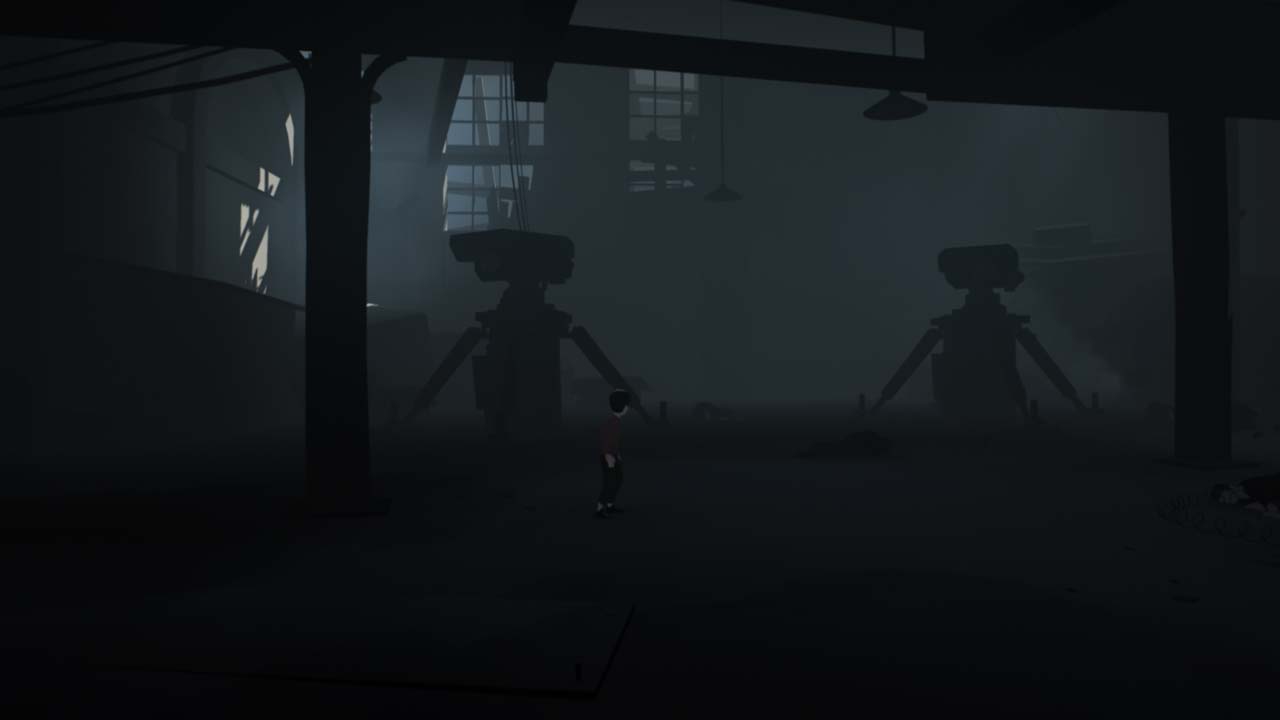
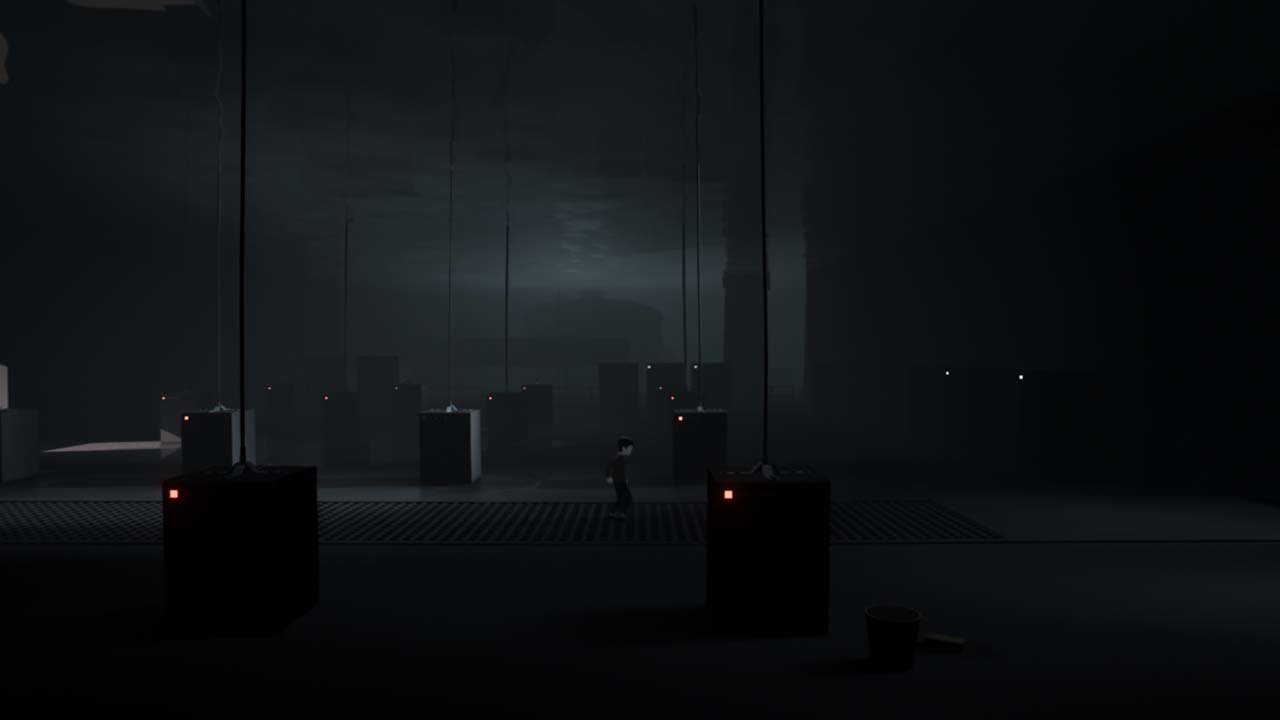
Next up we have a room with two robot-type devices in the background, an elevator to the right and a lever to the left. Run to the right to open the elevator before hitting the lever. With the elevator open, pull the lever that activates the robot spotlights. You want to reach the elevator without being seen. Stay out of the spotlights by hiding behind the pillars at the right moment. Reach the elevator on the right and press B to activate it.
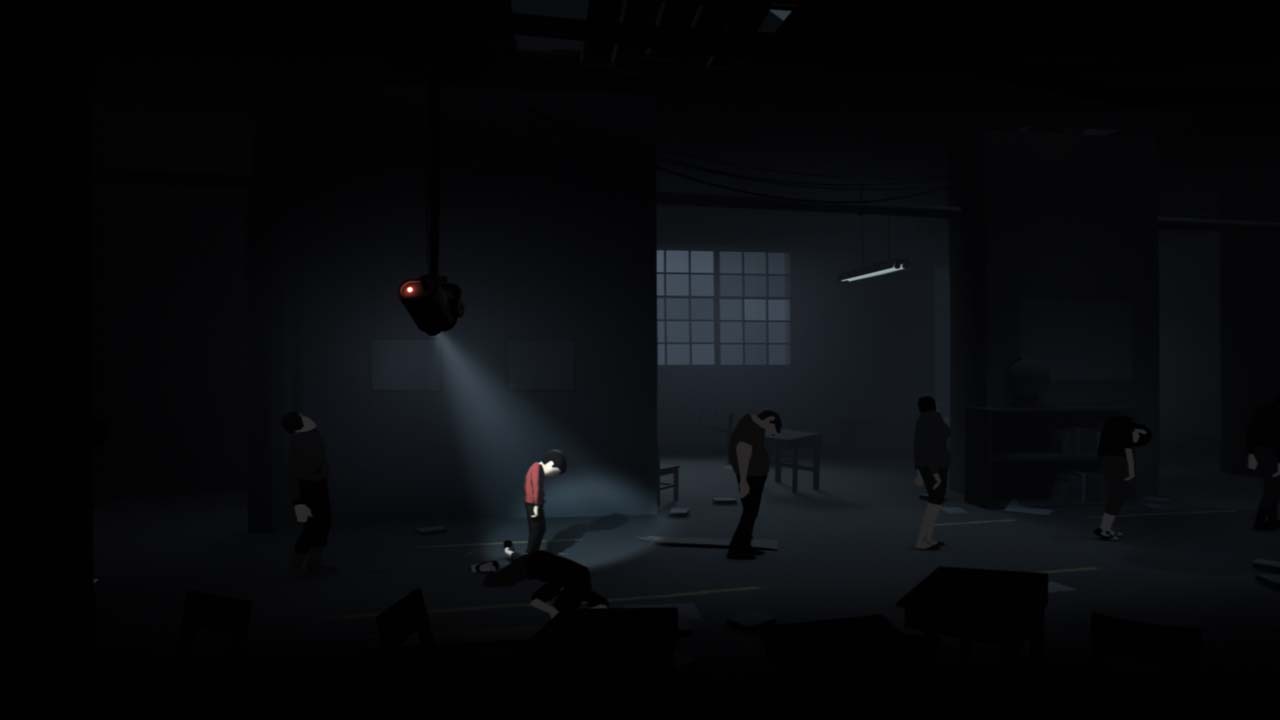
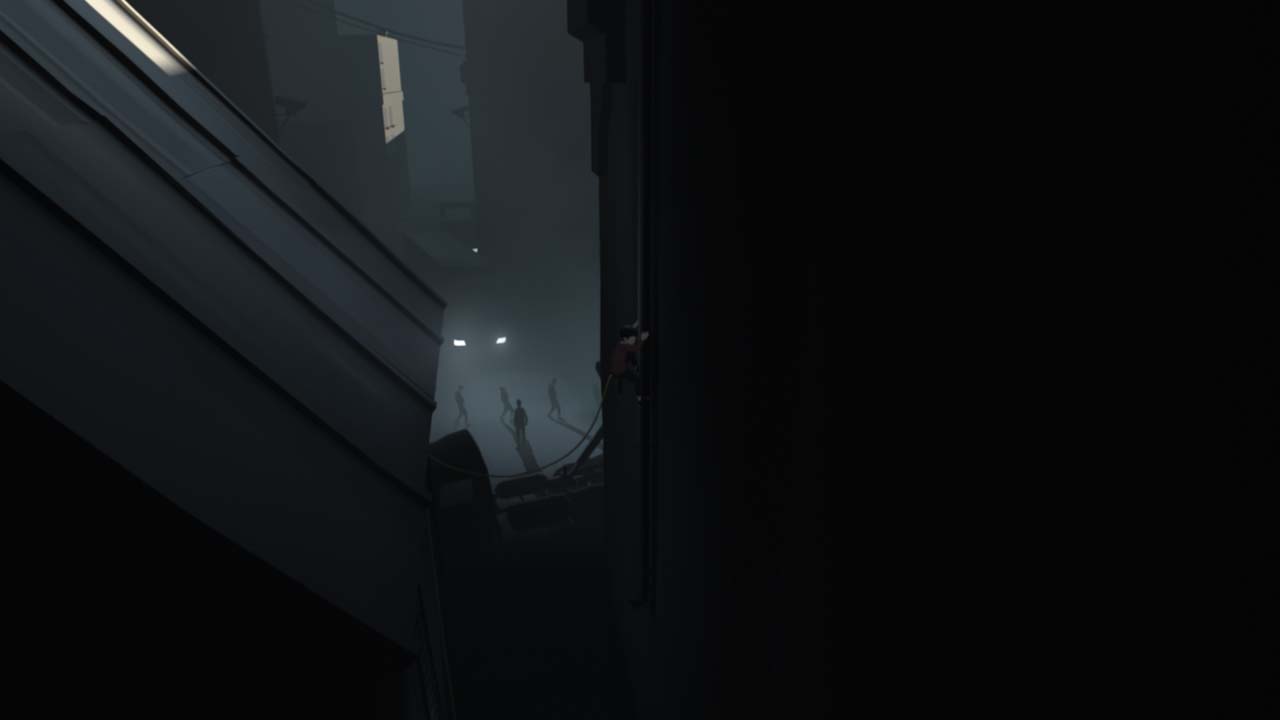
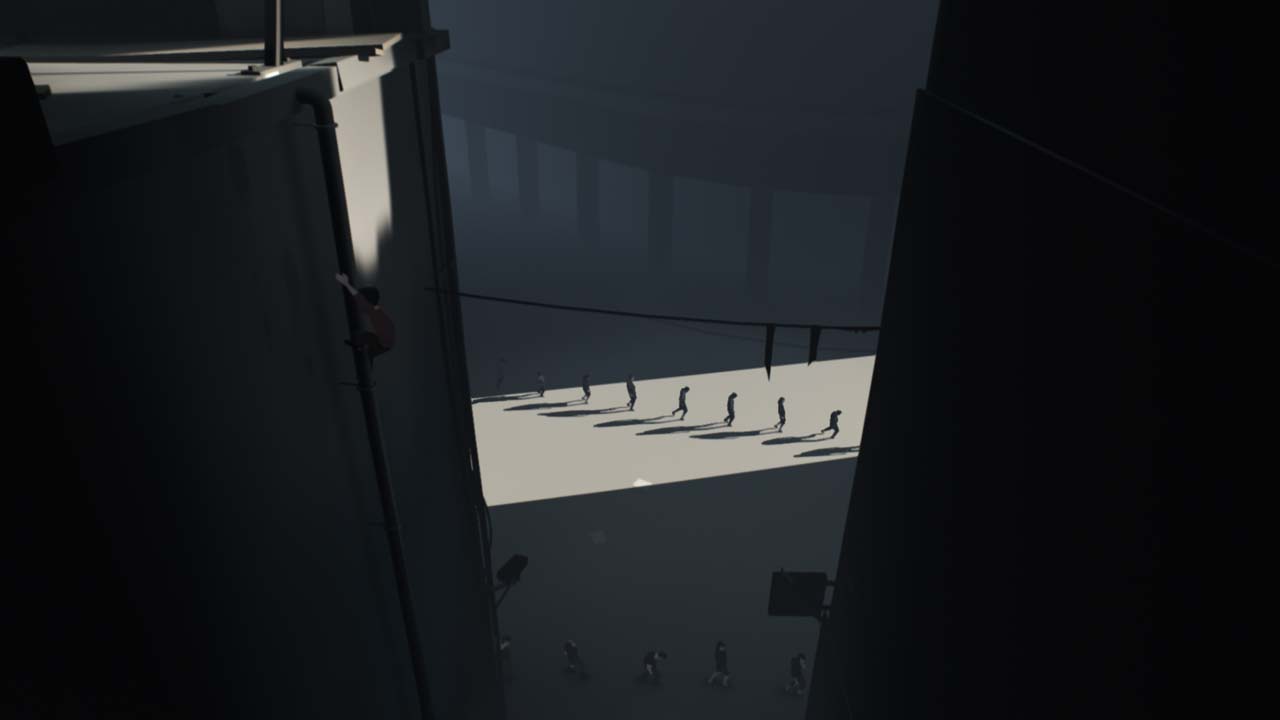
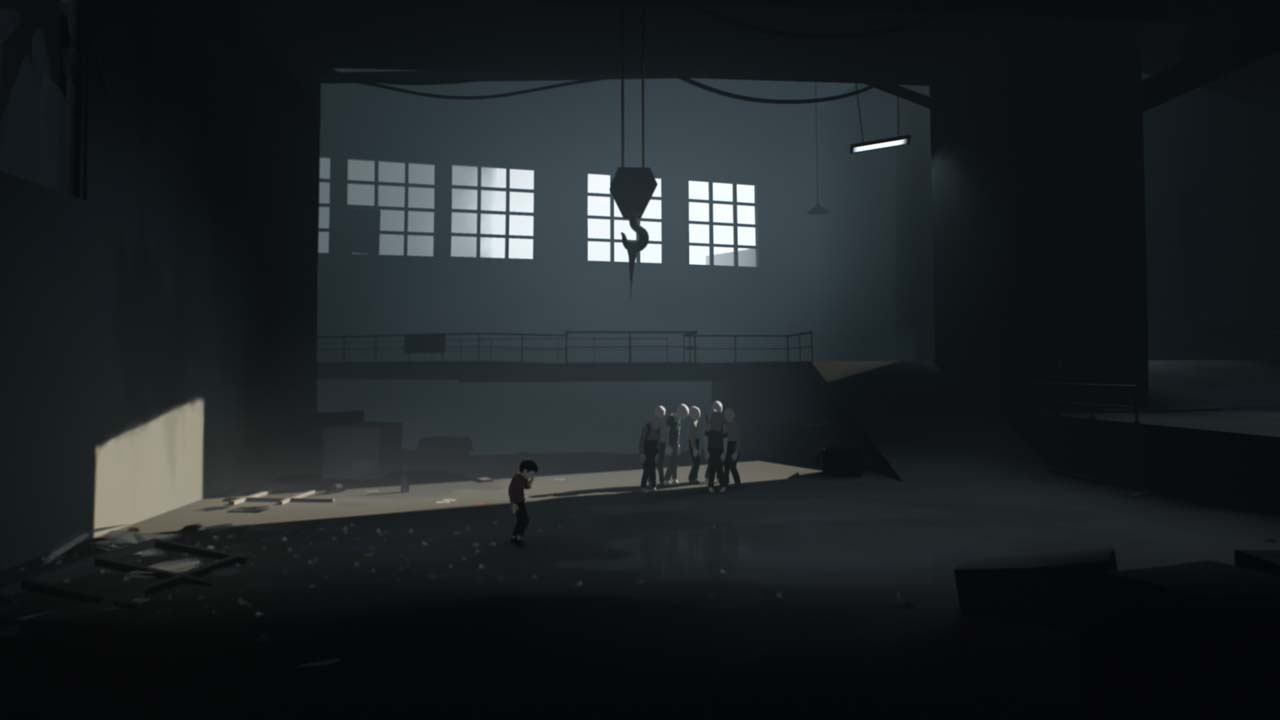
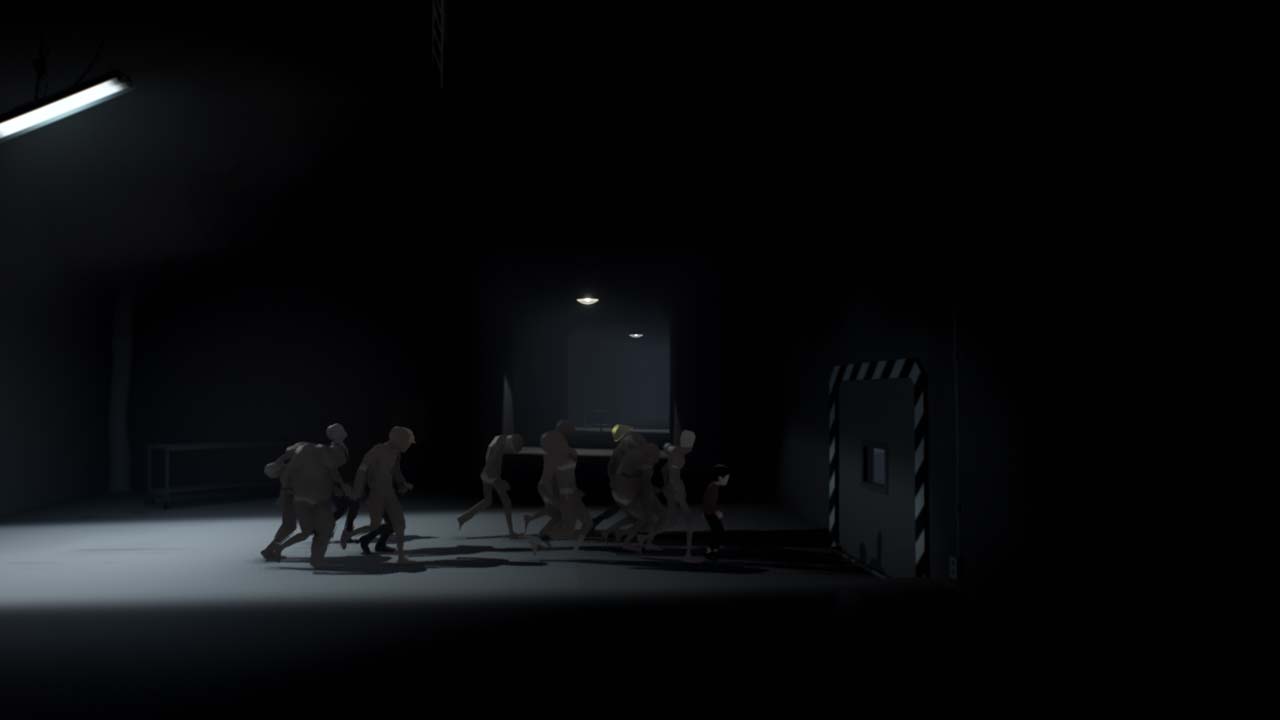
Once you reach the top, head right and cross the plank with the pigeon on it. It may look like it's going to break, but it won't. Walk into the window to enter what looks to be an attic. The floor below you will break, and you'll fall into a line of husks. You have to act like one of them. Continue to move in line. Walk when they walk and stop when they stop. You'll reach two rectangles. You'll have to jump in unison with the other husks when inside the first rectangle. In the second, you'll have to turn to the left, and then turn to the right. This doesn't have to be performed in perfect unison. Do this successfully to enter the next room. Eventually you'll come across a guard with a dog. The dog knows you aren't like the other husks. Once the guard shines the light on you, run to the right and jump off the platform through the glass window.

That dog will still be on your case in the next room. Before jumping up to the platform on the right, wait until the dog chases you to the lower level. Once it heads to the lower level from the background, jump to the platform. The dog can't climb the ledge. Jump onto the mind control device and have the husk above you push you to the right. Drop down on the box below. You're going to have to get the box to the switch that allows the husk above to proceed to the right, but you also have to be able to reach the mind control device. Here's the key: Drop down to the higher platform on the left rather than dropping down on the box. Push the box on the switch, then head back to the mind control device.
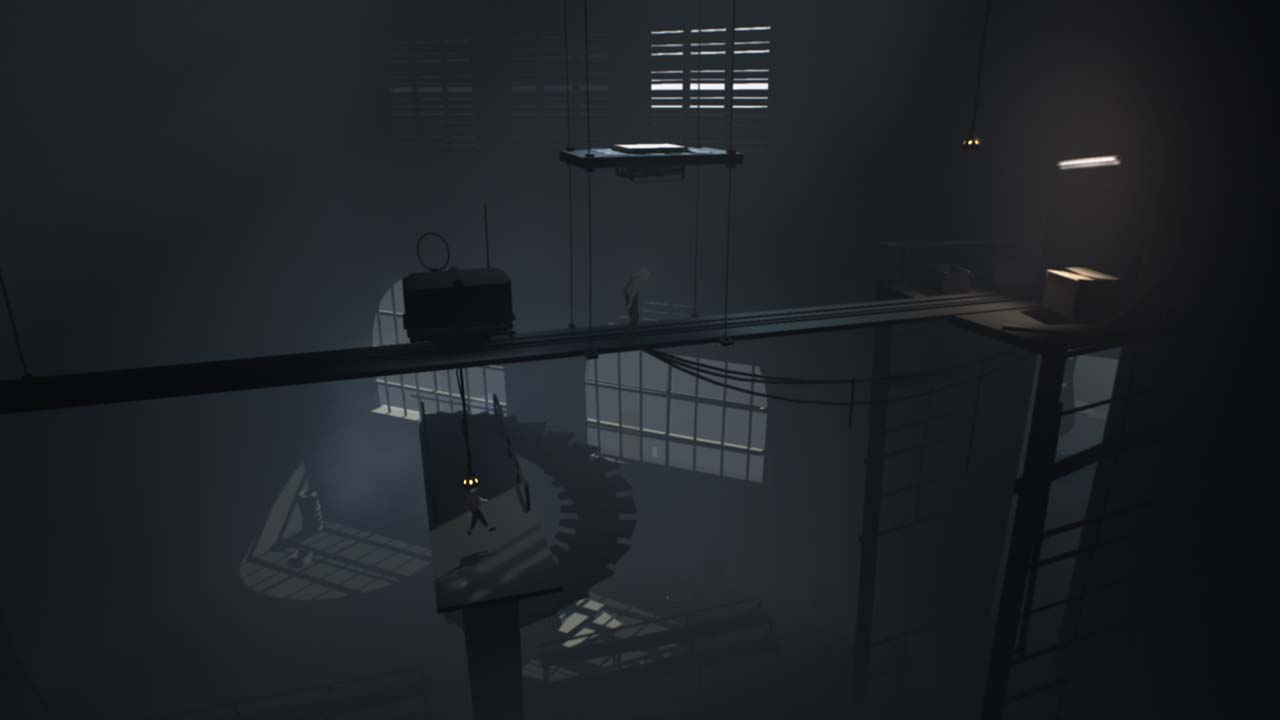
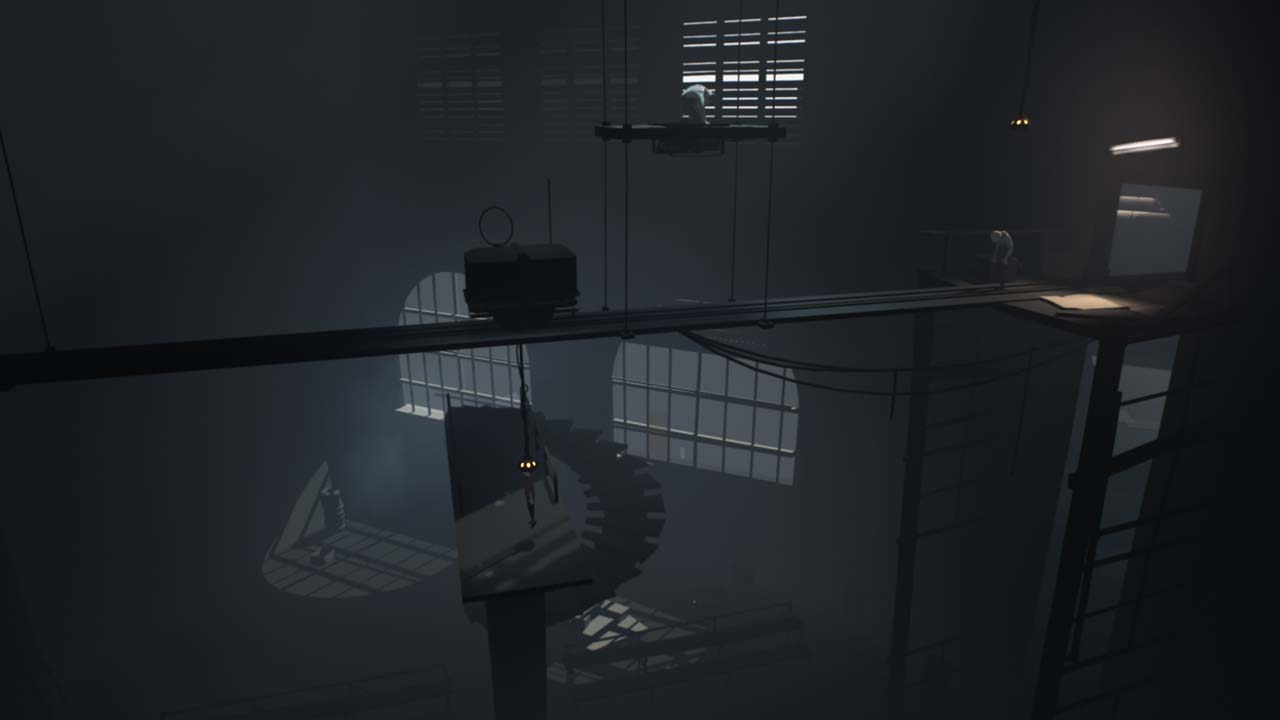
In the next room, you have a large bridge and the husk above you. There's another platform switch that opens a door on the right. Have the husk push all the way to the right. Then make the husk jump on the box that controls your movement and up to another mind control device. Now you're controlling a husk that is controlling another husk. It's huskception! While the husk is in the mind control device, have the second husk push you back to where it's safe to fall out of the mind control device. Before you disconnect, have the husk jump to the platform switch above. Then disconnect and reconnect. The second husk will stay on the switch and the first husk will be disconnected and will be able to march you forward.
In the final husk room, there's a square floor below you and a lever at the husk's level. Have the husk move you to the left side of the square floor. Then have the husk pull the lever that opens the floor. When the floor is completely opened, disconnect and fall into the floor. There's water below it, so you won't die.
Now that you're in the water, you'll need a platform to jump off of to scale the wall on the right. Find the wooden pallet beneath the water and pull it to the top. Pull it all the way to the right to get to the next area.
The next series of rooms has two buttons: one makes the water level rise, another makes the water level fall. Drain the water to open the door to the next room. Then, hit the second button to raise the water. With the water fully raised, swim down to the button and press it to start the draining process. As the water is draining, swim quickly up and to the right to reach the high platform. Run into the next room and pull out the wooden pallet. Put it just to the left of the door to the room you're in so you'll be able to jump to up to the chain when the water is raised again. Raise the water and do just that.
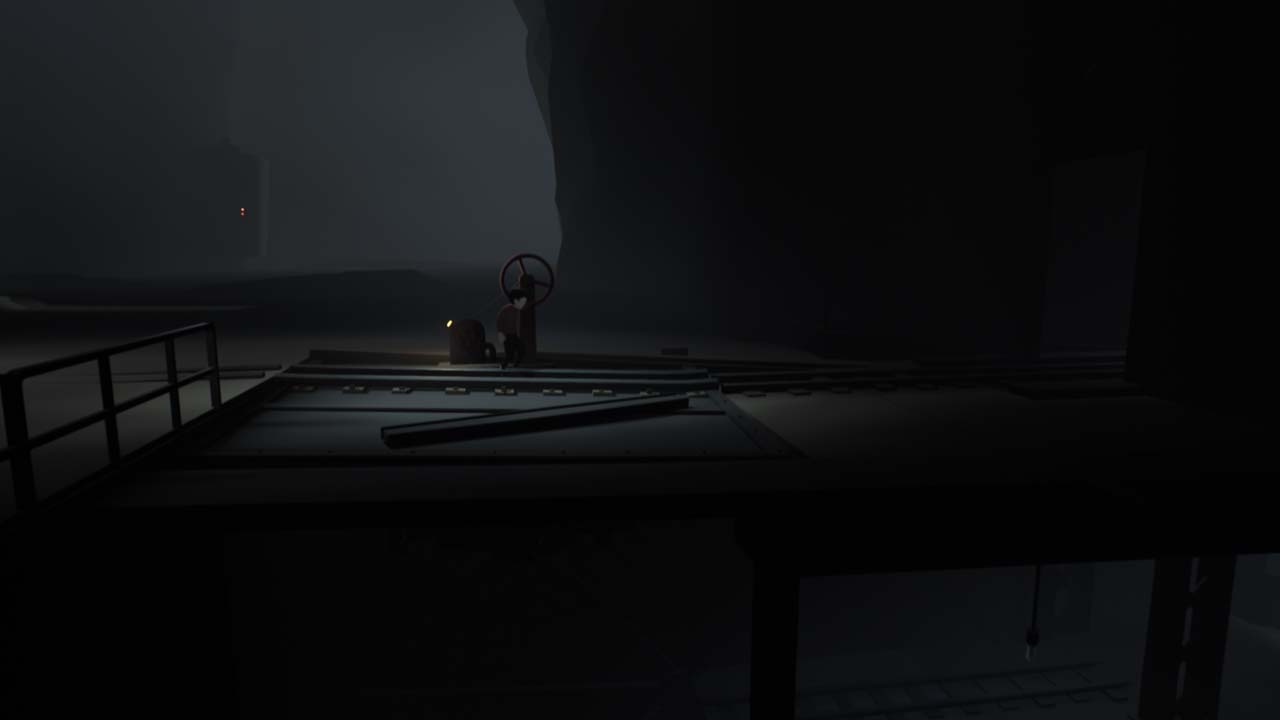
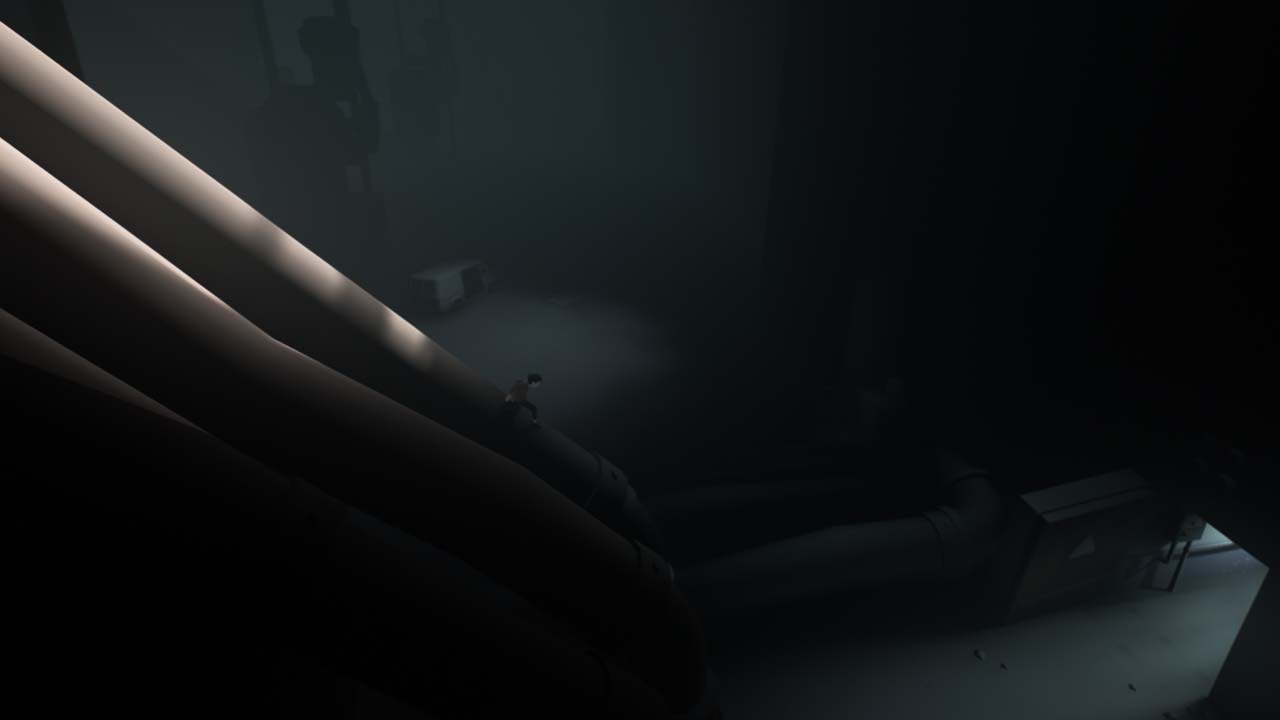
Slide down the slanted roof, but beware of the spotlight. Getting caught is instant death. Hide under the shadow of the pipe to stay out of sight. You have to turn the crank on the right to lower the cage, but the spotlight will keep moving back and forth. Run from under the pipe to the crank, give it a few clockwise turns and then head back to safety under the pipe when the spotlight gets close. Don't rush this section. It's easy to try to get one extra turn, or try to jump the cage before it's fully lowered. Just wait until it's fully lowered before going for it.
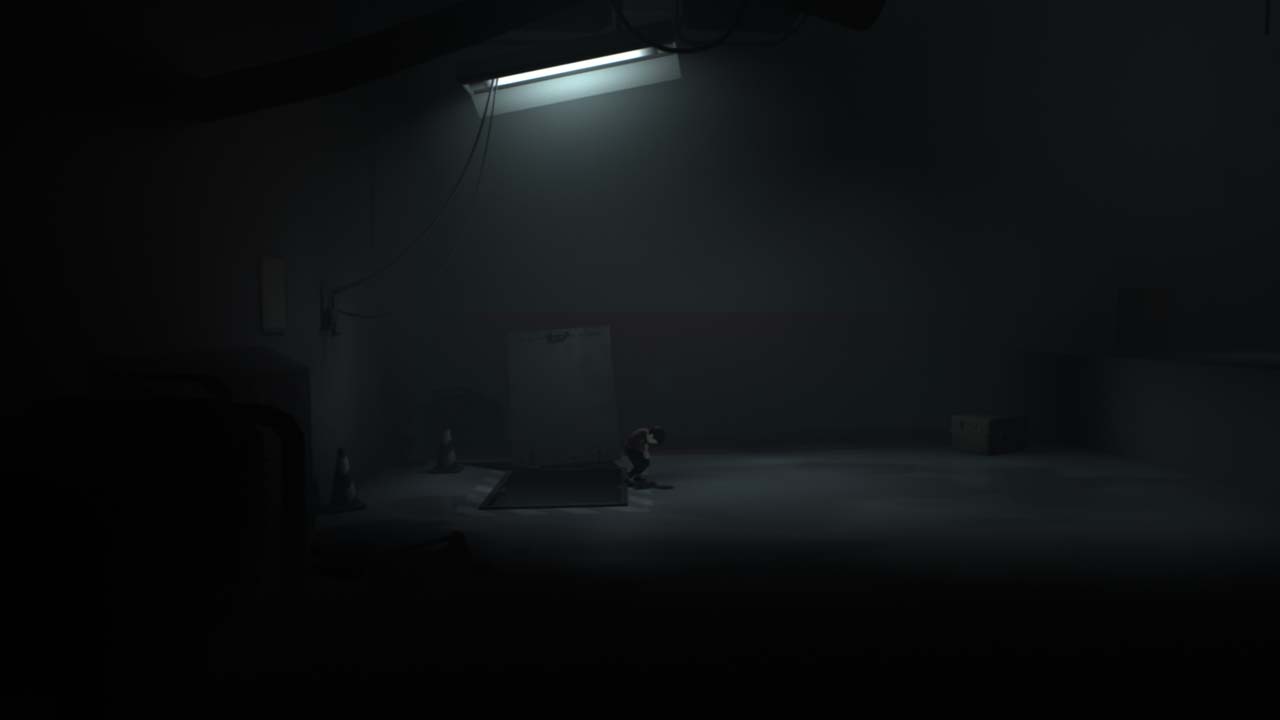
Jump to the cage and onto the next building to find yet another spotlight of death. Again, stay out of sight. Once you're between spotlights, head right and pull open the hatch on the ground to drop inside the building and away from the spotlights.
Underground
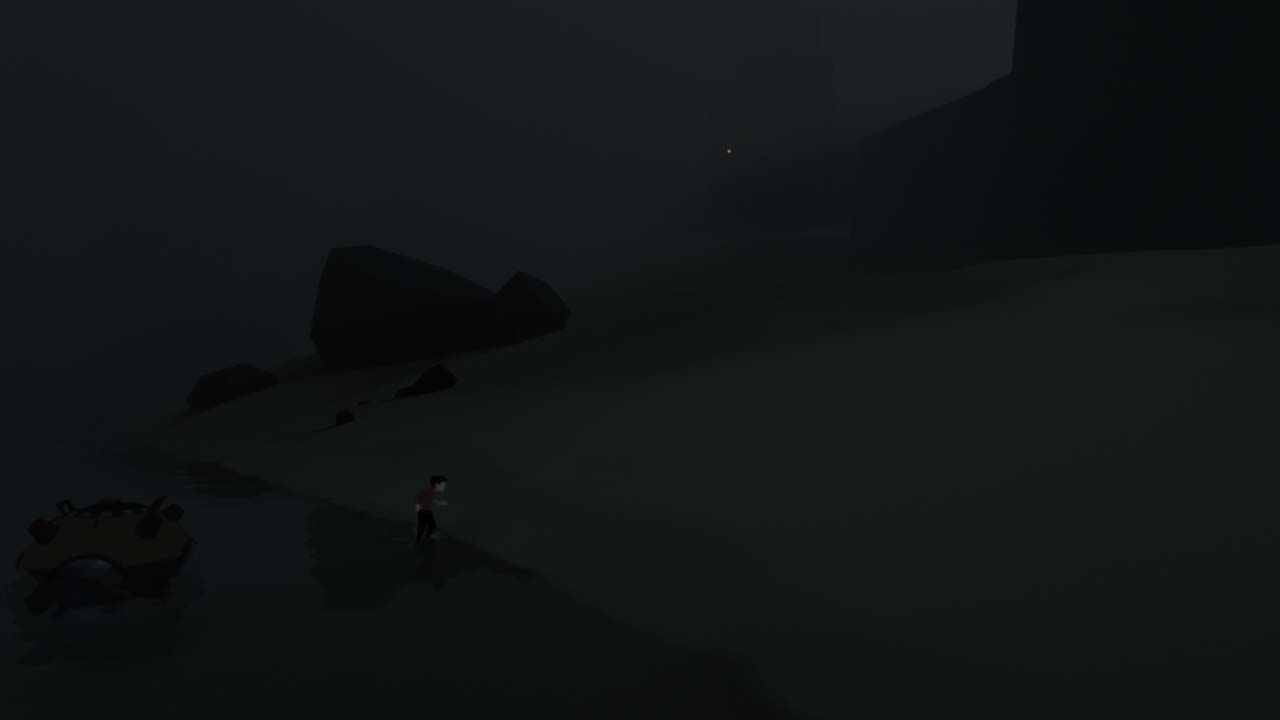
Now that you're underground you'll hear and see a bunch of barking hounds in the background. Yes, they'll be coming for you eventually. Jump into the water and come out to the right. The dog will start charging you from the background. Jump back into the water and the dog will jump in after you. You can swim faster than the dogs. Lead the dog to the left then swim under it and back out to the right. Book it to the right until you're able to slide down the next hill.
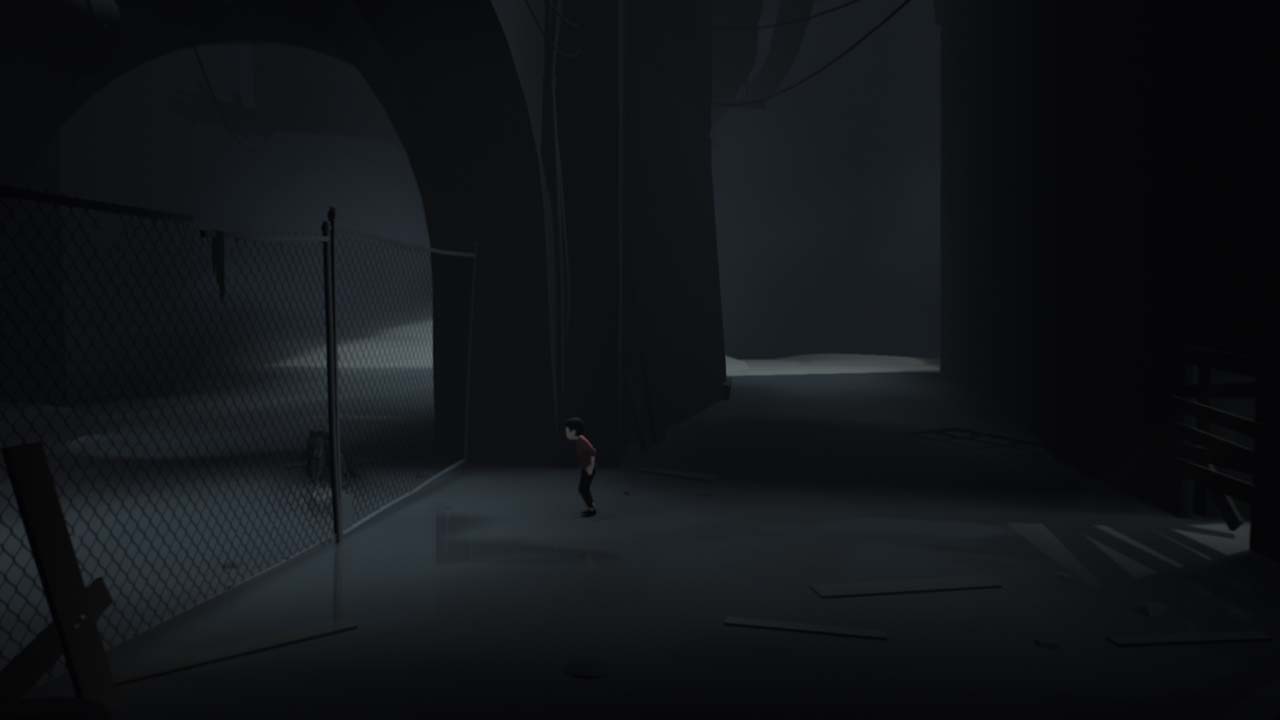
There are even more dogs waiting for you in the next area. Climb the fence to get away from them. They'll come running around to try to get you on that side, too. You need to pull the wood from the doorway before they get you. Keep climbing and jumping over the fence to the opposite side to keep the dogs away from you. You have enough time to pull off one piece of wood before the dogs get you. Don't try to pull more than that. Once the door is clear, run through. You will automatically block the doorway to keep the dogs from getting you.
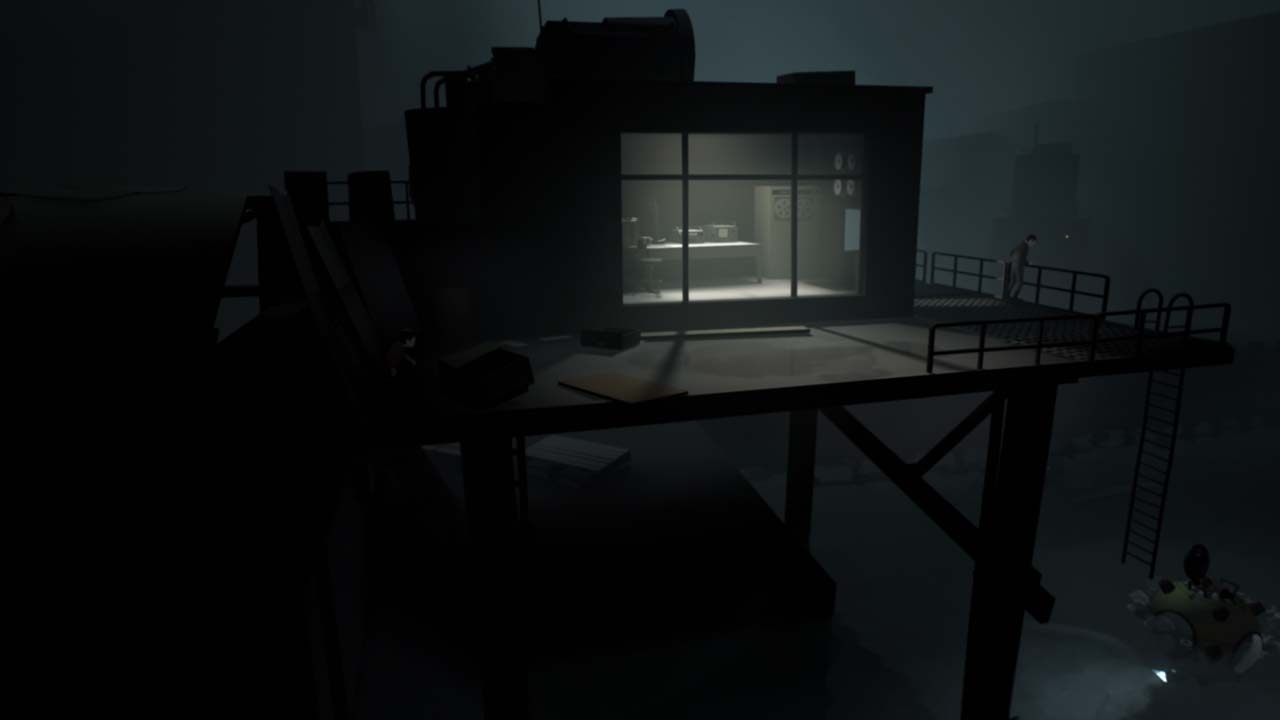
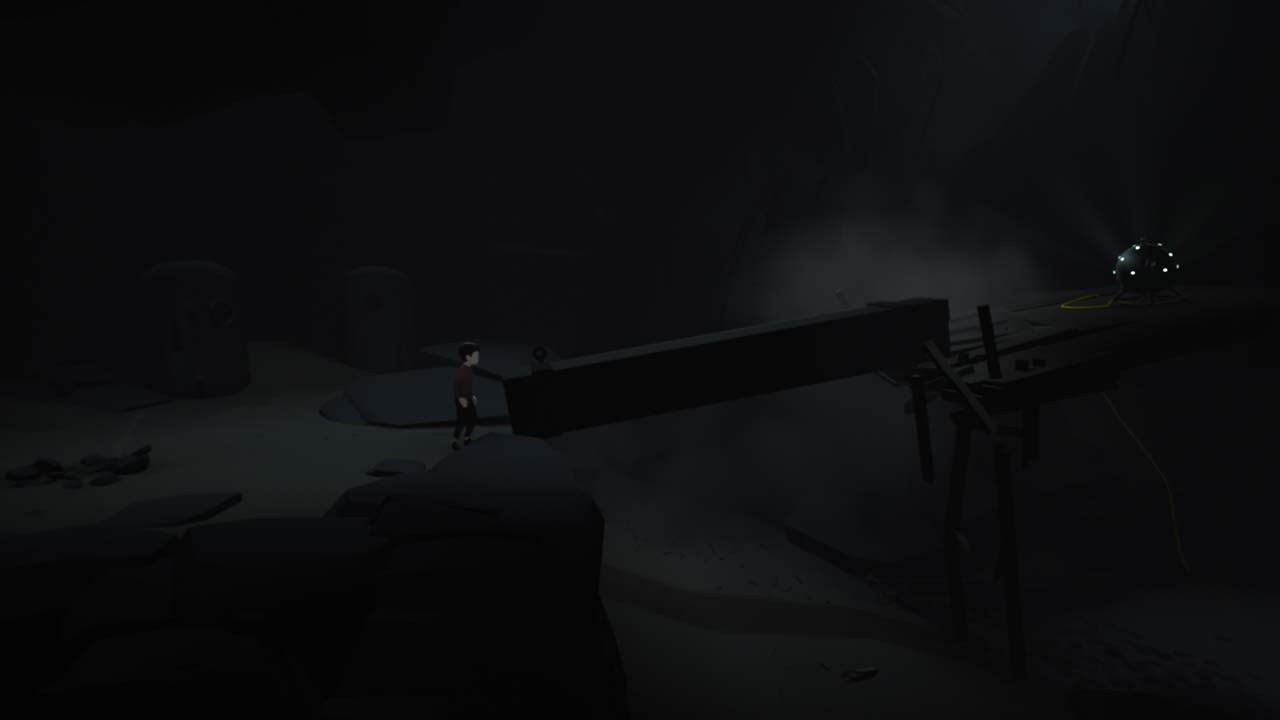
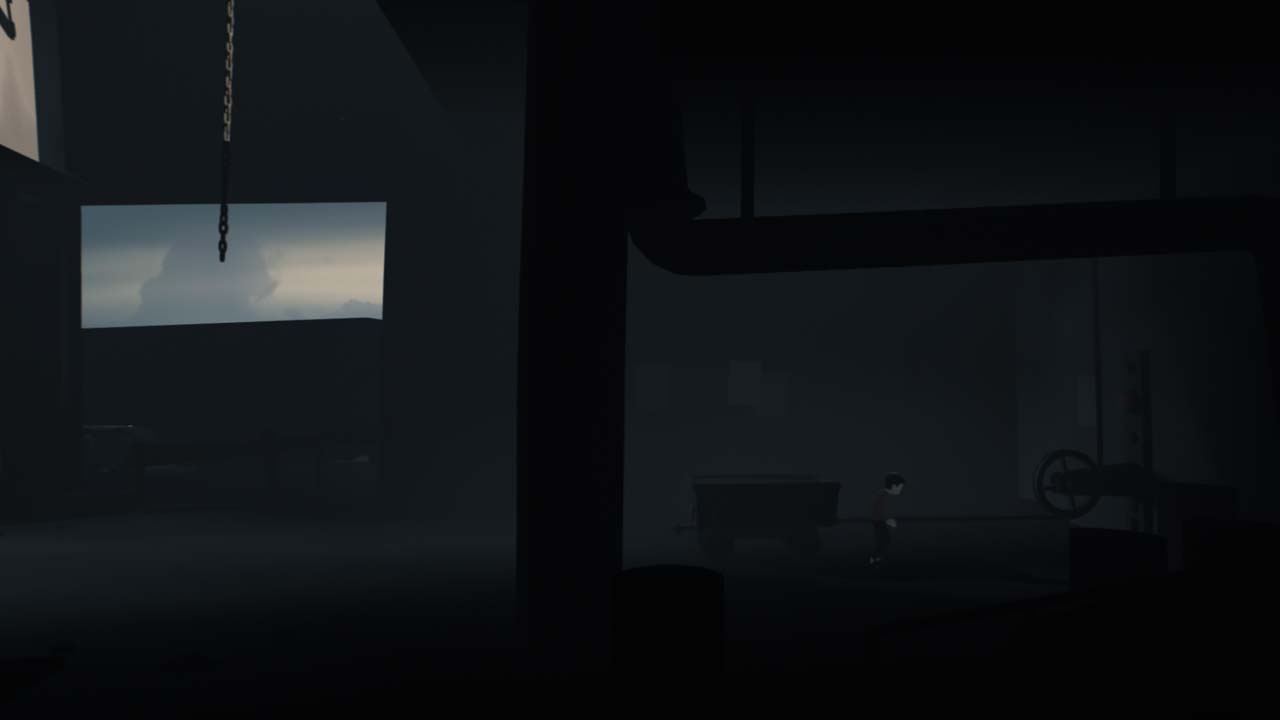
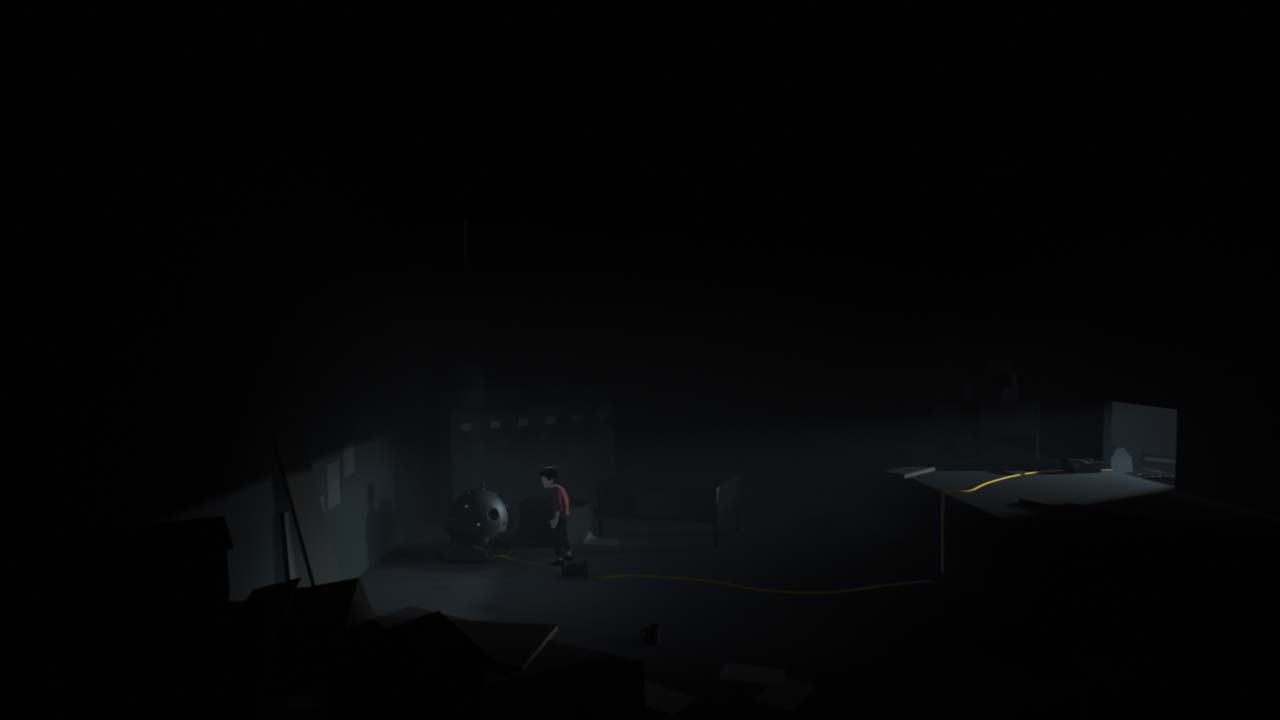
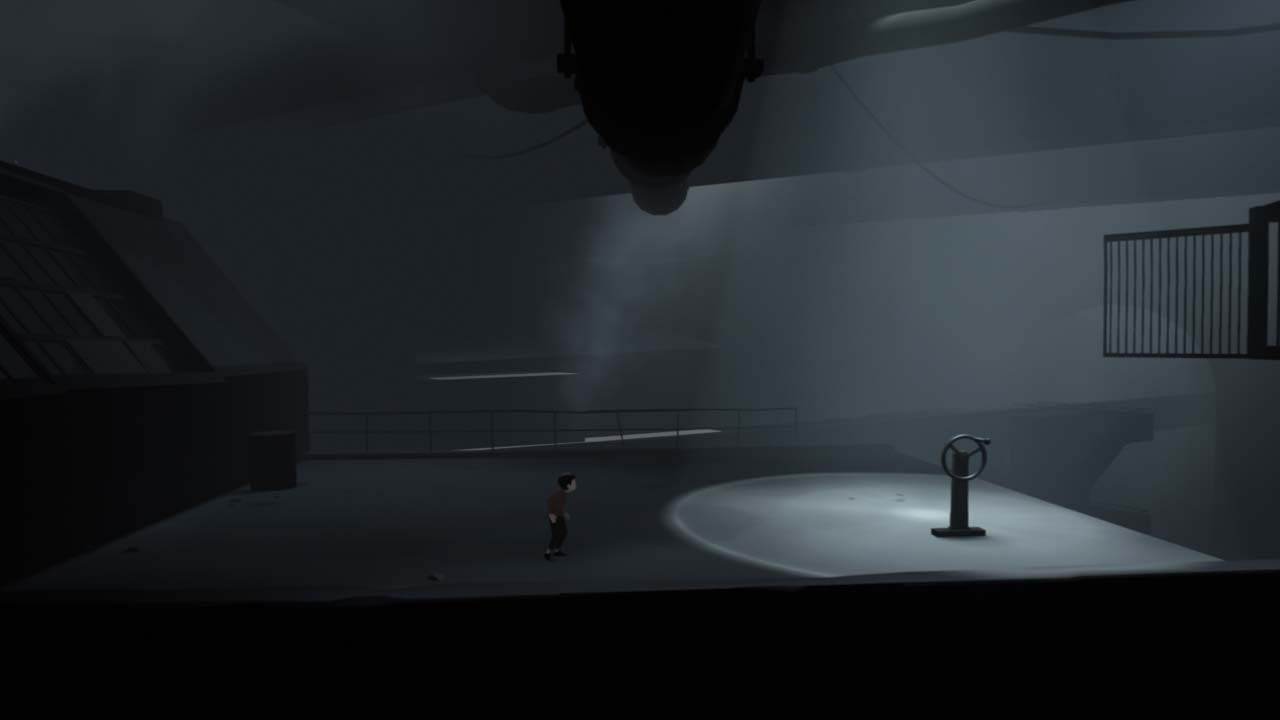
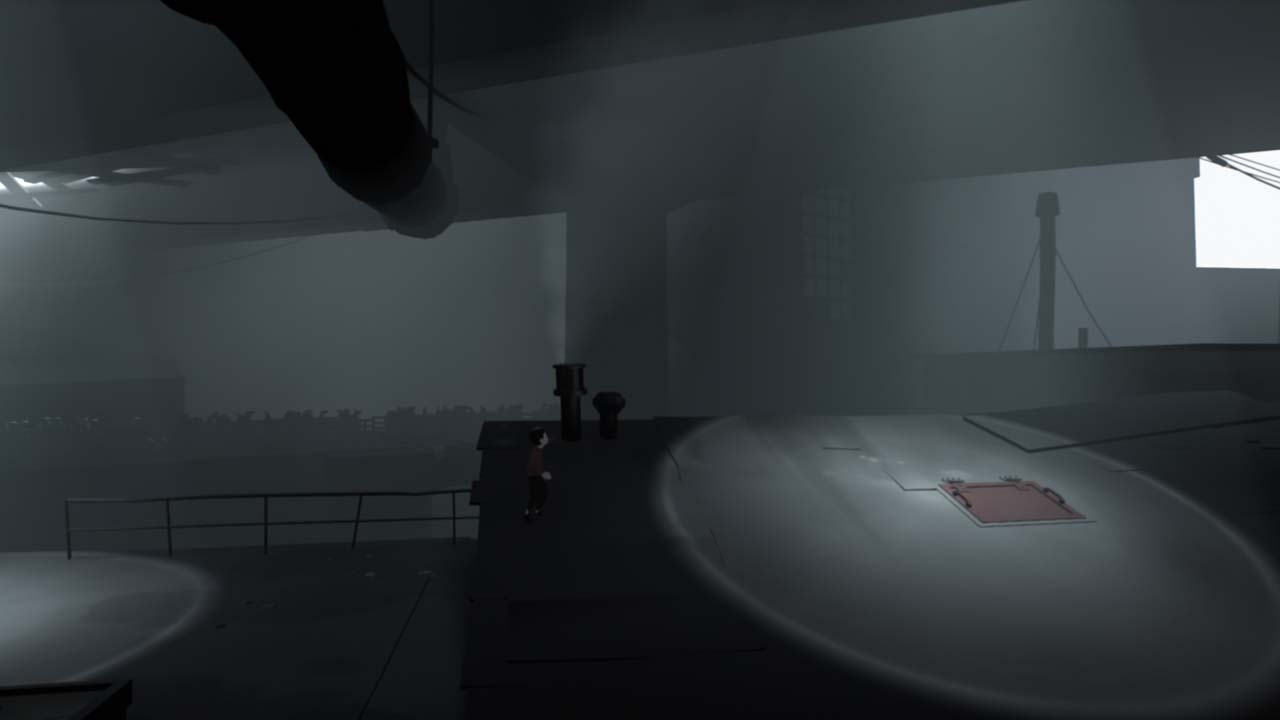
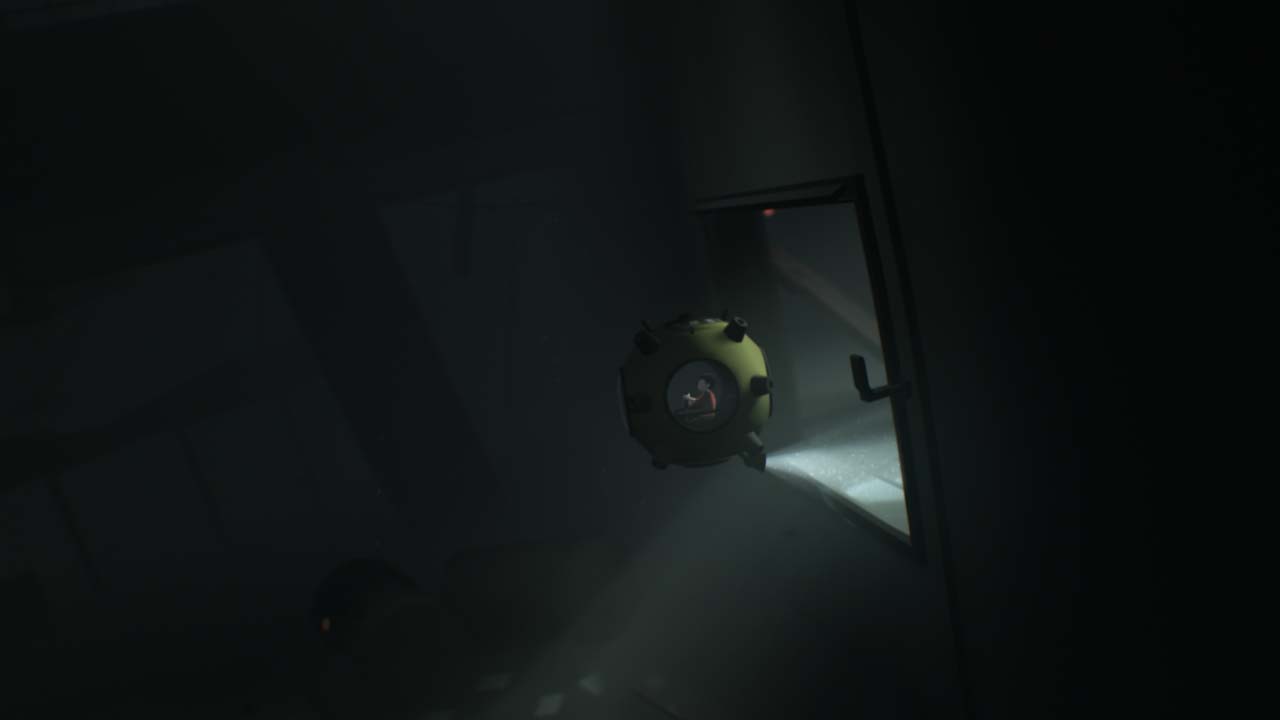
Head forward to find a lit room above a body of water. There's a guard just outside the room and a guard leaving a submarine in the water. Hide in the dark until they go inside the room, then take the submarine. Head all the way down. Hold A to do a charge maneuver to open the door at the bottom. Repeat the same move to break through the wood in the next room.
Underwater

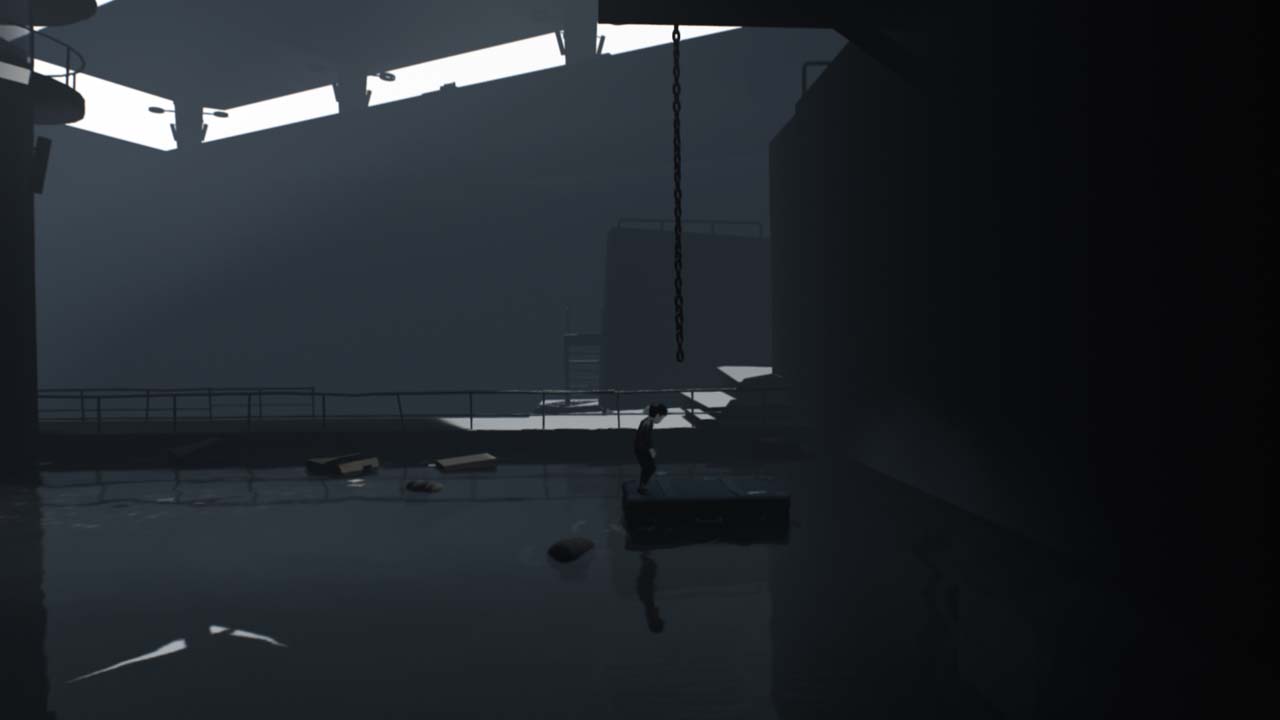
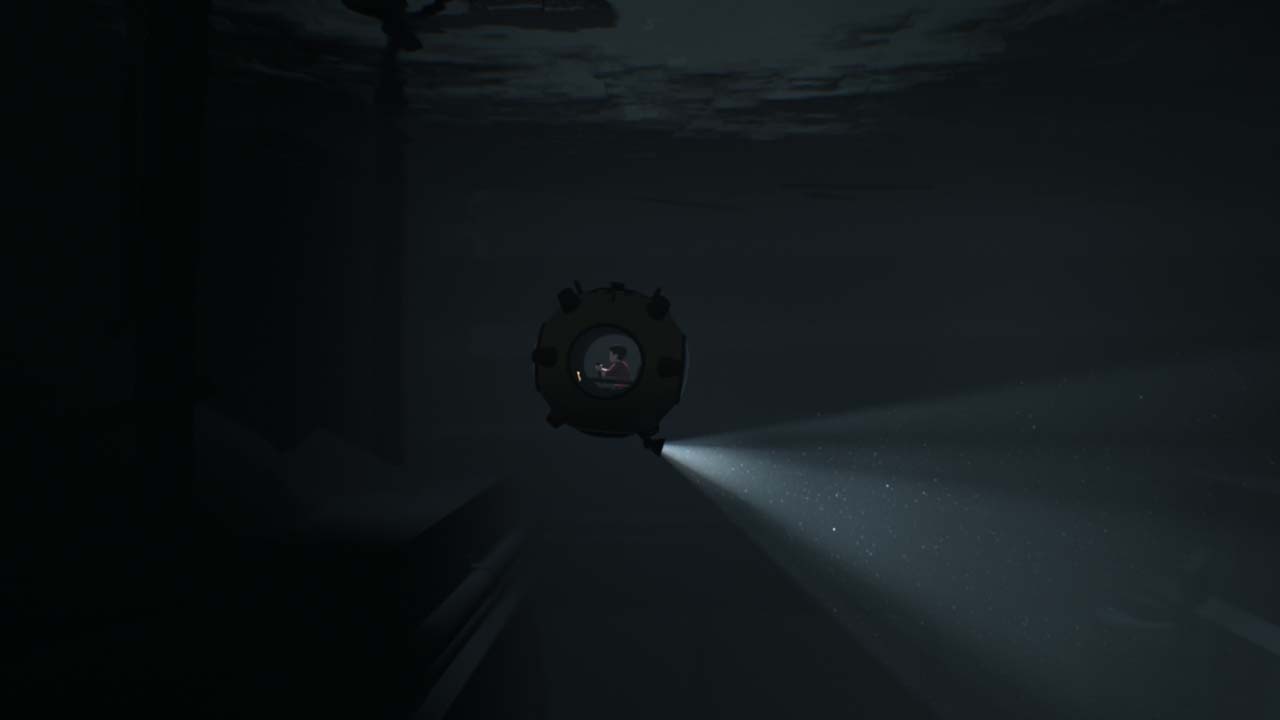
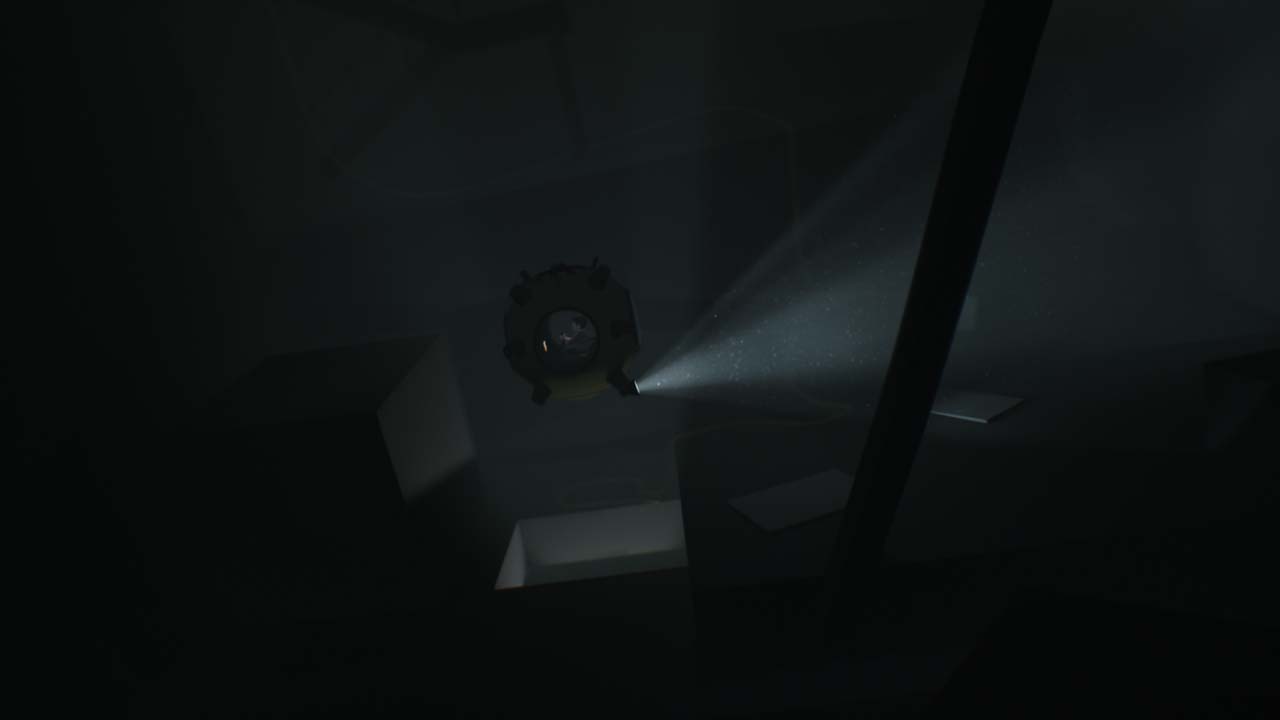
Now you're in an enormous underwater room. Find a weak wall with light coming from it in the lower right part of the room. Break through and follow the path on the other side. Once you reach another weak wall, smash it up with the sub. Head to the top just above the now smashed wall and exit the submarine. You can swim through the smashed wall, but the sub won't fit. Swim to the other side and climb the rope out of the water on the right.
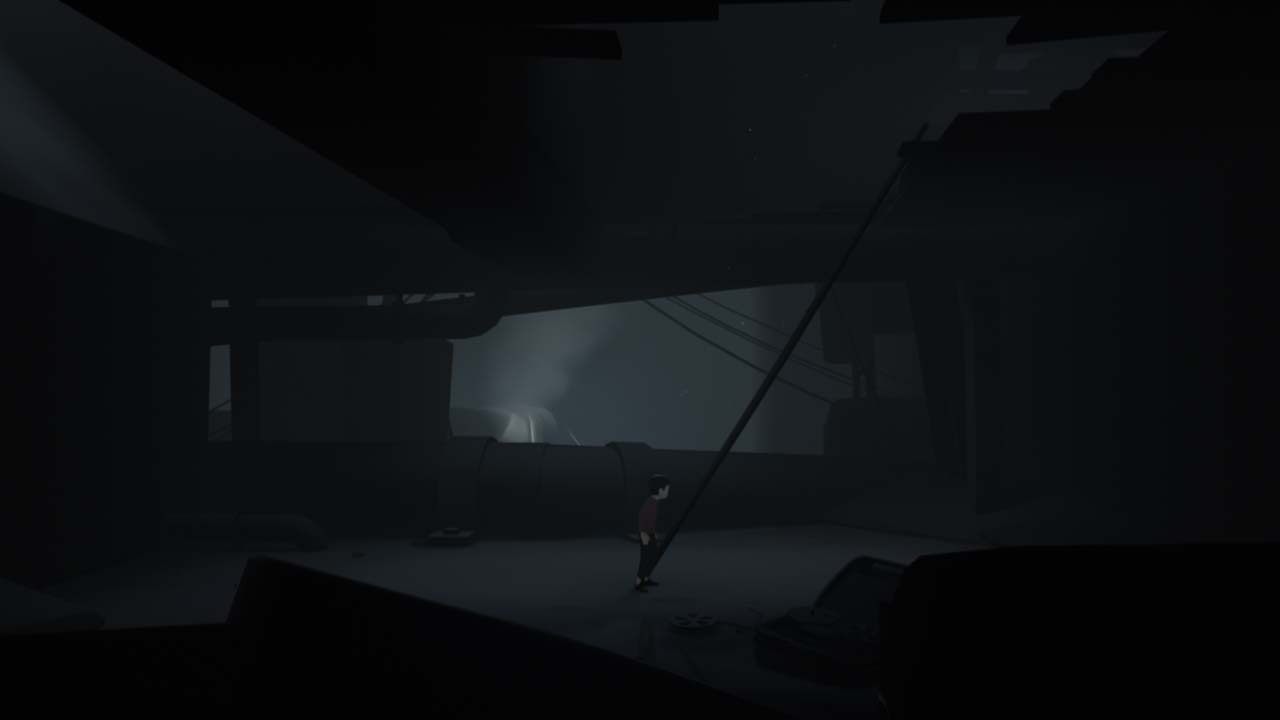
At the top of the rope, press the button to open a door. Three huge cylinders will roll toward you. Run away to the left and jump off the platform into the water to safety. Climb back up to the door that is now open.
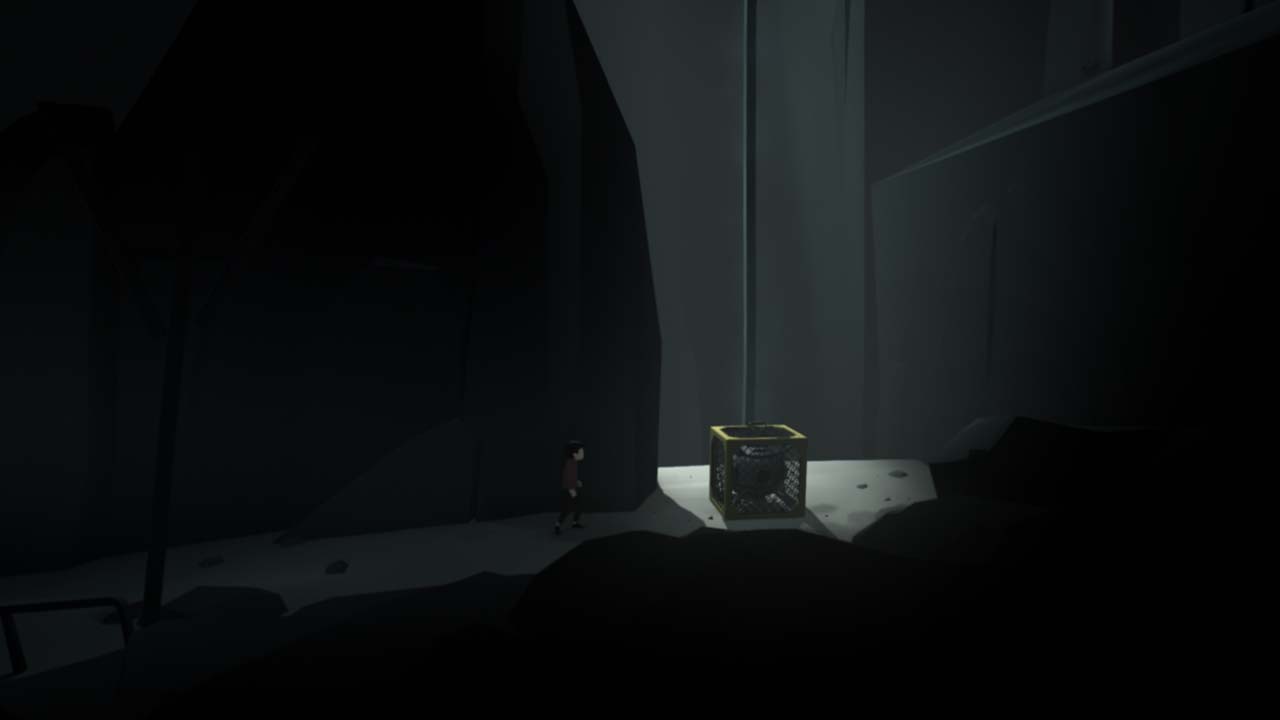
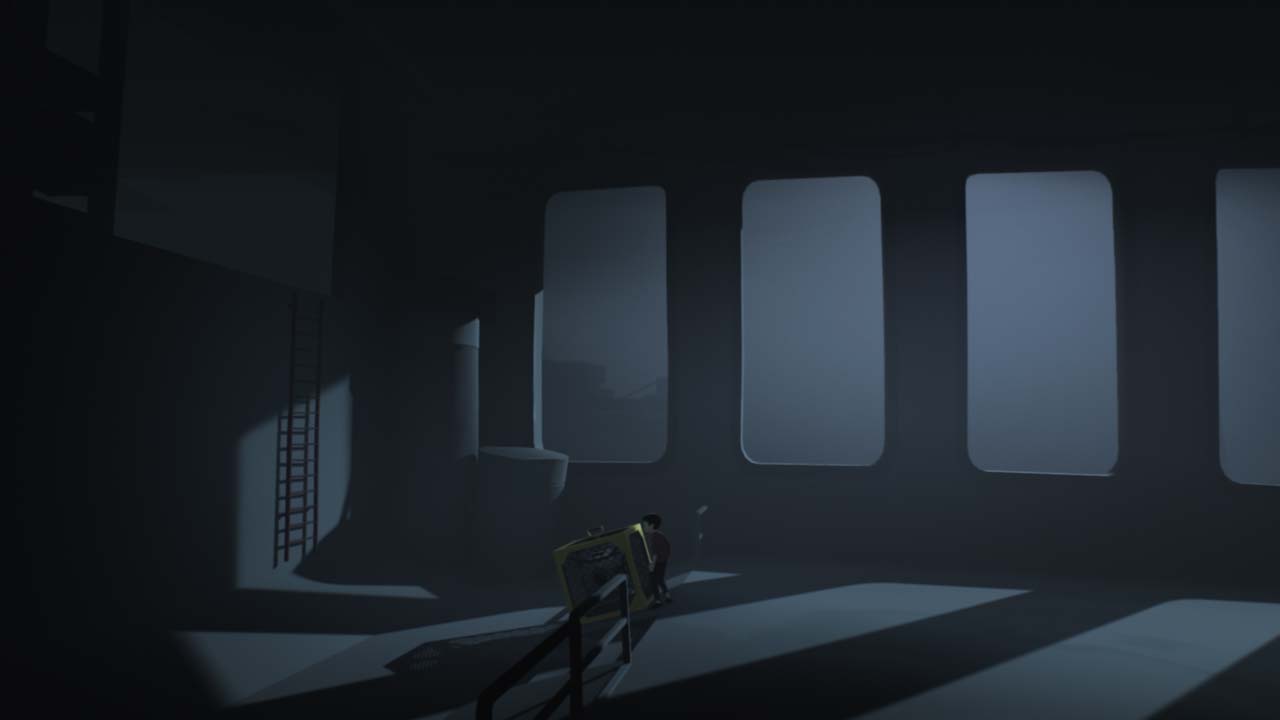
You're now outside in some green landscape. Find the yellow box that looks like it's attached to a pole. Jump on the box and press B. It will cause the box to jump. Ride the jumping box and jump off to the left. Run to the left, swing on the rope and into the window and press the button in that room. That will open the door that allows the submarine to proceed.
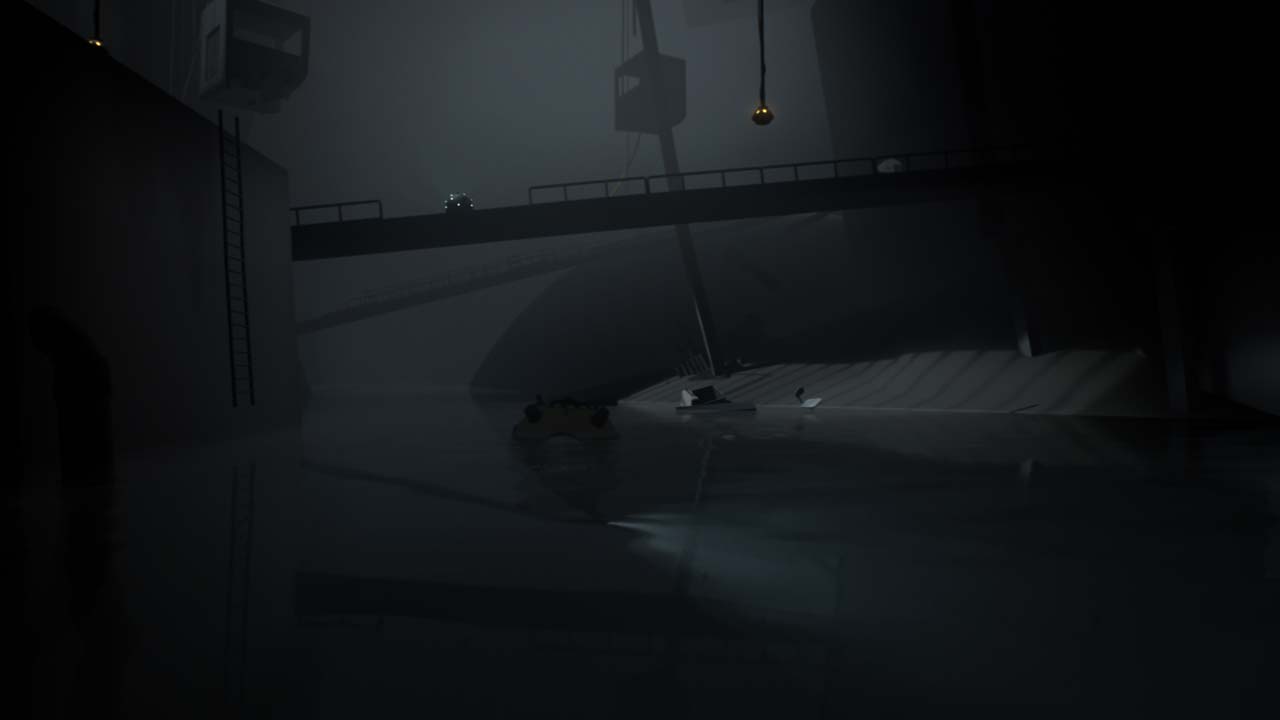
The water isn't high enough to let the submarine pass through. Use the charge ability, and it will leap out of the water and through the doorway. Explore the new water area and find a door with a wooden plank on it on the right. Burst through it.
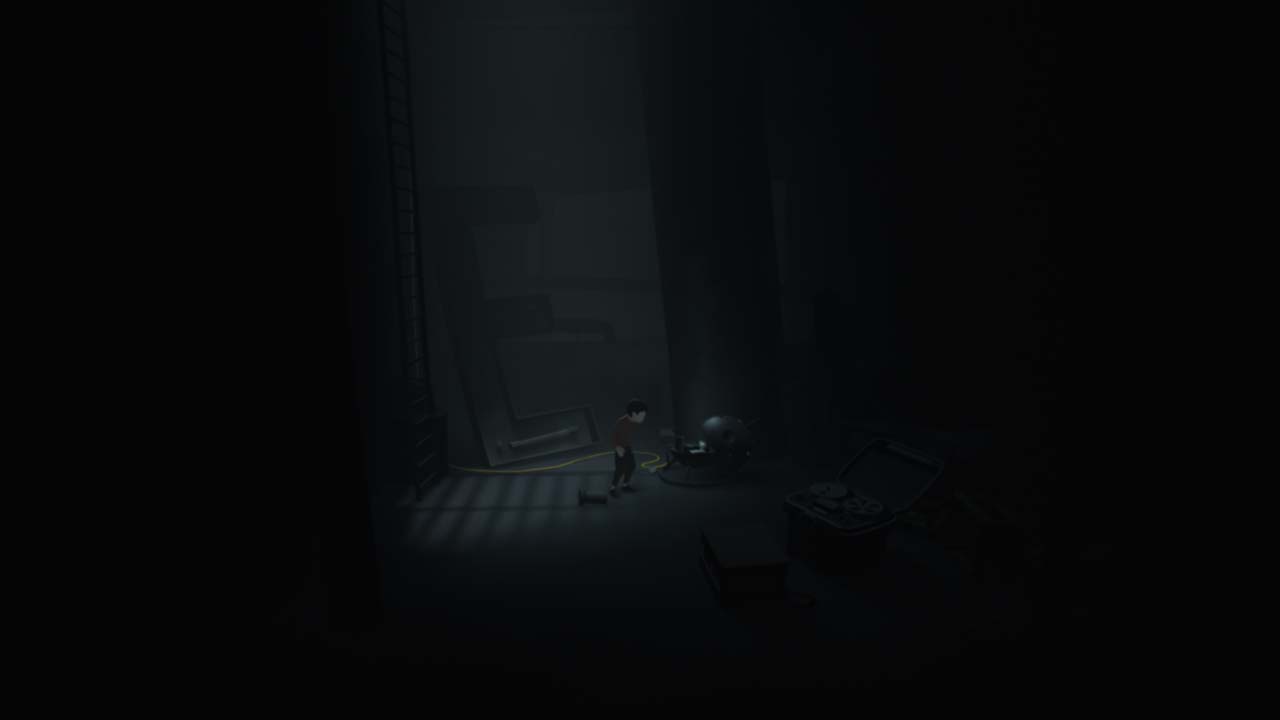
Before you proceed through the next door, at the bottom of the water, there's a crate that you can push with the submarine boost. Push it out of the way to proceed to another strange generator. Jump out of the sub and climb the ladder on the left. Jump into the mind control device and lead the husk into the water. Line it up with the other mind control device that is too high to reach. Jump back into the submarine and use the sub boost to launch the husk into the other mind control device. Now head back up the ladder to the original mind control device to control the second husk in the background. Now you can destroy the generator. Head back to the original room.
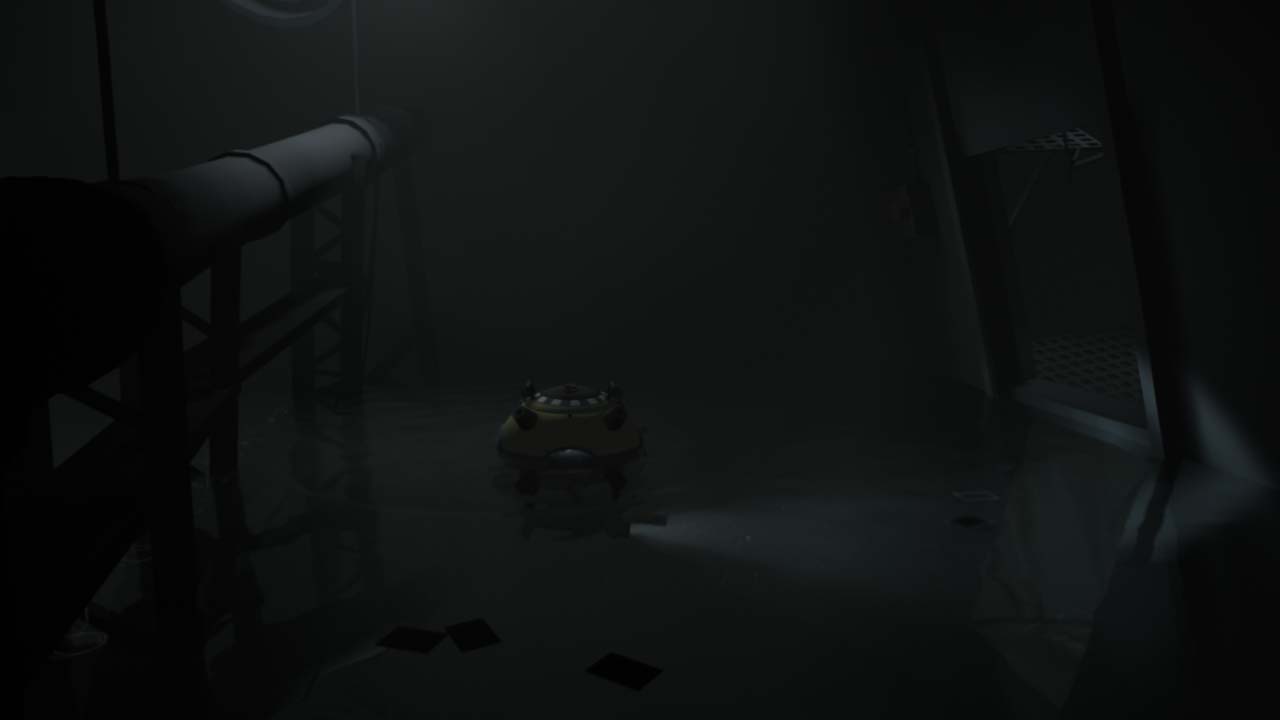
The next underwater room has a closed door on the right and an underwater button in the middle. Take the sub to the right of the underwater debris. Jump out and swim left to where the button is. Swim down to the button and activate it to lower the water. Then head back to the submarine. Do the boost maneuver to get inside the door that is just outside of the water. Burst through the door that is in the next room.
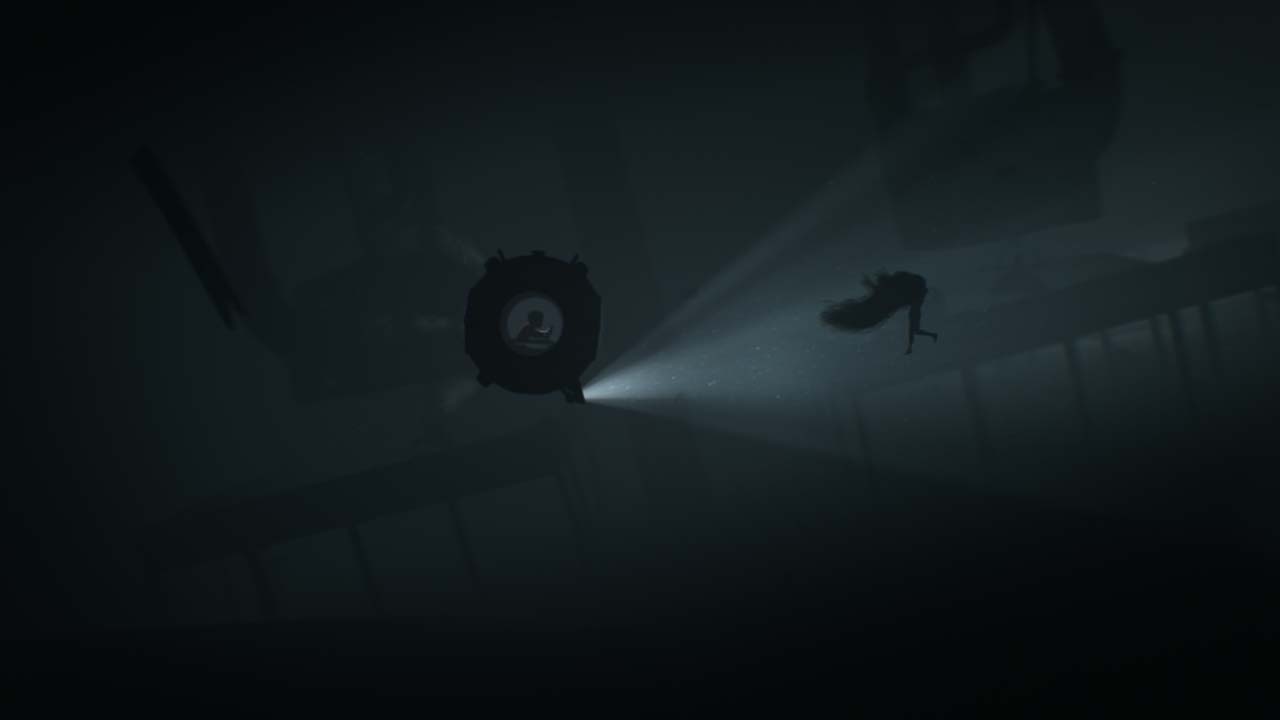
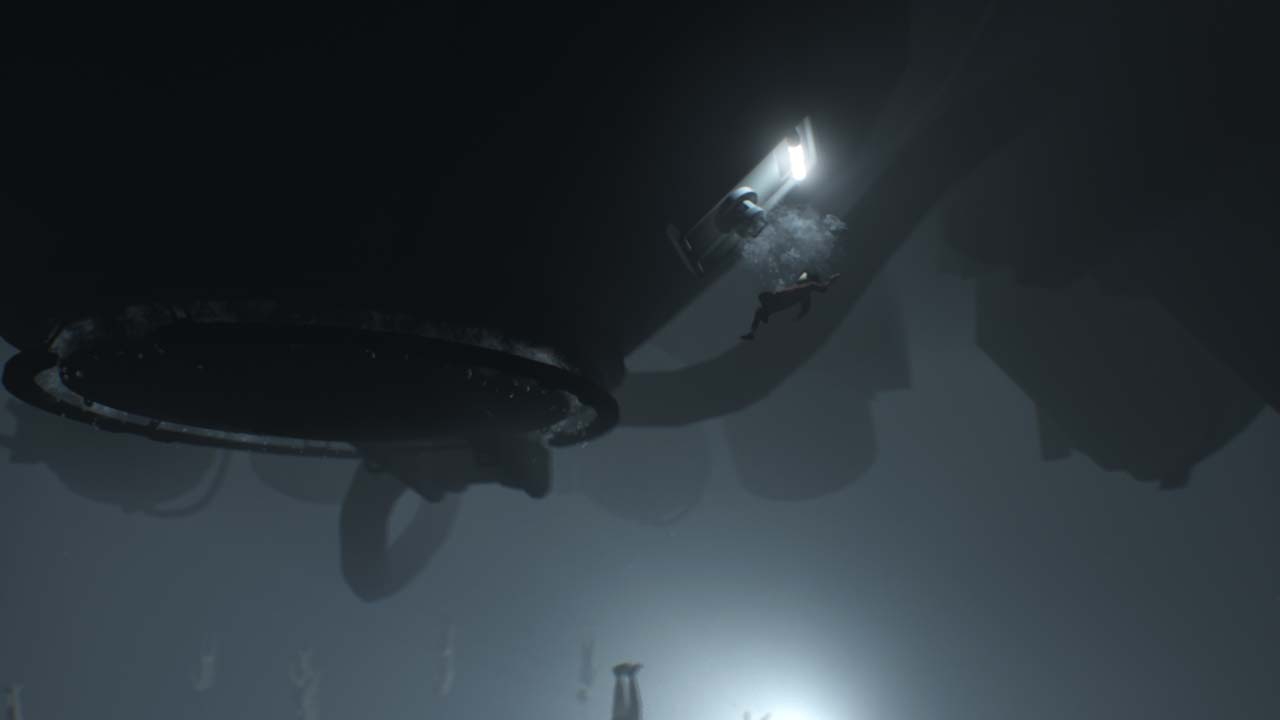
Now you're in another underwater room with a long-haired creature. Stay away from it. If it touches the sub, you're dead. Shining the light on it will keep it away. Think of it like a Big Boo from Super Mario World. Look at it from time to time to keep it away. Head into the next room while keeping the creature at bay. There's a wooden ceiling that looks like it can be broken. Don't smash it yet! The impact will short out your light, and the creature will get you. There's another piece of wood above the door that separates the two rooms. With the creature on the left side of the wall and your submarine on the right, boost into the wood and it will drop a door trapping the creature inside the left room. Now you're safe to burst through the wooden ceiling. Head to the right, jump out of the sub, climb the hill and open the wood door at the end of the path.
The Platform Puzzle
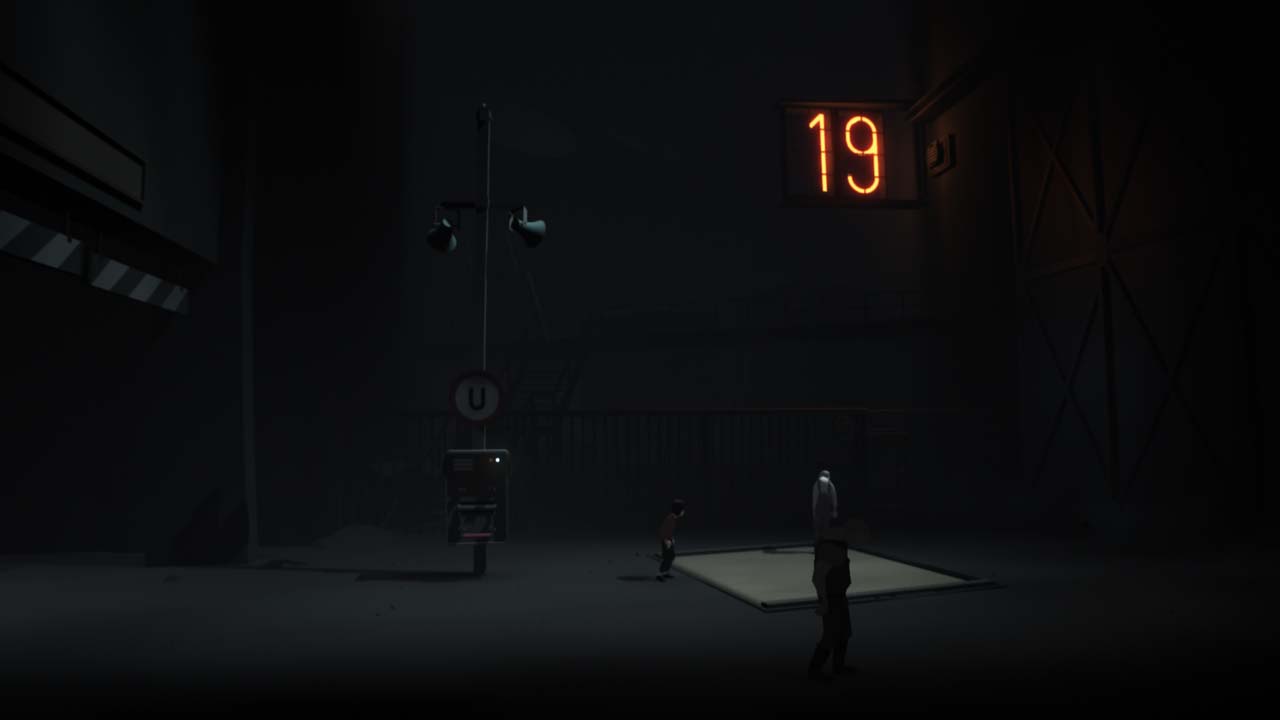
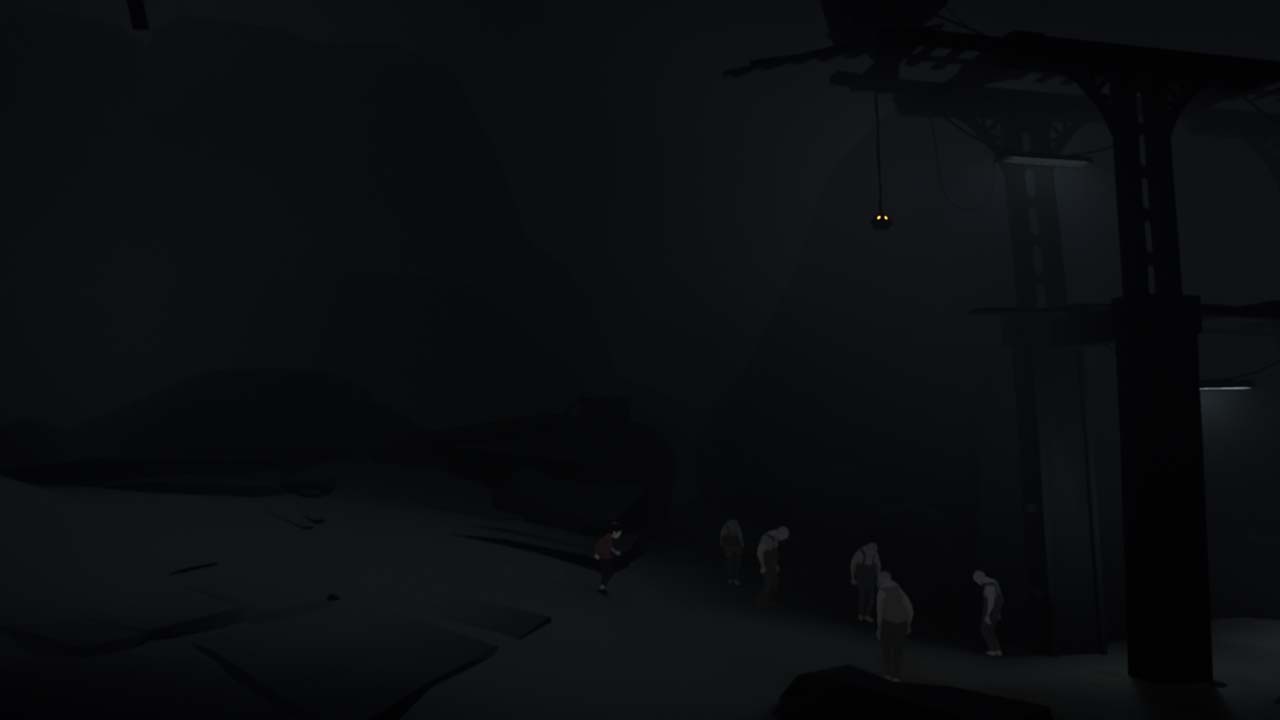
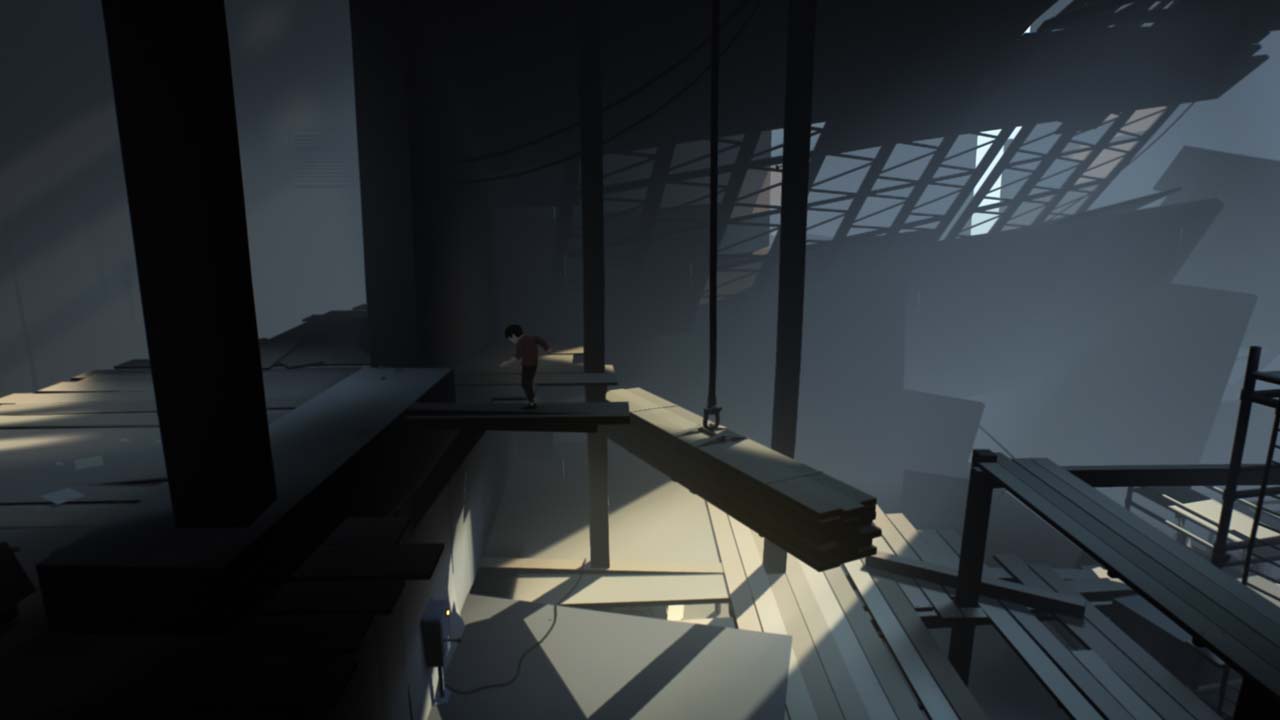
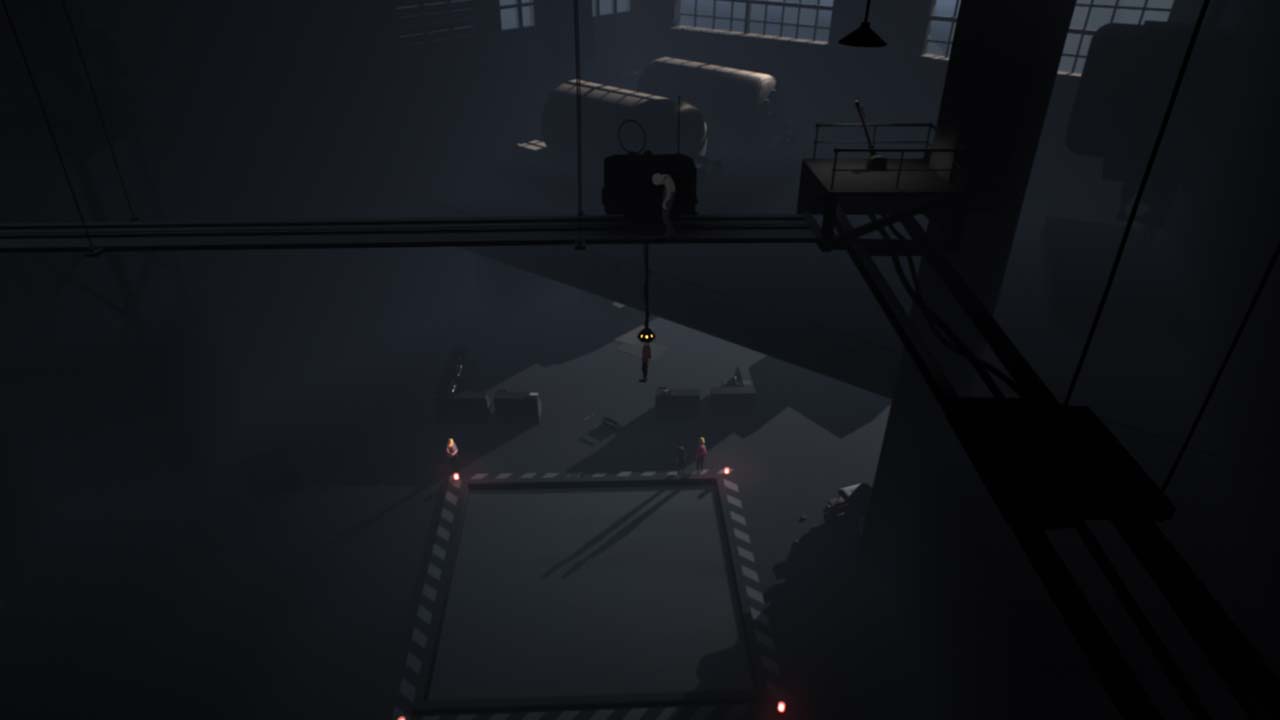
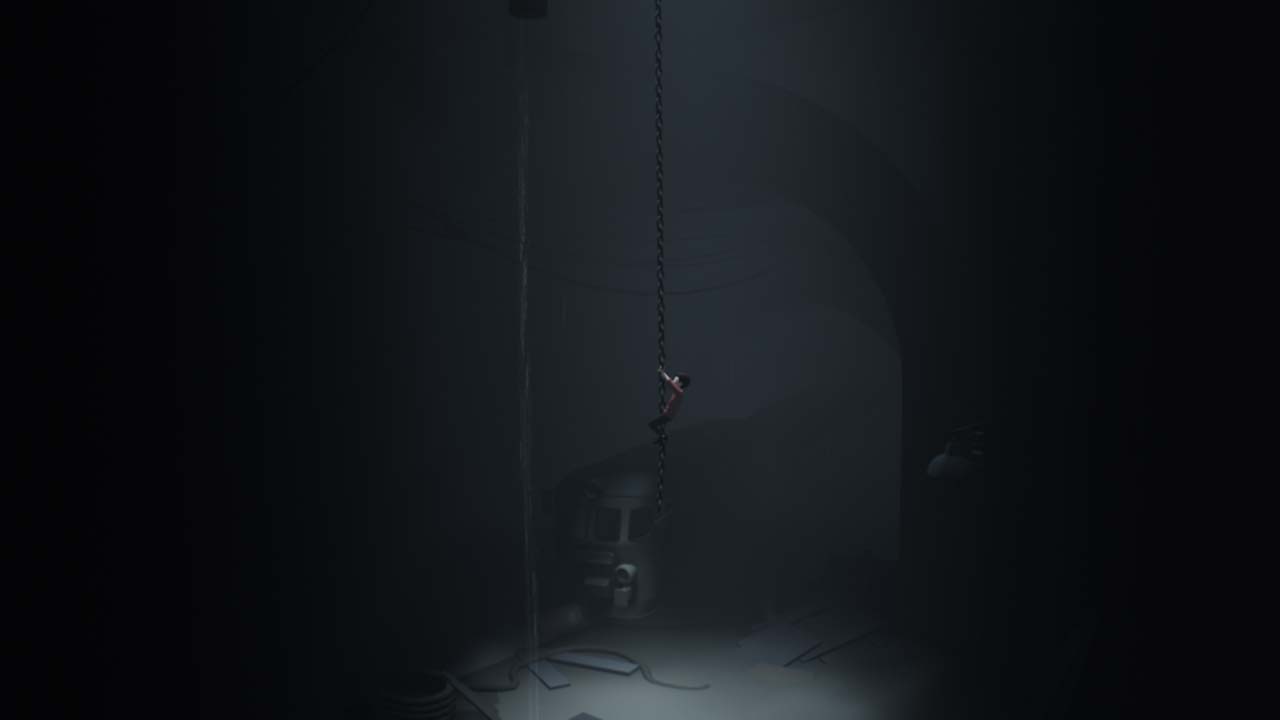
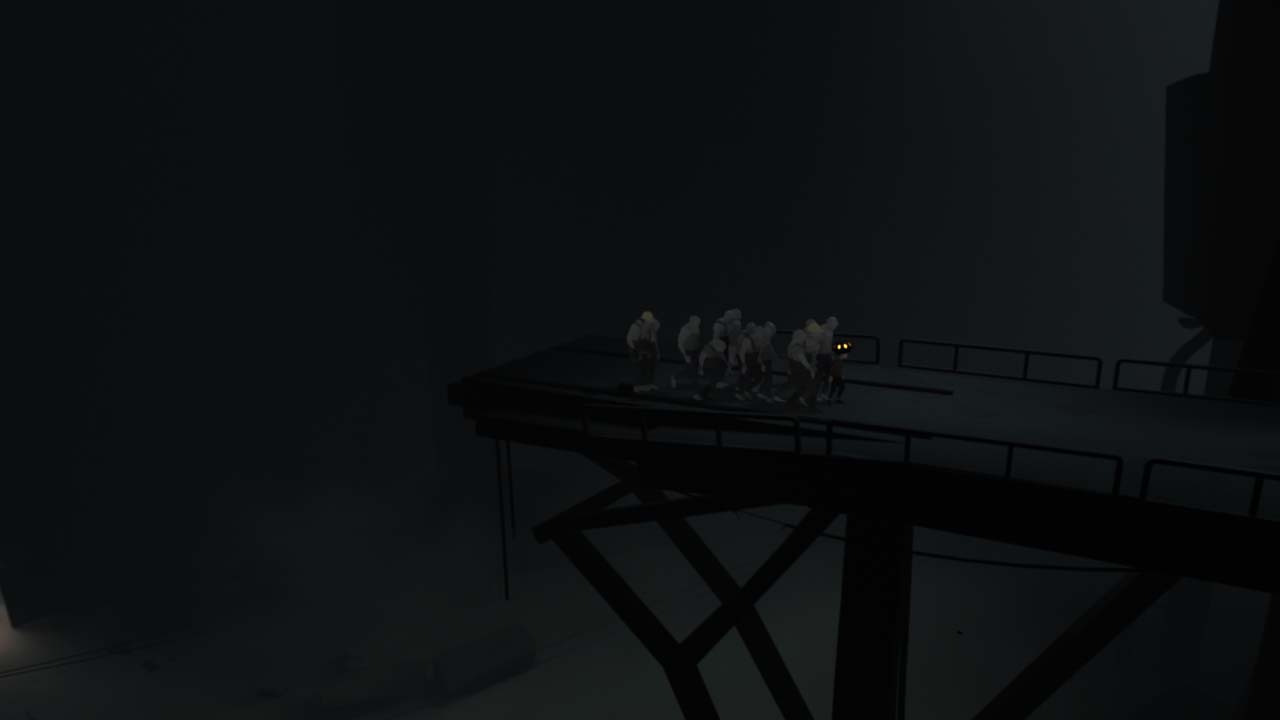
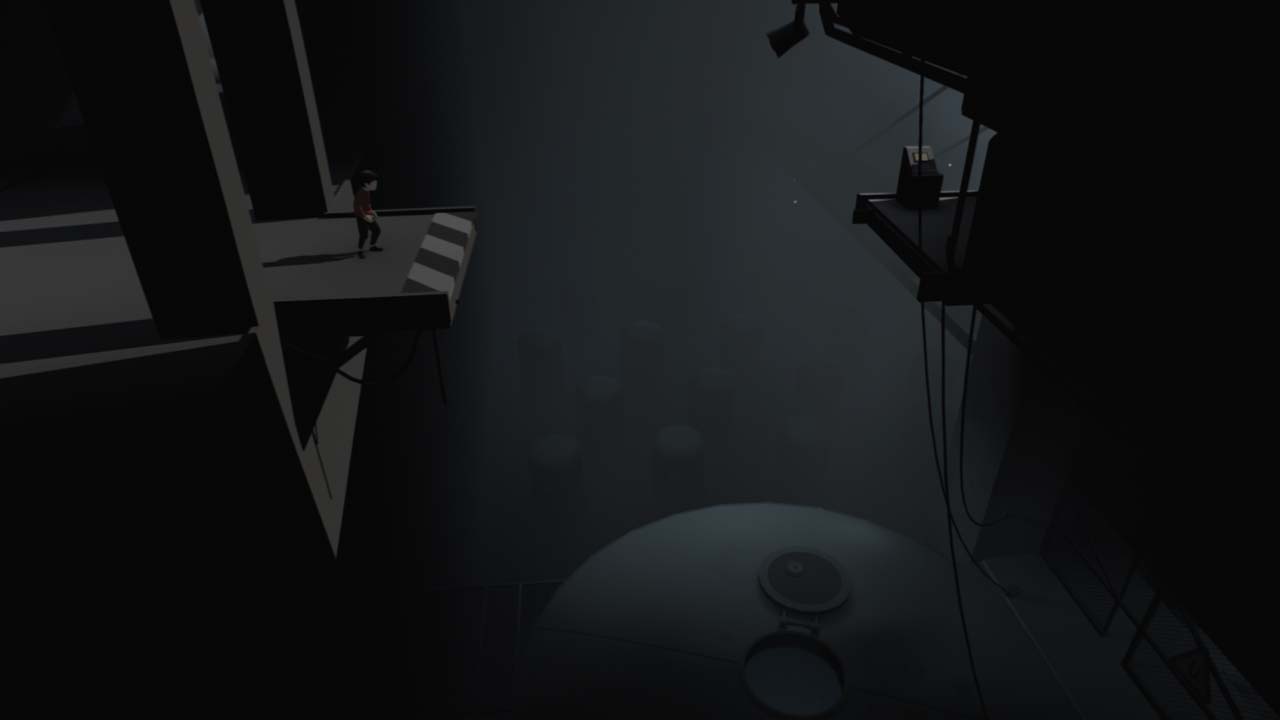
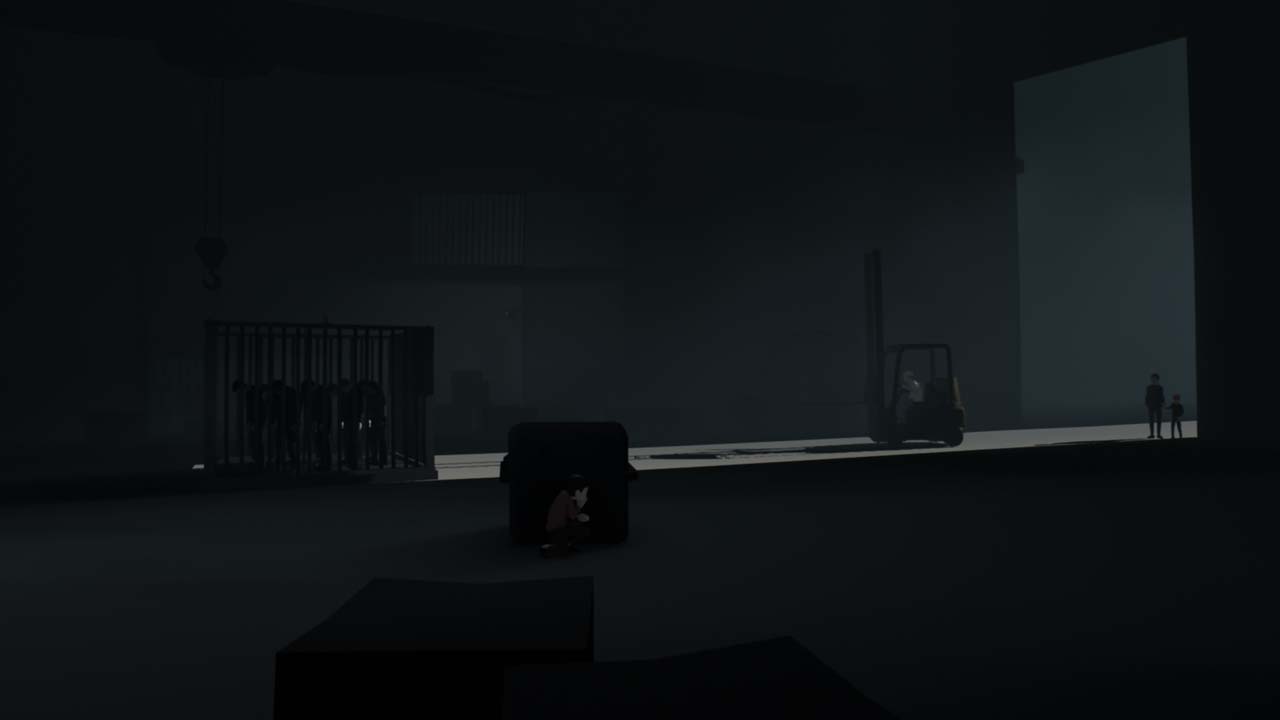
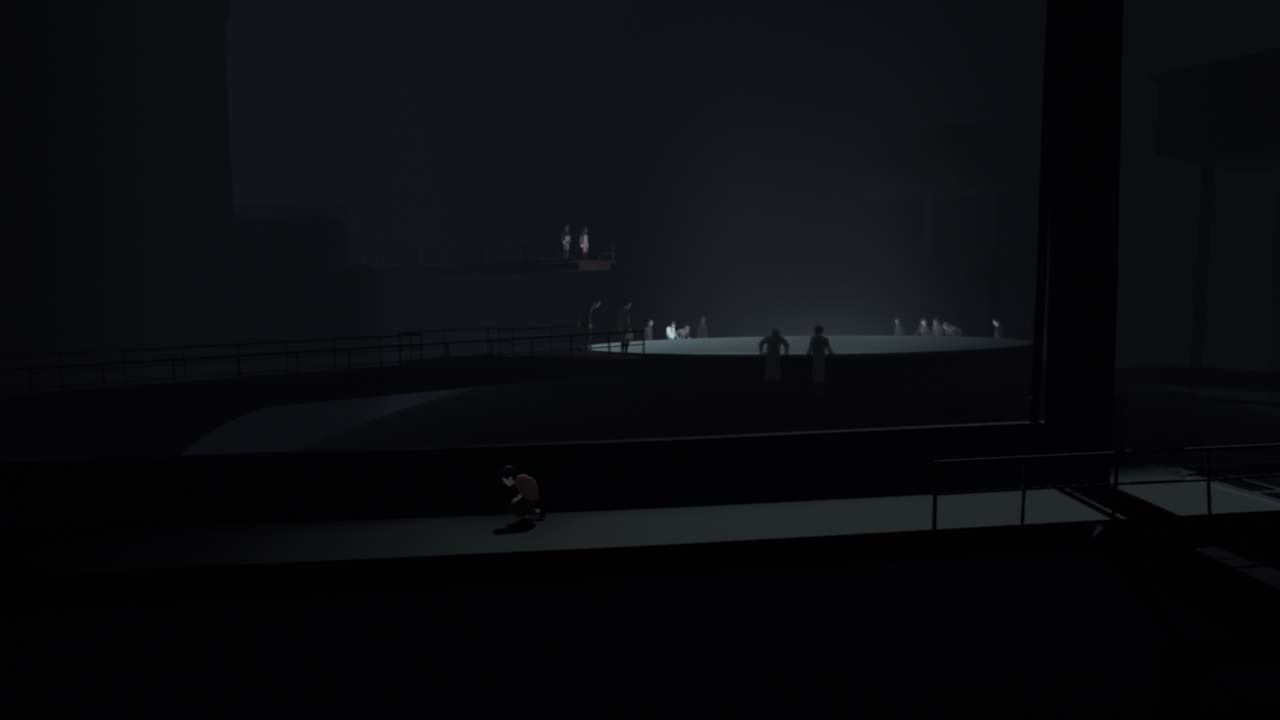
Walk forward until you see a lever that you can pull. This activates the power in this area and reveals a new puzzle. There's a husk standing on a platform with the number 19 above it. It looks like you have to find 18 other bodies to stand on that platform with it. Now that the power is back on, take the elevator you passed to the lower floor. Run to the right to find a turn crank. Crank it clockwise to lower the platform, allowing you to jump off to the right. Pass the several husks standing around and jump into the water. Swim down and to the right, but remember to come up for air every once and awhile. It seems like a long swim, but you can make it. Jump out and climb the hill. Jump on the ropes hanging above and swing across to the left. Keep running left until you get to the mind control device. It will break, and you'll fall, but the mind control device stays attached and functional! What a bonus! Now you can control the husks.
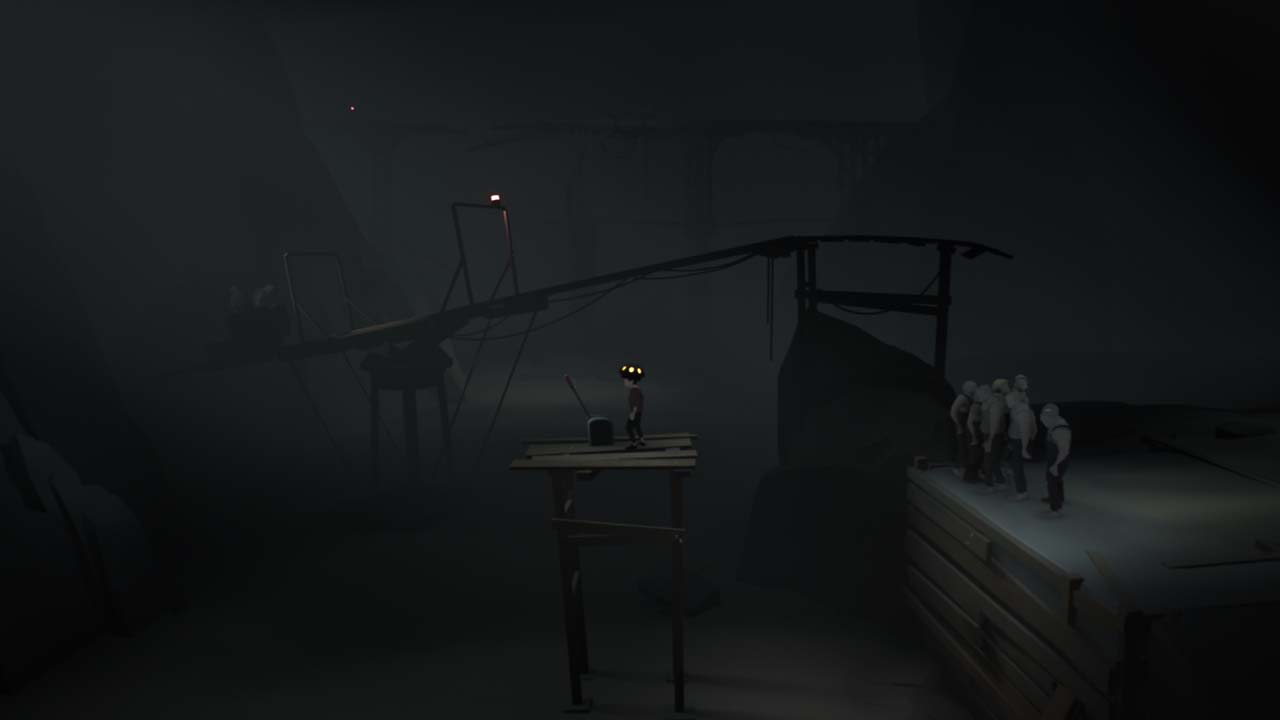
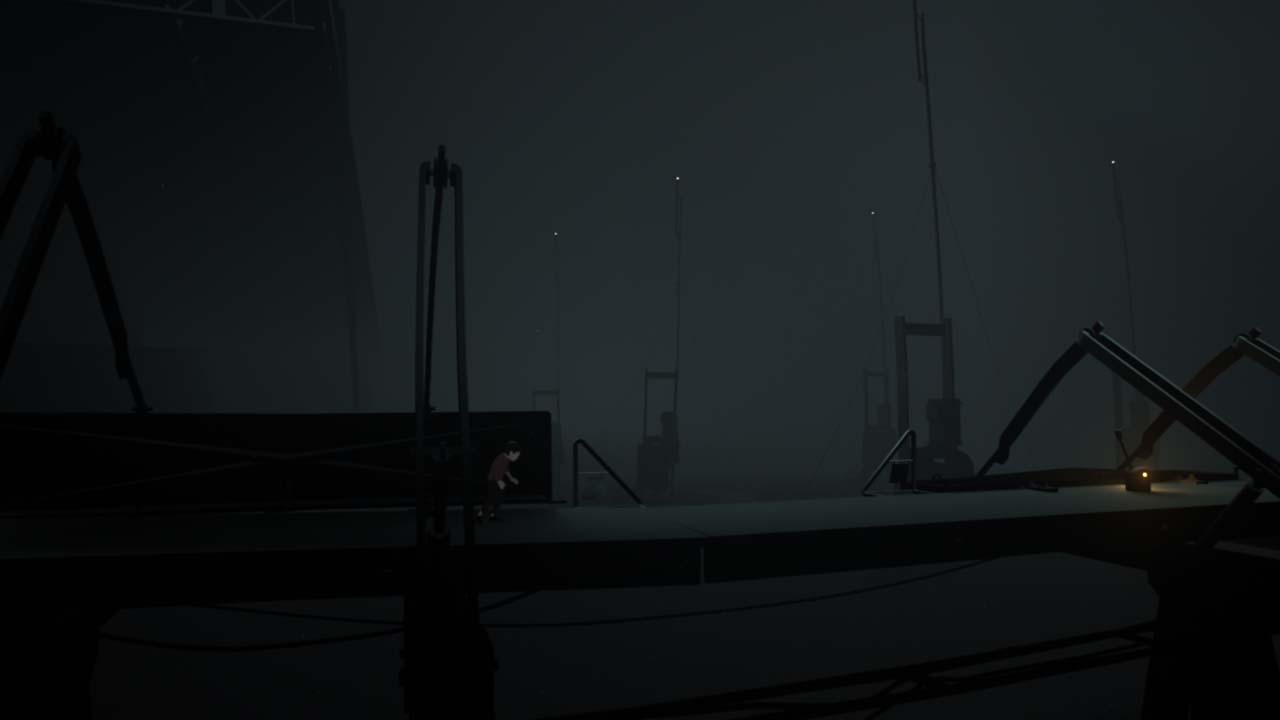
Lead the husks under the ladder that is too high to reach. They'll throw you up to it. Walk left to the turn crank and lower the platform so the husks can join you. Don't take them up the elevator just yet. Keep heading left past the elevator. You can move the big freighter on the tracks with the help of your husk army. Drag it under the hole in the ceiling. Then take them under the chain to the right of the freighter and have them launch you up to it. Run left and fall through the hole in the ceiling onto the freighter. The husks will then push you to the left and into the next area.

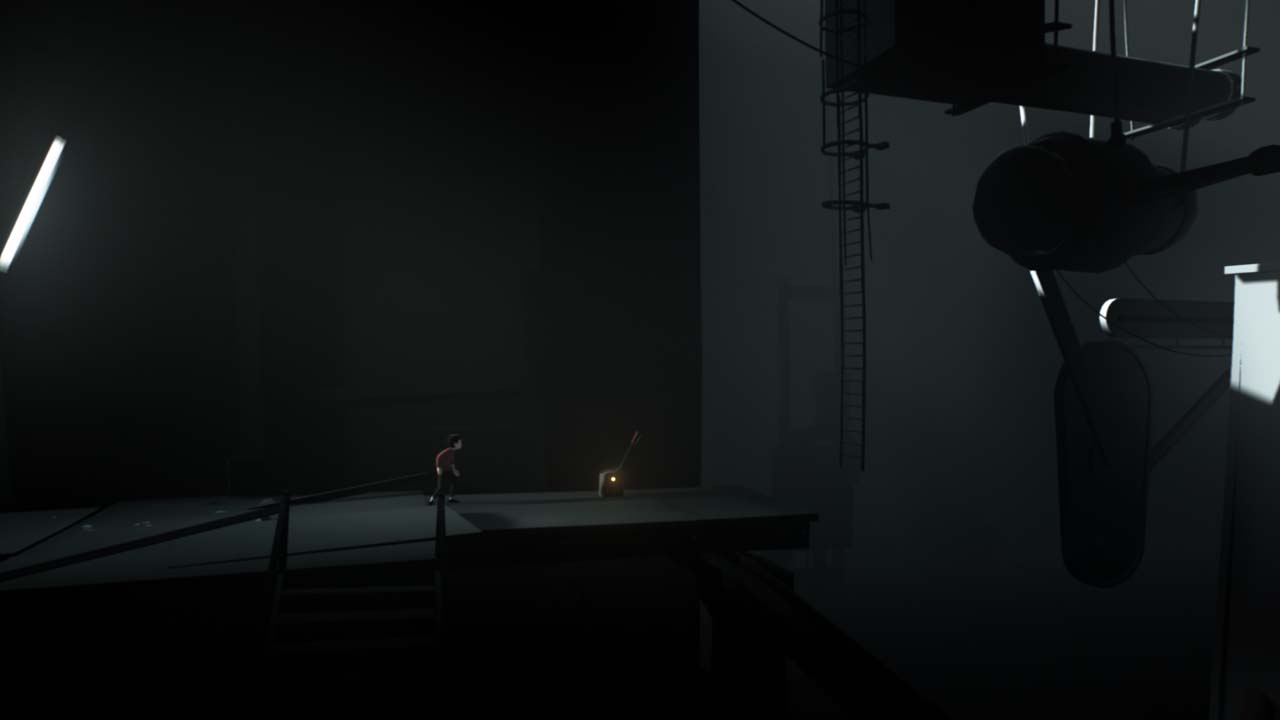
Check it out. One of those boxes that you can pull will launch you to something higher. The only problem is, it doesn't launch you high enough. Pushing the cinder block onto the device weighs it down. So you have to activate it, jump off and push the cinder block under it. Now jump back on the device, activate it and jump off to the right to reveal three more husks. Your numbers are growing. Lead them back to the other group of husks and up the elevator.
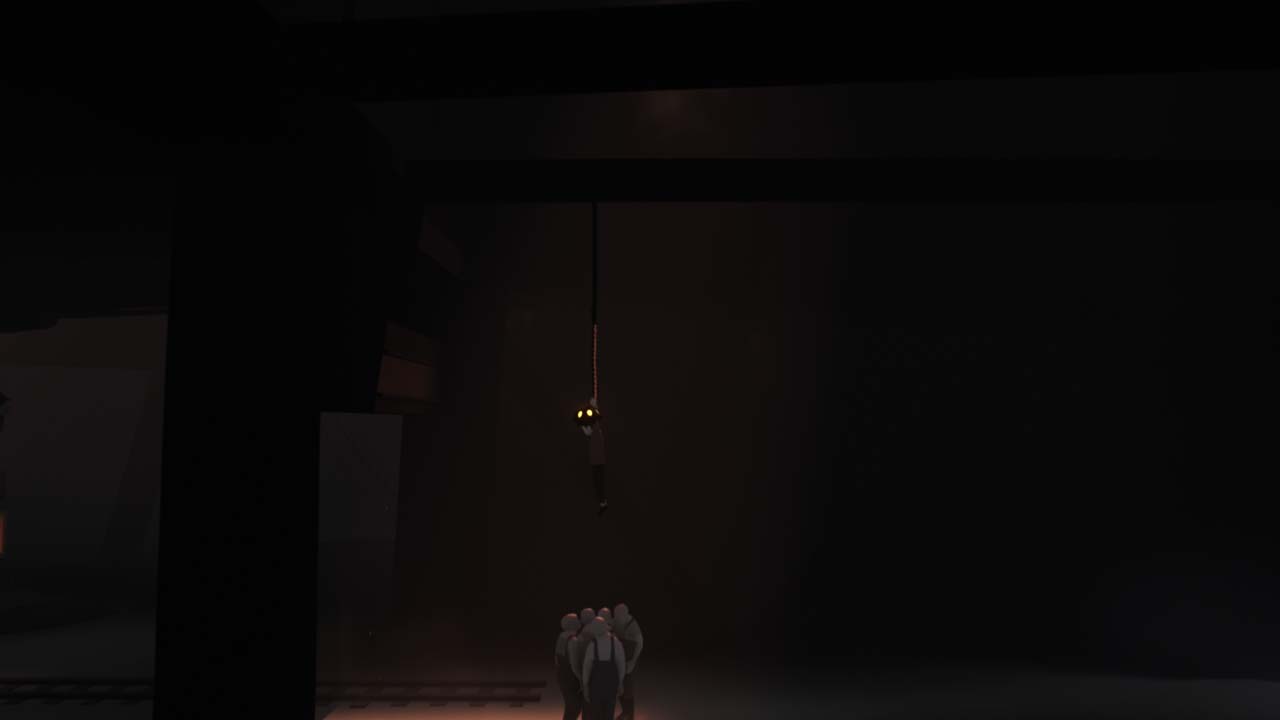
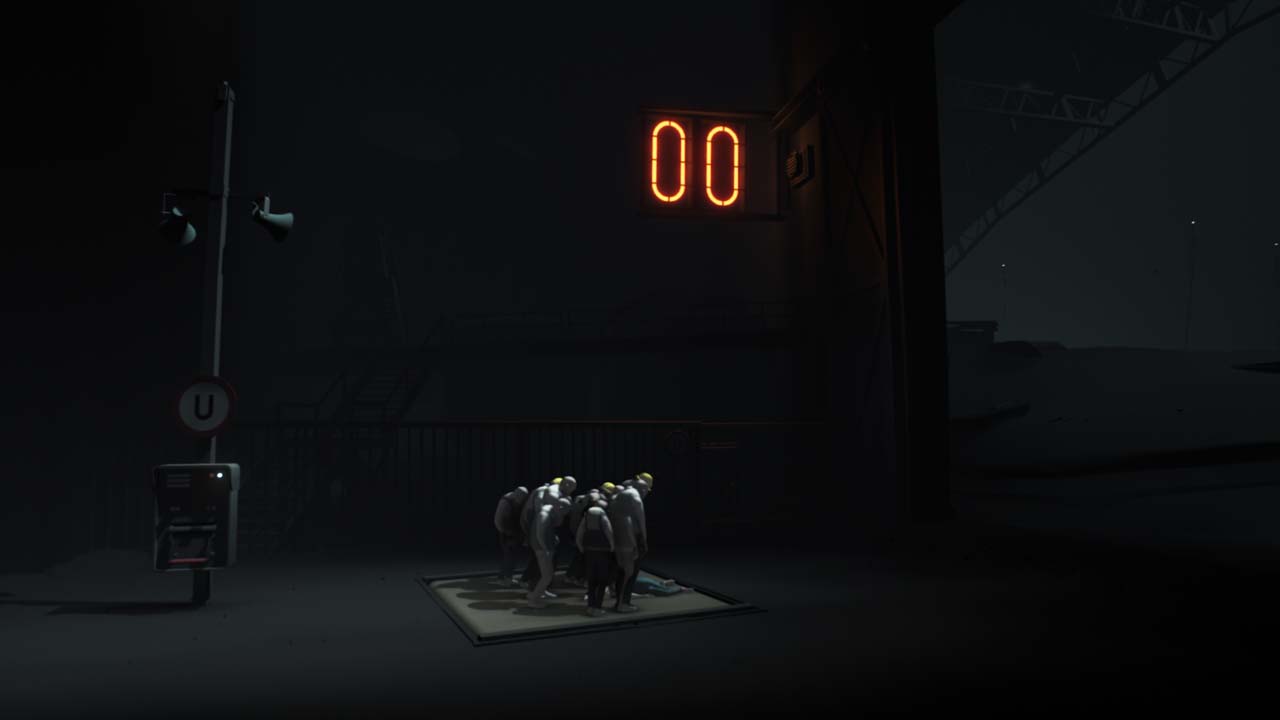
Stepping onto the numbered platform isn't quite enough. You still need 9 more. Take your husk friends all the way to the left to open a gate. There's room with a lever on a platform and some more husks in a mine cart in the background. Stand near the edge and jump into the arms of your husks. They'll throw you across the gap and onto the platform with the lever. Pull the lever to strengthen your army. Unfortunately, the cart can't make it to the platform above it. You have to pull the lever once for the cart to gain momentum, and then pull the lever back to it raises the cart path high enough for the cart to reach the platform. Do it correctly, and you've just added a few more bodies to your army.
Just four more to go. Now take the elevator to the top floor. To the left, push the cage with the husks in it off the edge. Don't worry, they'll be fine. Now head to the right. There's one lifeless husk on the ground that isn't reacting to your mind control device. The platform that requires the 20 bodies didn't say they had to be alive. Drag the body to the left and throw it off the edge to the platform below.
Take your husks back down to the middle floor, pick up your three husks to the left that were in the cage you pushed off and head back to the main platform that requires the 20 bodies. Drag the dead husk onto the platform.
Shockwaves
The door will open now that 20 bodies are on the platform. The other side of that door is a dangerous place. A huge shockwave will demolish you if you get caught in it. Take cover behind walls to avoid it. It's on a timer, so time your runs carefully. Halfway through the walkway, there's a lever. Pull it to give you some extra cover. As soon as the shockwave hits, pull the lever again and run to the next cover.
Once you've made it across the walkway, you'll come to another lever and a ladder. The lever activates a spinning device that acts as cover. Don't try to activate the device and then stop it so that the cover is stationary. You need to keep it moving and time your climb so that you are covered during the shockwaves. The shockwave should hit as soon as you make contact with the ladder. Make sure the moving cover keeps you safe. Then you should be able to make it to the top of the ladder before the next shockwave. Once that shockwave hits, jump down and the moving cover should protect you from one more shockwave. After you successfully make it past the moving cover, there's another box that launches you up. As soon a shockwave hits, start up the launch box. Jump back off to take cover before the next shockwave hits, and then jump on it and ride it up. Jump off and to the right to proceed.

Pull the lever in the next room that will open the shutters. That means the shockwaves can get you again. Take cover behind the door on rails and drag it to the right while staying behind it. When it hits the end of its track, there's a robotic arm rotating clockwise. A shockwave will hit when the arm is at the top and again when the arm is at the bottom. Jump just after the shockwave hits when the arm is at the top. Then take cover when the shockwave hits after the arm reaches the bottom. Then you have to slide down a long hill. Be careful how you time this. It's long enough that a shockwave can hit you midway through your slide. There's cover just at the top of the slide. Jump just before the shockwave hits so it hits when you're sliding behind the cover. Then slide down to the bottom safely.
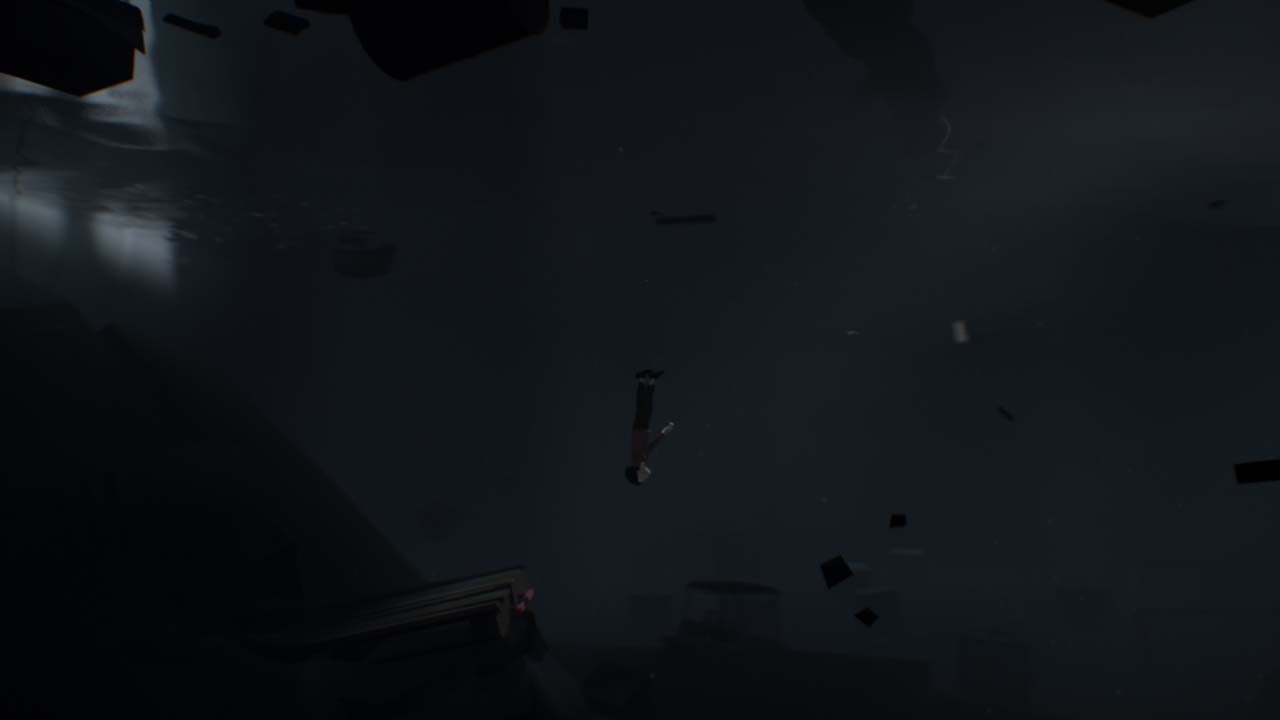
You made it past the shockwave part, so that's a relief. Head into the elevator and press B to activate it. Oh no! A shockwave hits as you're descending, and it destroys the elevator. Press B to lift the gate of the elevator and swim up and to the right. Do it quickly so you don't drown.
Underwater Lab
In this room, there's a launch box, a rope and a lever. Step onto the box that launches you up, and then jump to the rope on the left. Swing to the lever. The lever opens the door, but the door shuts as soon as you let go of the lever. Open the door completely, and then swing from the rope to the closing door. You can make it before it shuts.

Now there are two launch boxes, plus a button above you to the right. You have to time the left box so it's in the air when you hit the button. Activate the right box first and run to the left box to activate that one. Run back to the right box, ride it up and jump to the button. Wait until the left box launches and then hit the button. Now the left box is on a platform that can take you even higher. Ride that one up to the top and then jump to the right.
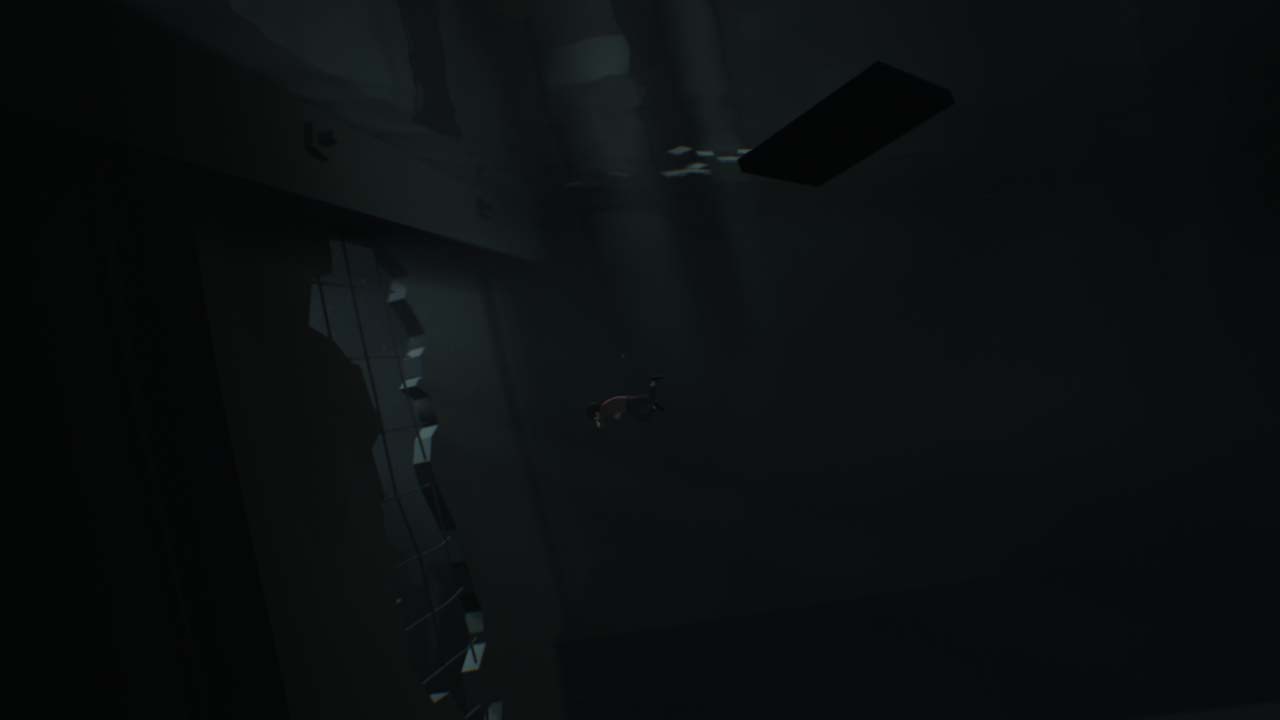
Drop through the hole in the floor to come face-to-face with one of the underwater creatures. Swim as fast as you can to the right. There's a rope near the surface. Grab it to avoid death. Swing to the right and back into the water. There's another rope to the right. Swing far enough to grab the next rope and avoid the creature. Climb the rope to the platform above and climb the ladder to the left. Run right and jump off the platform back into the water. Now you're far enough away from the creature to swim through the door on the right and to the next platform.
Keep swimming to the right and don't stop. The creature will be after you. Stop when you reach the platform with the hanging chain. Climb the chain and activate the button. That will move the chain to the left and back again. As the chain moves left, inch down close to the bottom. Dipping your toe in the water will attract the creature. At its leftmost spot, dip into the water to get the creature away from you. Then climb back up as the chain takes you back to the platform. Jump back into the water on the right and quickly swim down and to the right. Hit the button along the way, which closes the door in front of you. Swim through before the creature gets you and head back up for air.
Cross the rickety platforms. Swing across the rope to the next rickety platform and head into the building. Open the door that will drop you into more water, and quickly swim to the right to avoid death by underwater creature. Walk across the platform, and open the hatch on the right end. This will put you back into the water and back into danger. Swim down to the button to open the door and swim immediately back up. Trying to swim into the open door will kill you. Once you're back on the platform, run back to the left and jump into the water. This will bring the creature back to the left side. Once the creature is there, jump out of the water and back to the right side. Hit the button again on the way. This will shut the door butl give you enough time to swim through.


Climb the chain in the next room only to fall down and be taken to the bottom of the water by a creature. As it turns out, you're not dead. Now you can breathe underwater, so that's a plus. Swim up and to the right to proceed. After you pass through a tunnel of several rooms, hug the wall on the left and swim down to find a door. Pull the lever and then open the door at its top to find another hidden generator.
Head back out to the original room and through the hole on the right wall. The room has fans that will try to push you back to the hole. Swim to the top of the tunnel and hold onto the poles there to fight the current. The second pole will open a new tunnel. Once the fans stop, swim through the new opening.
Back to the Surface
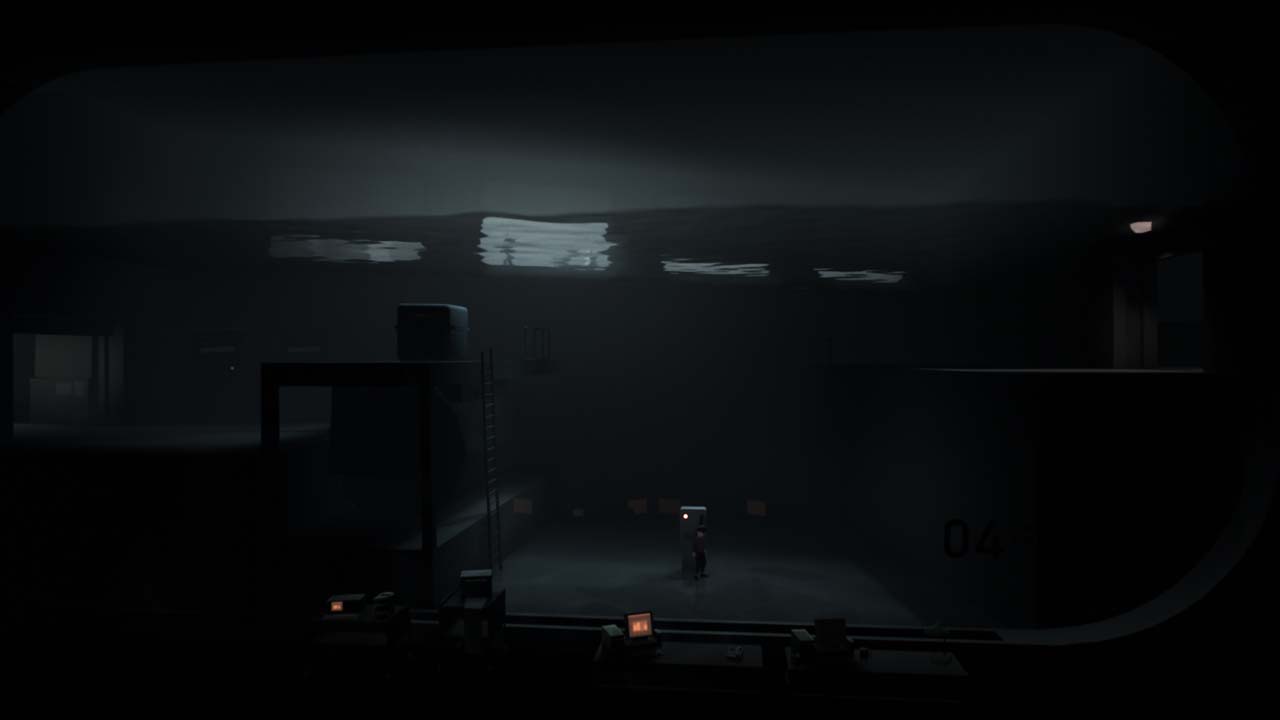
Great, the spotlights are back. Stay under the platform to avoid spotlight death. There's a hand crank to the right of the platform. Wait until the spotlight is headed right, and then run to the hand crank to turn it clockwise. This will move the platform to the right. You'll need to get it all the way on the right side. Turn it a few spins for the first attempt, then run back to the platform to safety. Then turn it a few more times, which should bring the platform directly above the hand crank. Get it over to the right side after that where and use the ladder to reach it.
Run forward and off the platform into the opening below to fall into the water. There's nothing to see in the water, so climb out and head right. You'll reach a large room with a bunch of wires heading upward. Head through the hole in the floor and run left. Jump in the water and open the underwater hatch on the left wall. This leads back into the water room that you just fell into.

Head back around and fall through the same hole that takes you below the large room. Head to the right. There's a launch box all the way to the right and a button right next to it. You need to launch the box and then hit the button when it's in midair. A platform will spring out, knocking the box off its track and ready to be moved around freely.

Drag the box near the ladder to the left. Position it on the righthand angled floor that will send it to the top of the ladder. Activate it to send it flying. Once it's at the top, drag it into the opening in the ceiling and send it to the large room above. Be sure to hit the button when it's at its peak to keep it up there. Now head left and swim back around into the large room.
Now that the launch box is in the room where you need it to be, drag it under the existing launch box that's already there. Do this by activating the first one, and then dragging the other underneath it before it falls. The fun begins once both boxes are stacked. Activate the top one, jump off, activate the bottom one while the top one is airborne, then jump back to the top box before the bottom one launches. Then activate the top one to launch you even higher. This will take you into the suspended water above.
You need to remove the two cylinders above. Remove the right and the left ones to open the large hatch at the top. Once you reach the top, head out of the water and to the right.
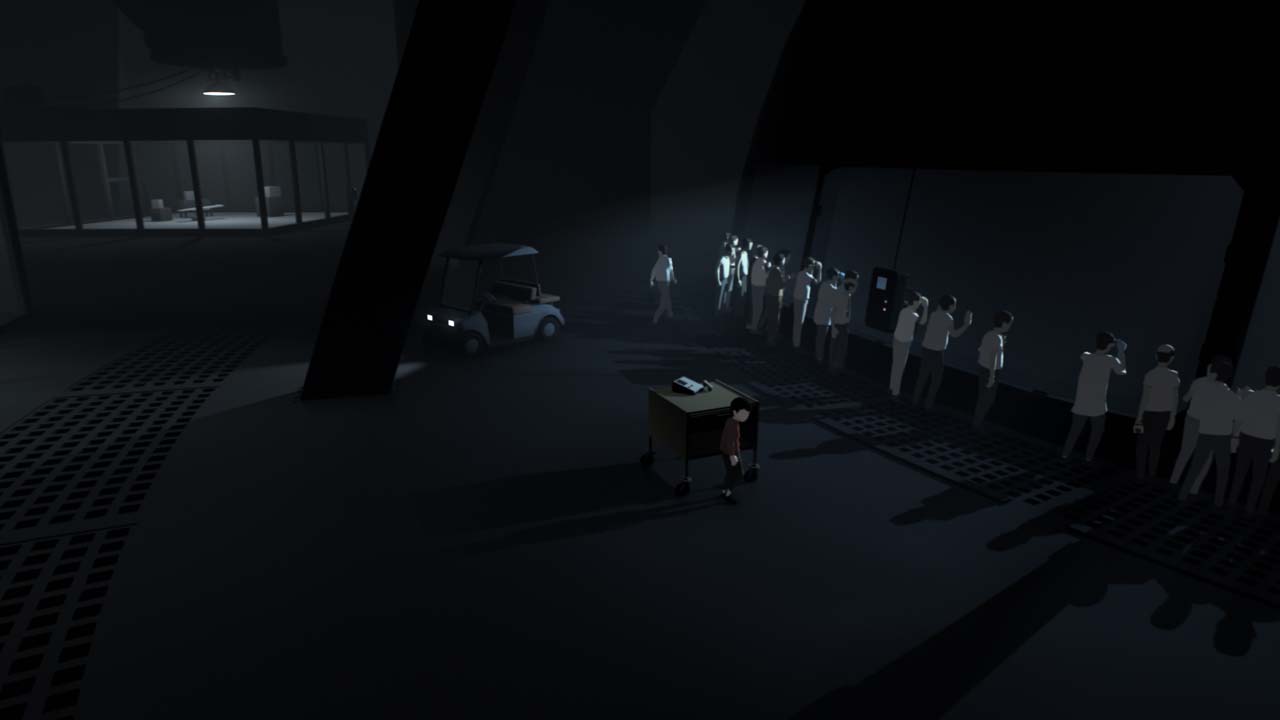
Now you're in another large open room. Run all the way to the left to find a box. You'll need that. Drag it to the right and hide behind it when the doors in the background open. This will hide you from the people who come through the door. Proceed to the room on the right.

You're in a room with a box, two high platforms and a lever between those platforms that controls water. A door closes on the right side of the room when the water is down. The goal is to reach the right side of the room while the water is up high enough for the door to be open. Fortunately, you can move the box even when the it's floating in the water. Get the box in the water and above the left platform. Raise the water high enough so the box falls onto the platform. Then bring the water down, but not far enough so that the door closes. You want to be able to jump off the box, into the water above you and swim across the gap to the open door.
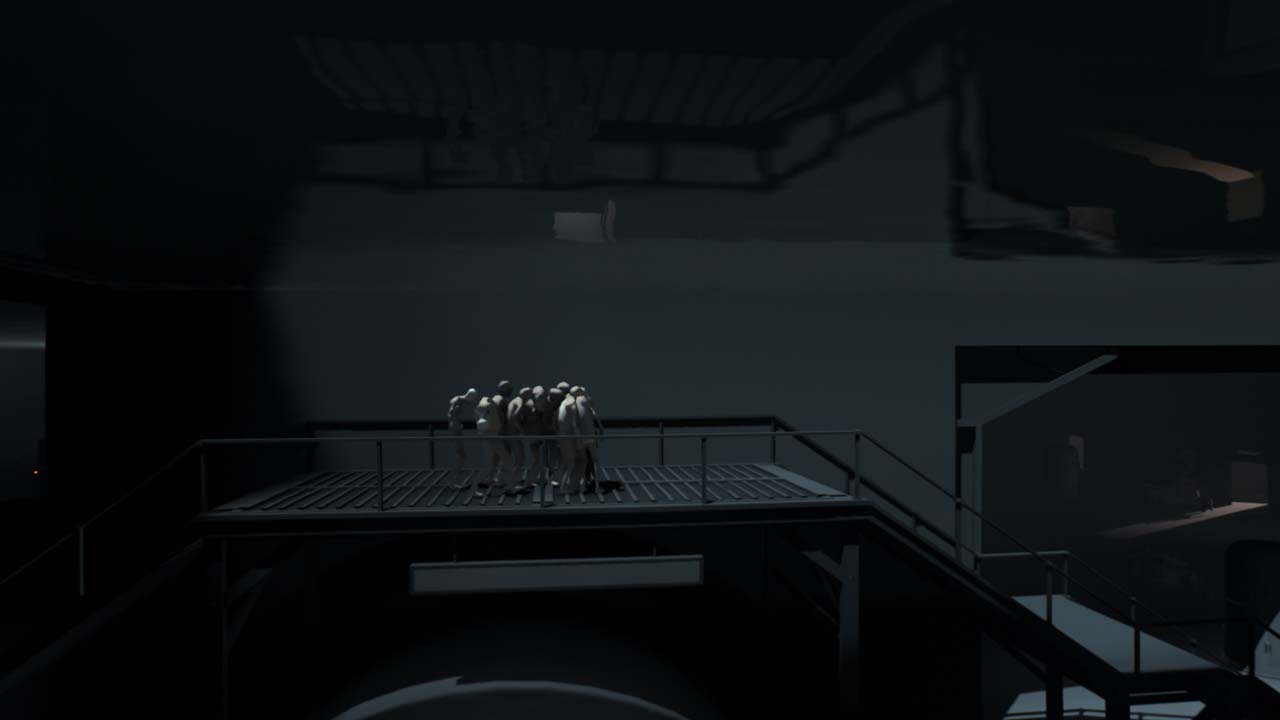
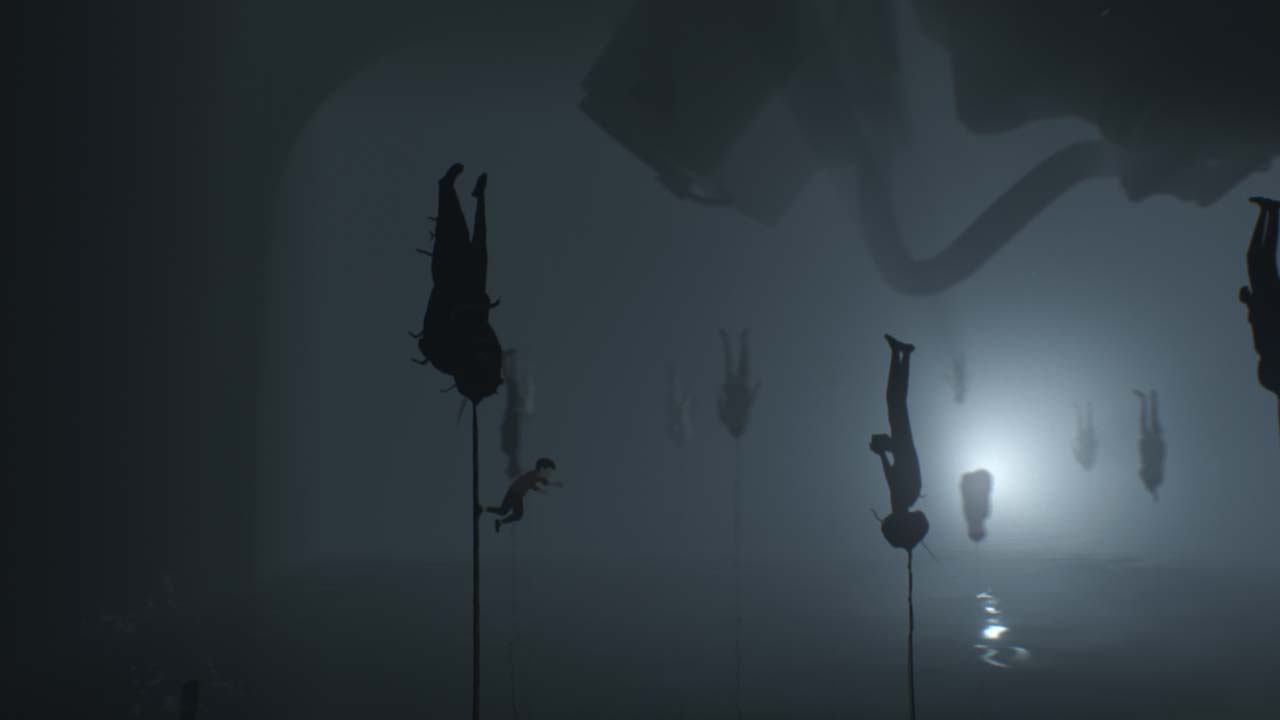
In the next room, there are more bodies floating around attached to strange boxes. There's a worker working on one of the boxes below, so wait until he leaves to head down. Throw the switch on the left the lower the water. The bodies that were once floating lifelessly will fall to the floor and start following you. Once they all fall, have them throw you to the same switch to lower the water. Have them follow you to the next room. Have them throw you again from the high platform into the lowered water. Swim over to the right side of the room. Position yourself so you are above the red button and the people are below it. Drop out of the water and press the button on the way down. The people will cushion your fall.
Run to the right and they will all follow. Have them throw you across when you reach the large gap in the floor. They will all fall into the gap, but they'll be OK. Jump into the gap once they've all fallen, so you can fall. Have them toss you into what looks like a vent. Then head into the elevator and press the button. The people are on the roof of the elevator above you.
Once the elevator is at the top, run left. The people will follow above you and will fall off the ledge down to your level. Lead them back to the elevator to take them to the bottom floor. Run right so the group can help you open the large door. Have the people throw you to the high ledge and part ways with them.
The Observatory
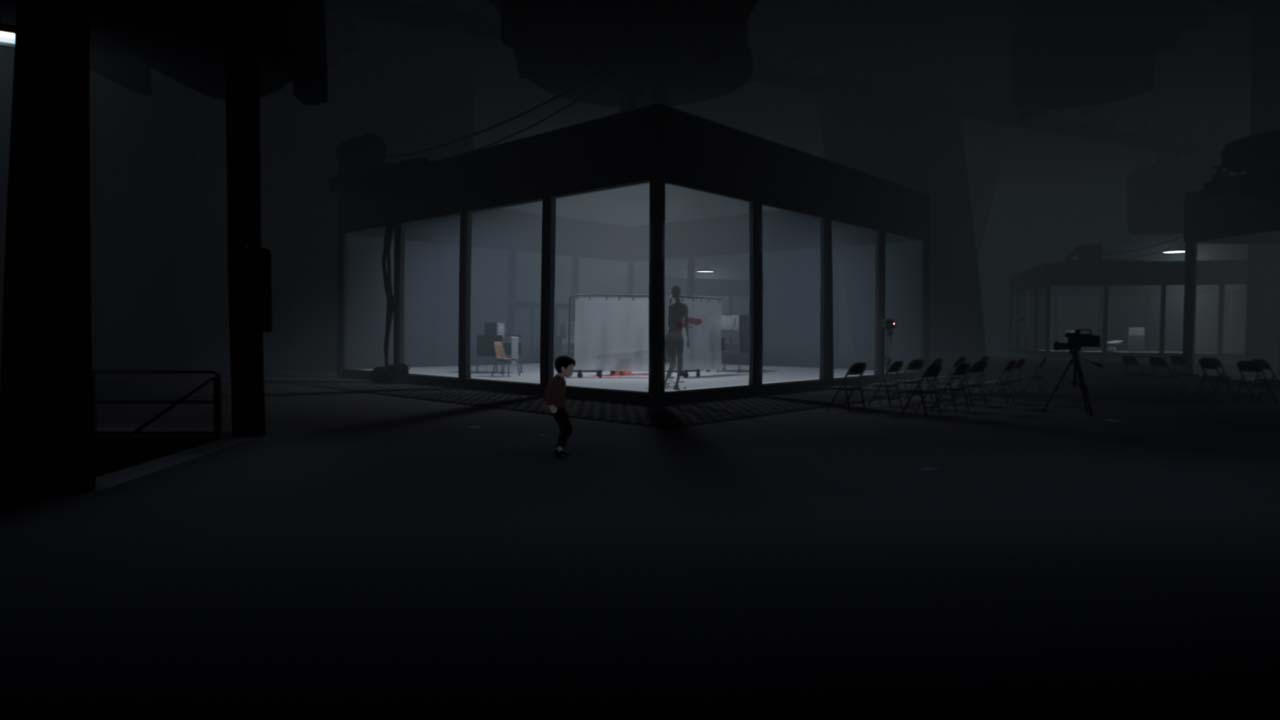
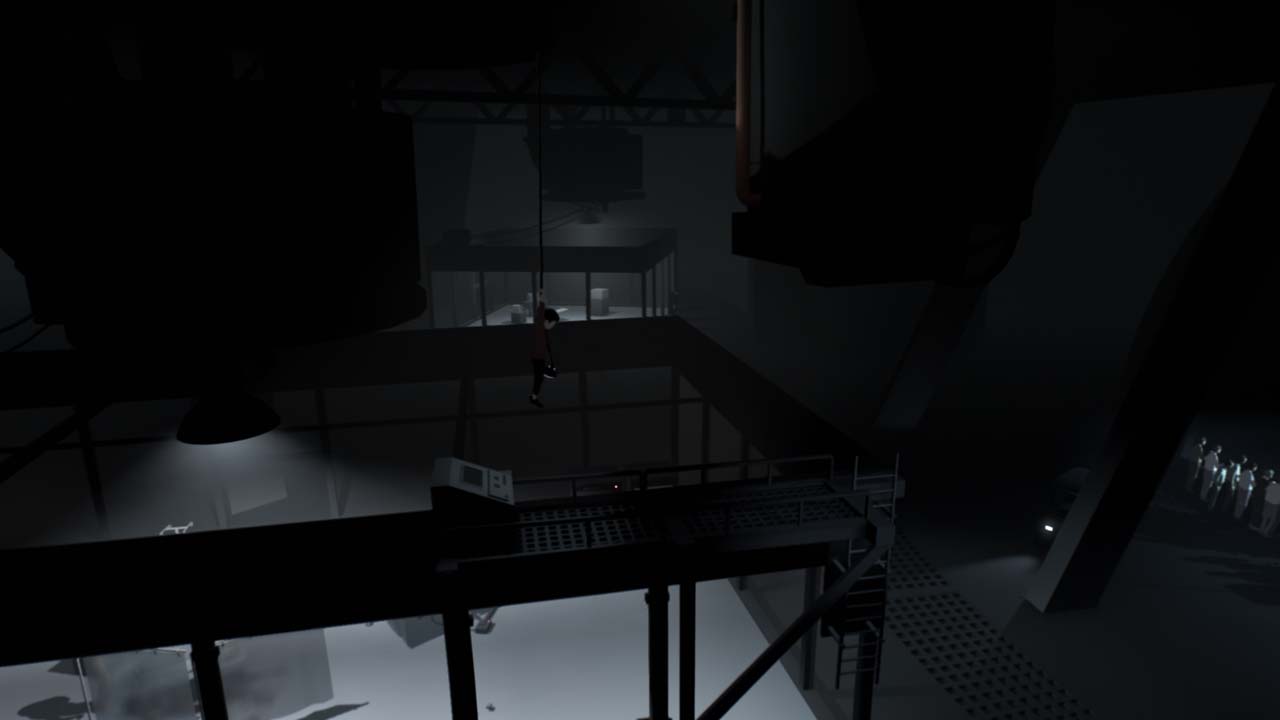
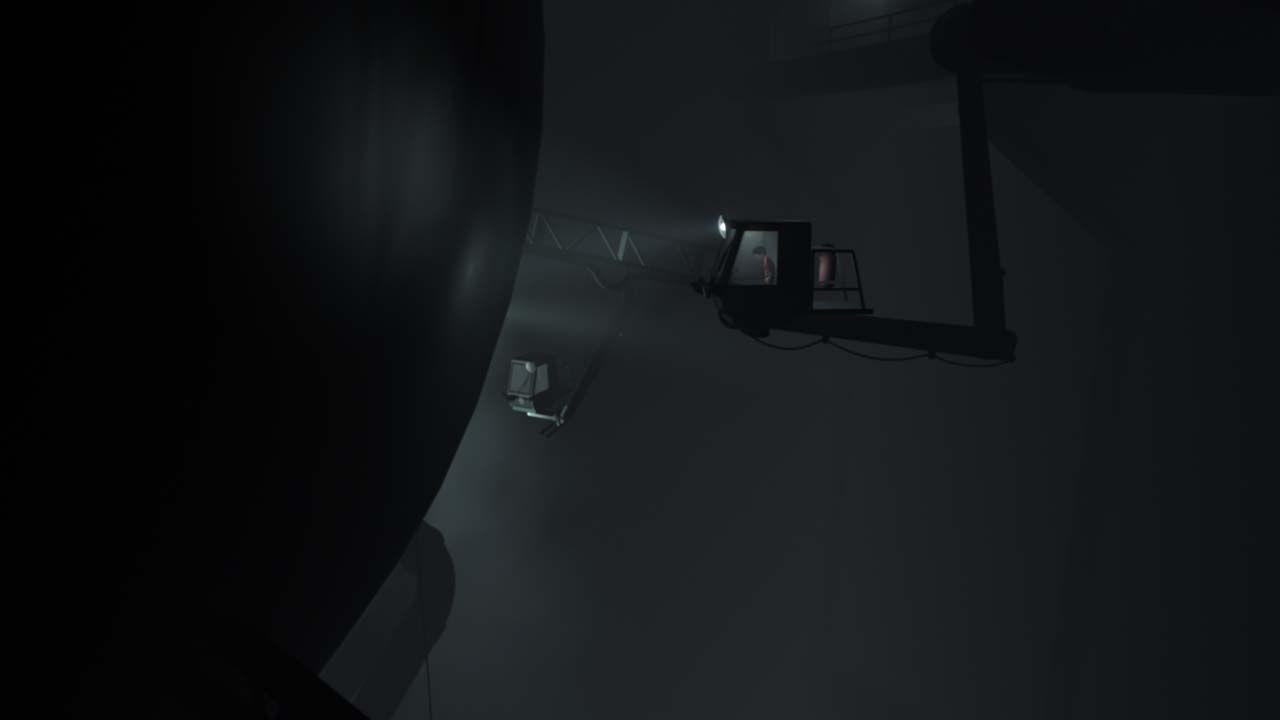
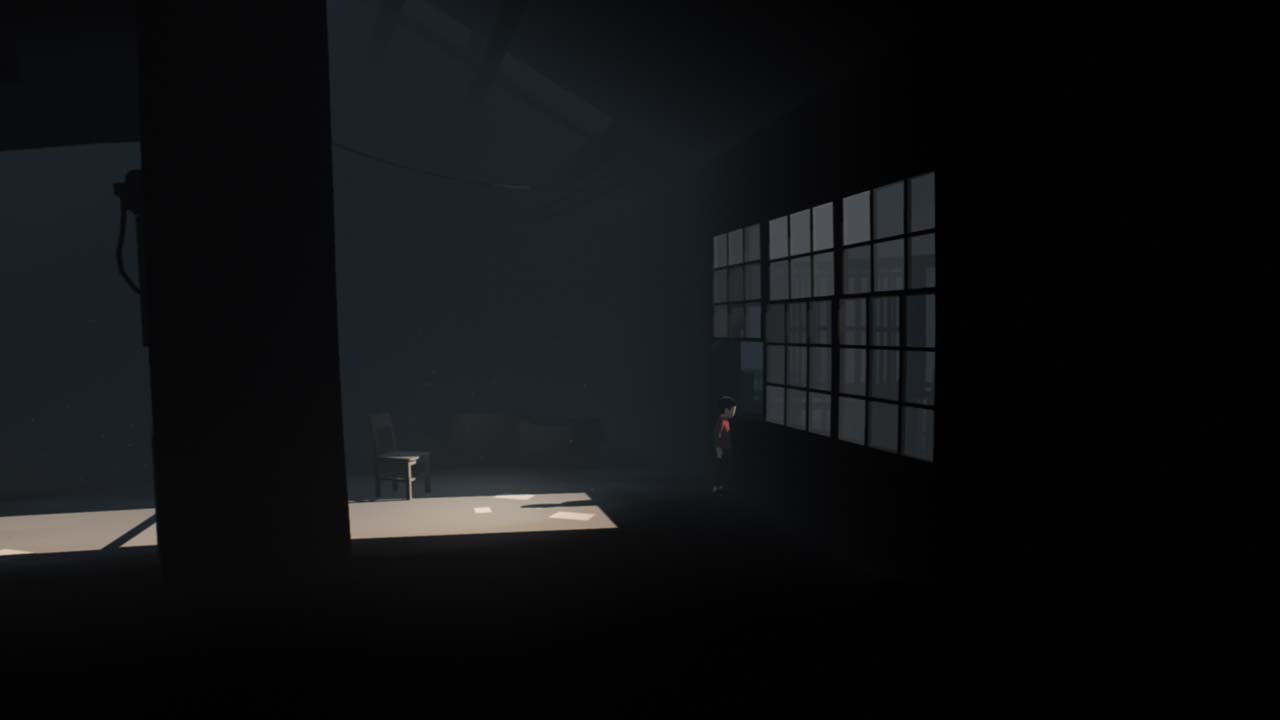
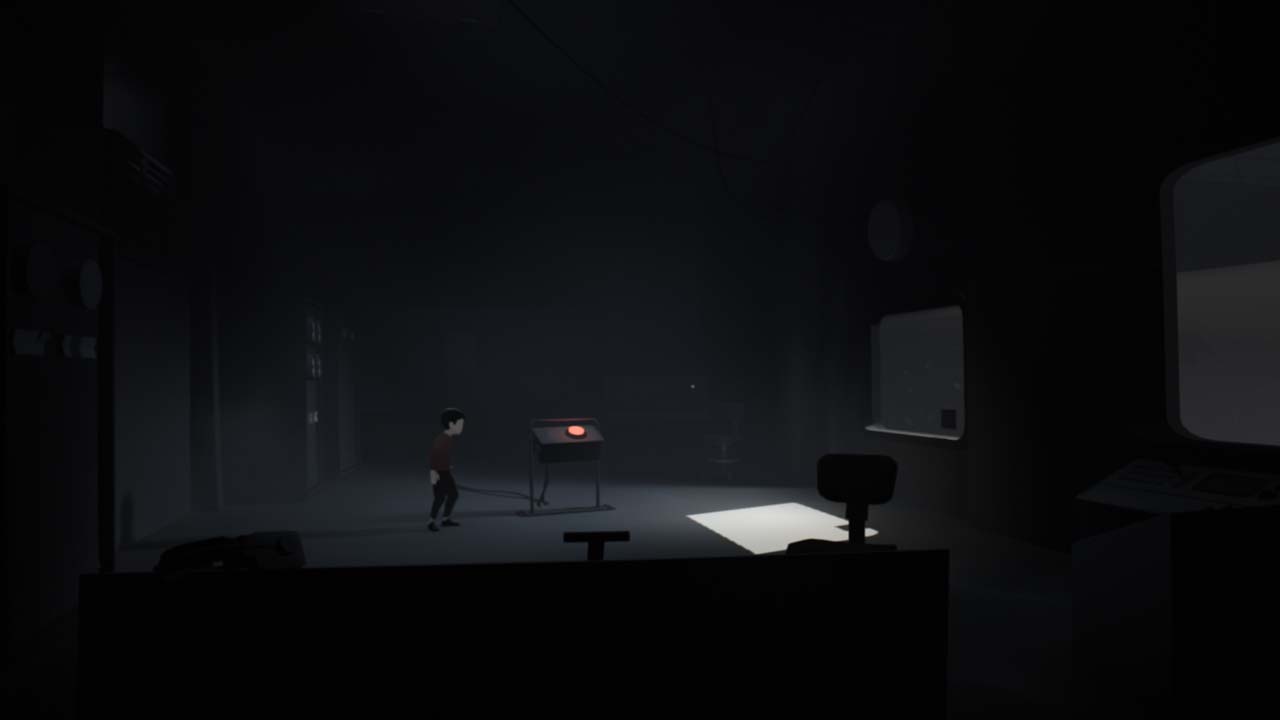
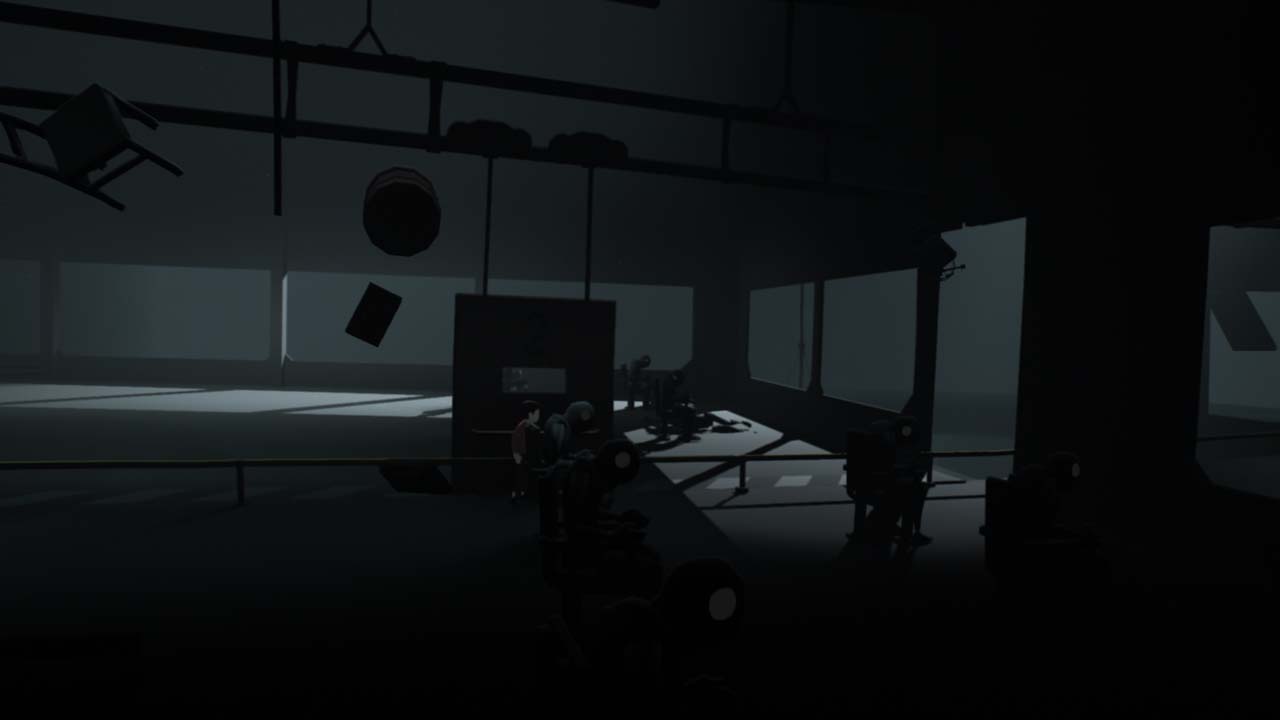
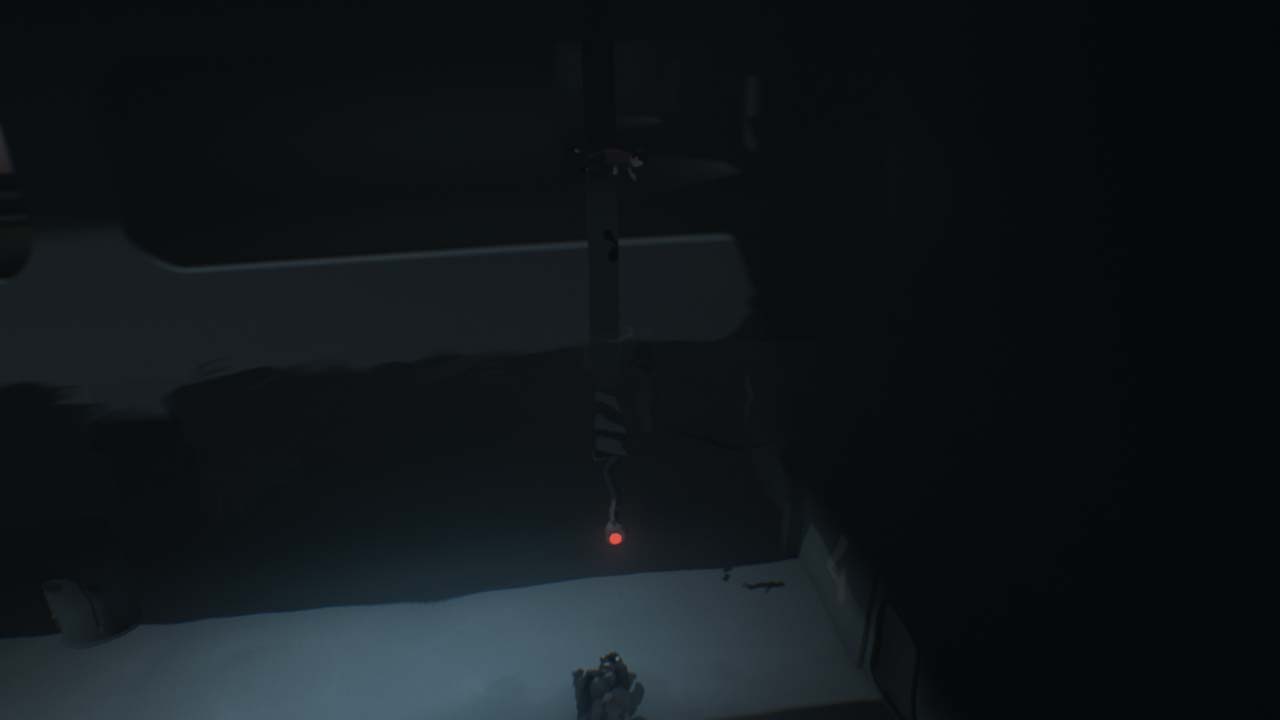
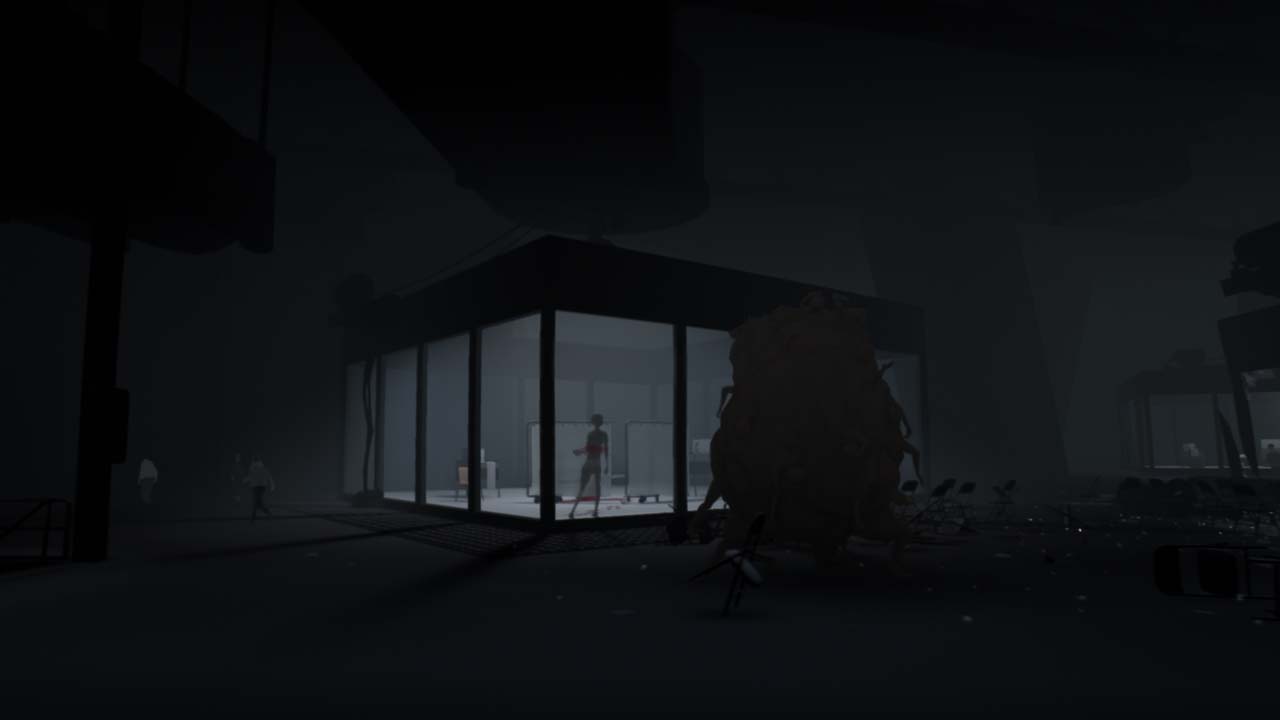
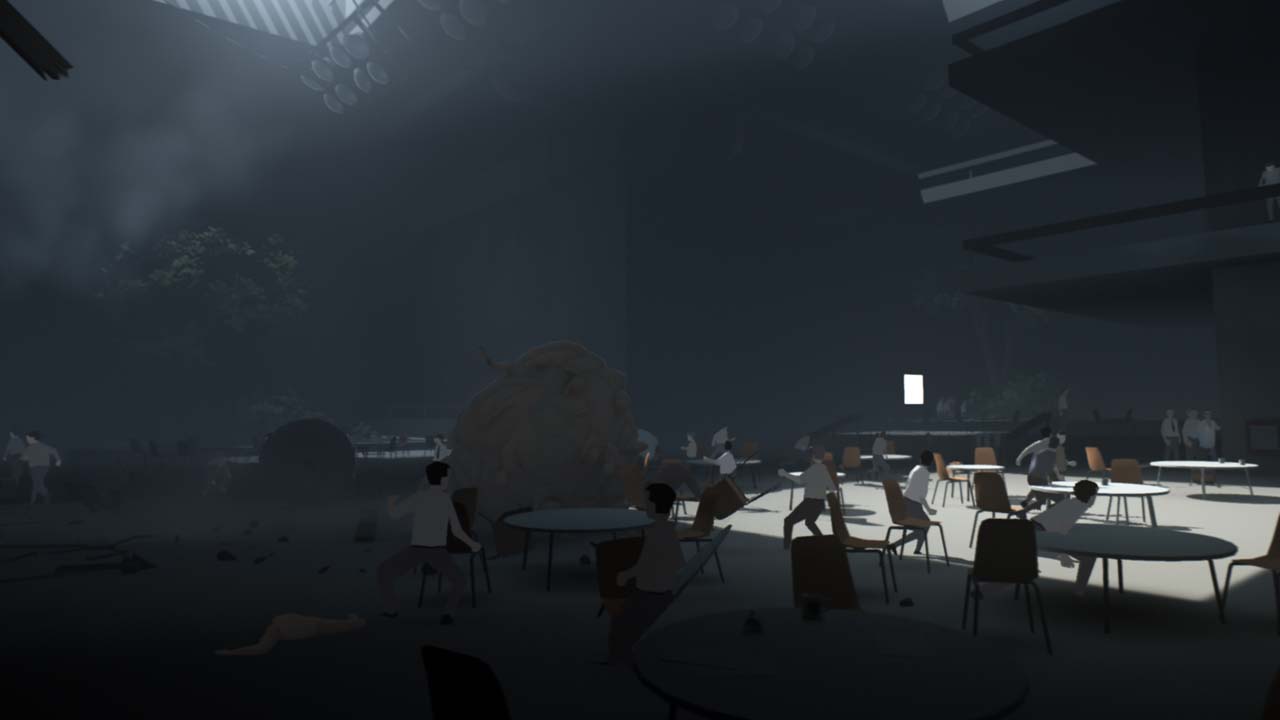
Now we're into a pretty creepy area. There's a glass case with a robot or person inside barely moving, a bunch of empty chairs and a lot of workers looking through a different glass window. Grab the cart on wheels to jump the ladder that is just off the ground. Climb it and jump to the light above you. Climb that and the pipe that it leads to the top. Keep running forward to find more people crowded around the same chamber. Run past them and through the hatch on the ground. Eventually, jump down to the motorized arm. Jump into the cockpit and take it down and to the right. Jump out of it and onto the ladder.
You'll run across a pipe and into a large pool. Jump into the pool and release the two handles on the ceiling of the underwater device. Then climb out of the water to the platform in the center of the pool. Flip the power switch to stop the water from spinning. Now you can reach the bottom of the pool. Pull the last lever at the bottom of the pool. You'll find that it opens a door, but the door closes too quickly. Climb out of the water back onto the platform and flip the switch again. As soon as the switch flips, head back down to the bottom to pull the lever. The current will push you up and into the open hole.

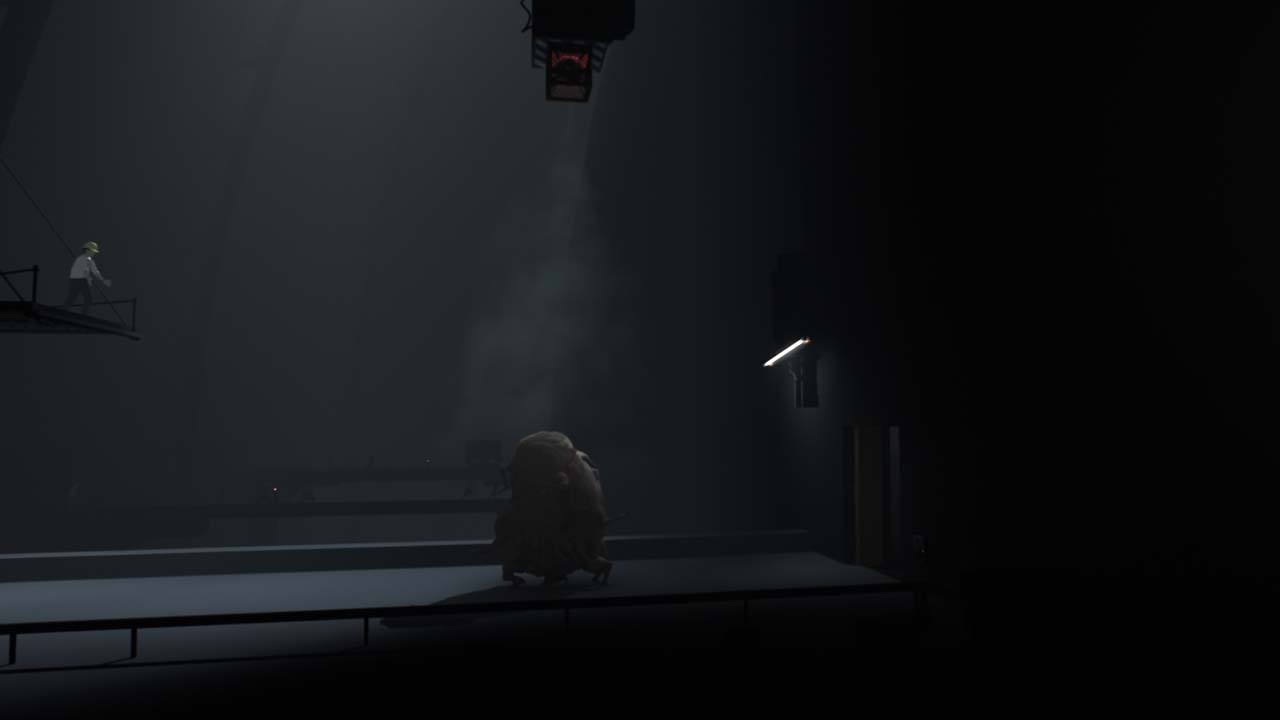
Once you're in the observing chamber, start to pull the plugs on the monstrosity in the center. You'll eventually be absorbed and become a part of it. When that happens, pull the large plug on the left wall which will break the chamber.
Barrel your way through the office, terrorizing everyone there. Pull the gate off the wall when someone tries to stop you. When you crash down through another observing chamber, grab the large circuit box on the left wall and drag it to the right so you can reach higher ground. Grab the pole and hit the button on the ceiling to open the door. Use that same pole to press the switch on the ground to activate the lift to bring you to the high ledge.

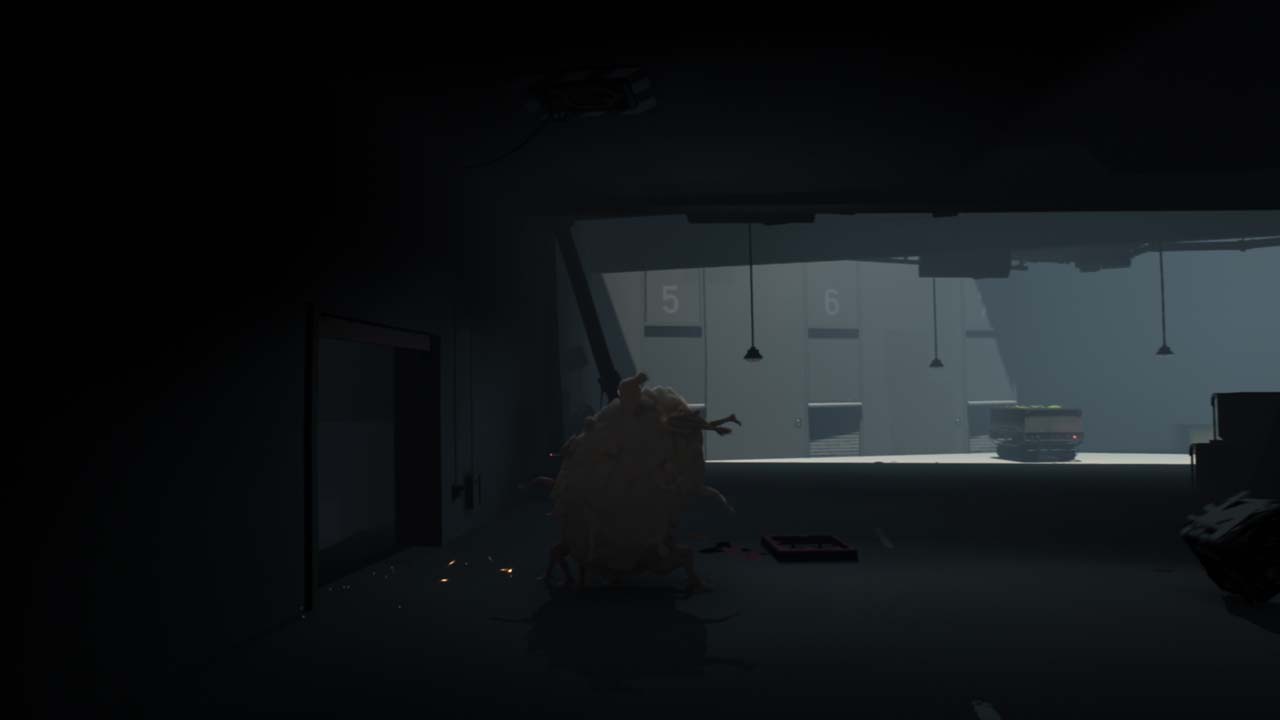
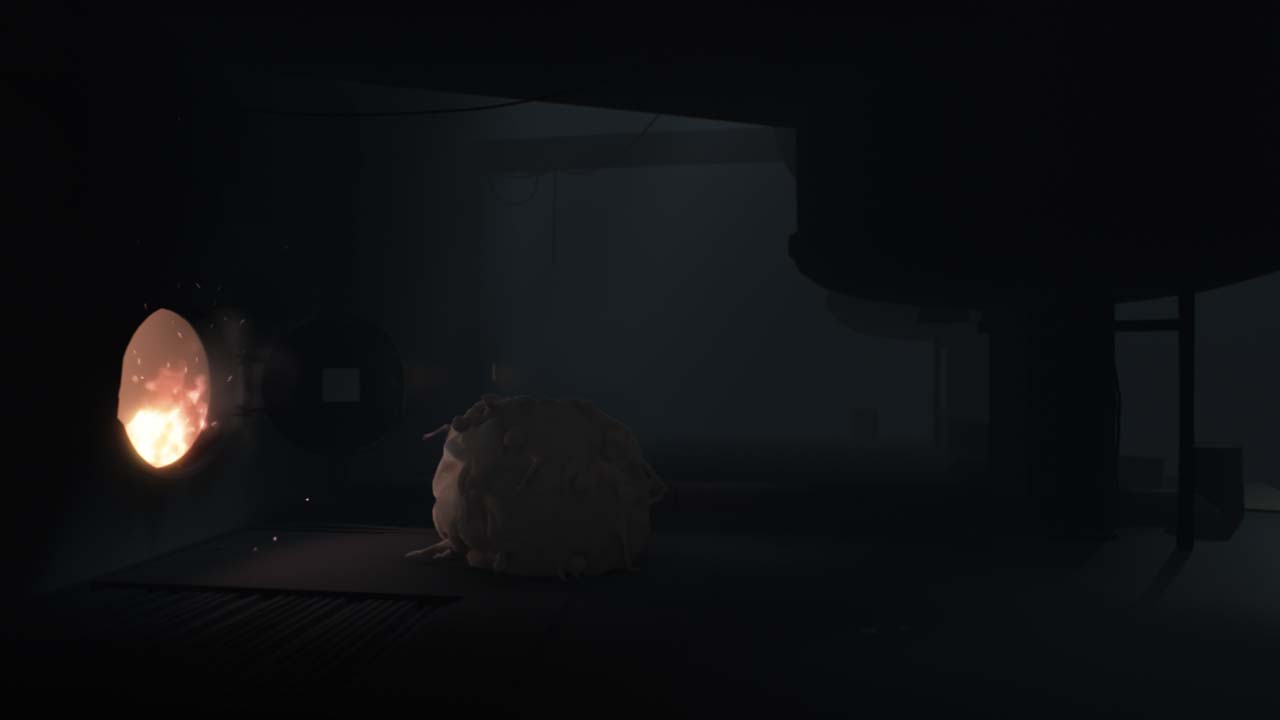
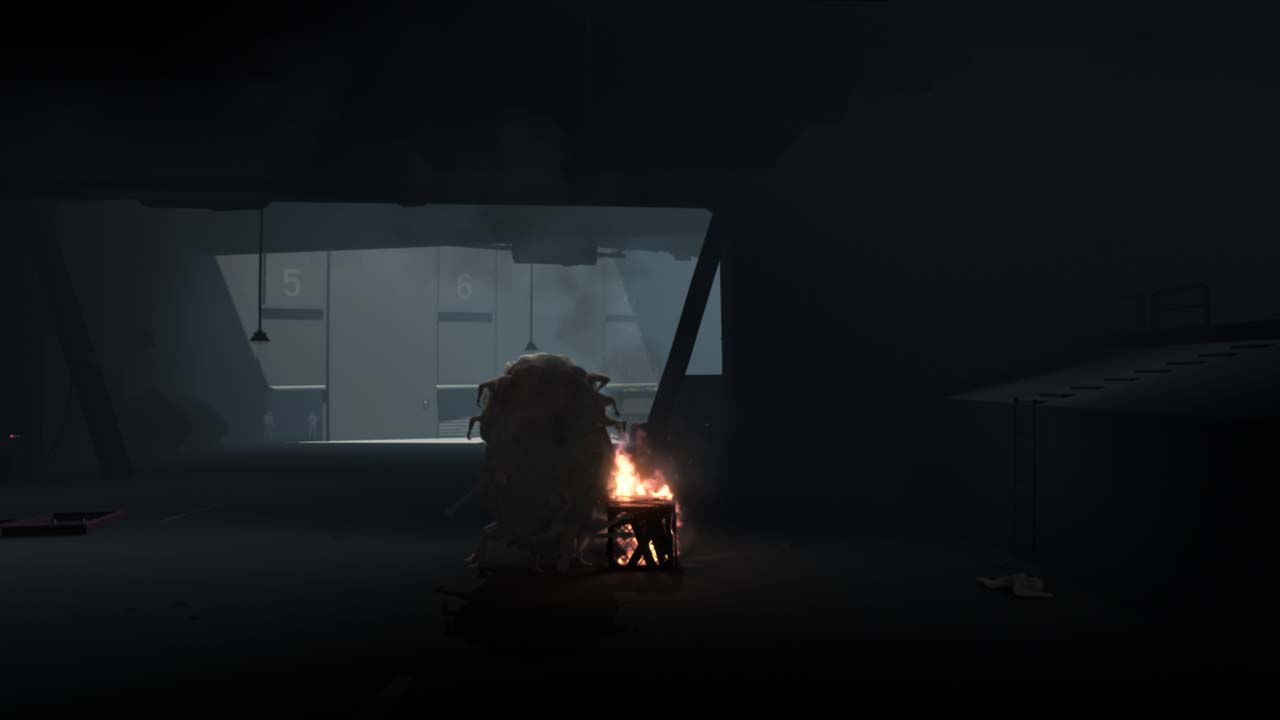
Hug the left wall and wait for the worker to open it for you. Fall down the hatch that the next worker opens for you. Grab the box at the bottom and throw it at the open hatch on the ceiling to the left. This will open the door in front of you. You aren't done with that box. Grab it and take it to the incinerator to light it on fire. But this place thought of everything. Sprinklers will activate to extinguish the box. Take it back to the incinerator to relight it. Then throw the flaming box over the two sprinkler poles to bring it back to the chamber above that has the flammable symbol on it. Toss the flaming box inside.
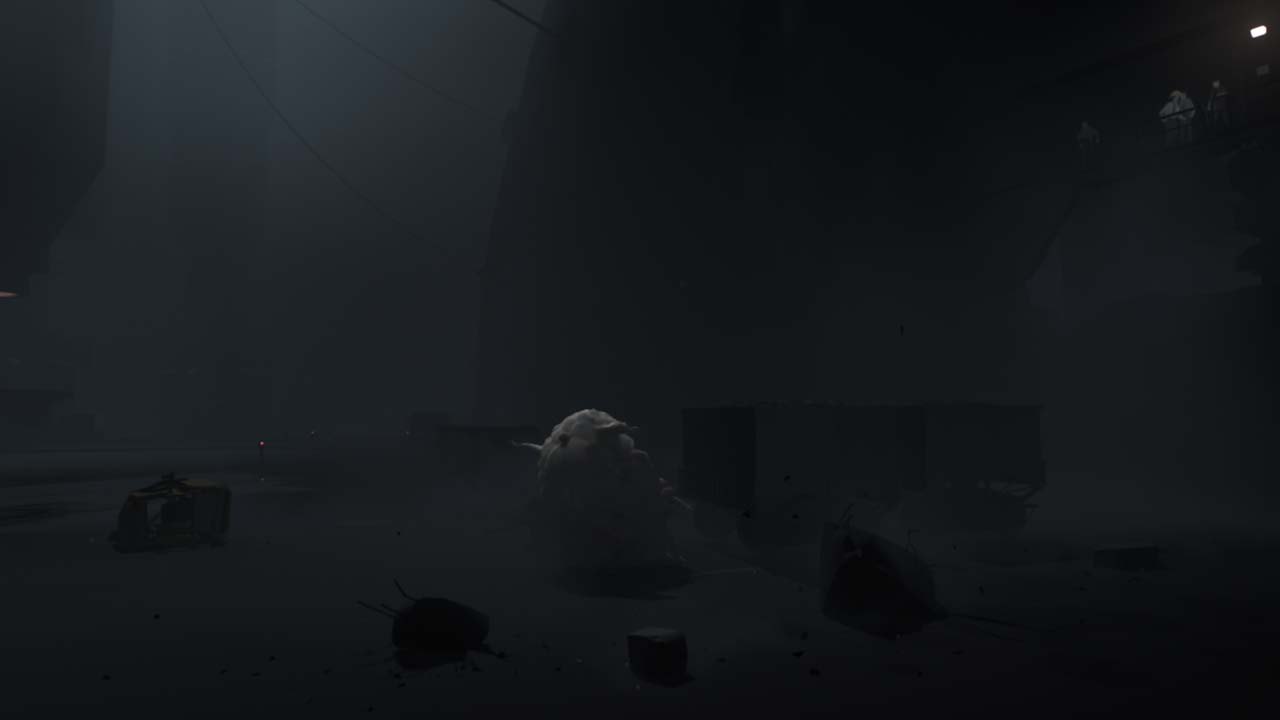
In the next room, drag the large dumpster under the crane. Climb onto the dumpster and grab the crane. Swing from it back and forth until you have enough momentum to make a hole in the wall under where the people are standing. The next room has a launching box. Toss the box up to the people. They'll activate it for you. Once it's activated, throw it up and its mechanism will send it higher to hit the button. The button opens the door in front of you. Head through the door as soon as it's open. It won't stay open for long.
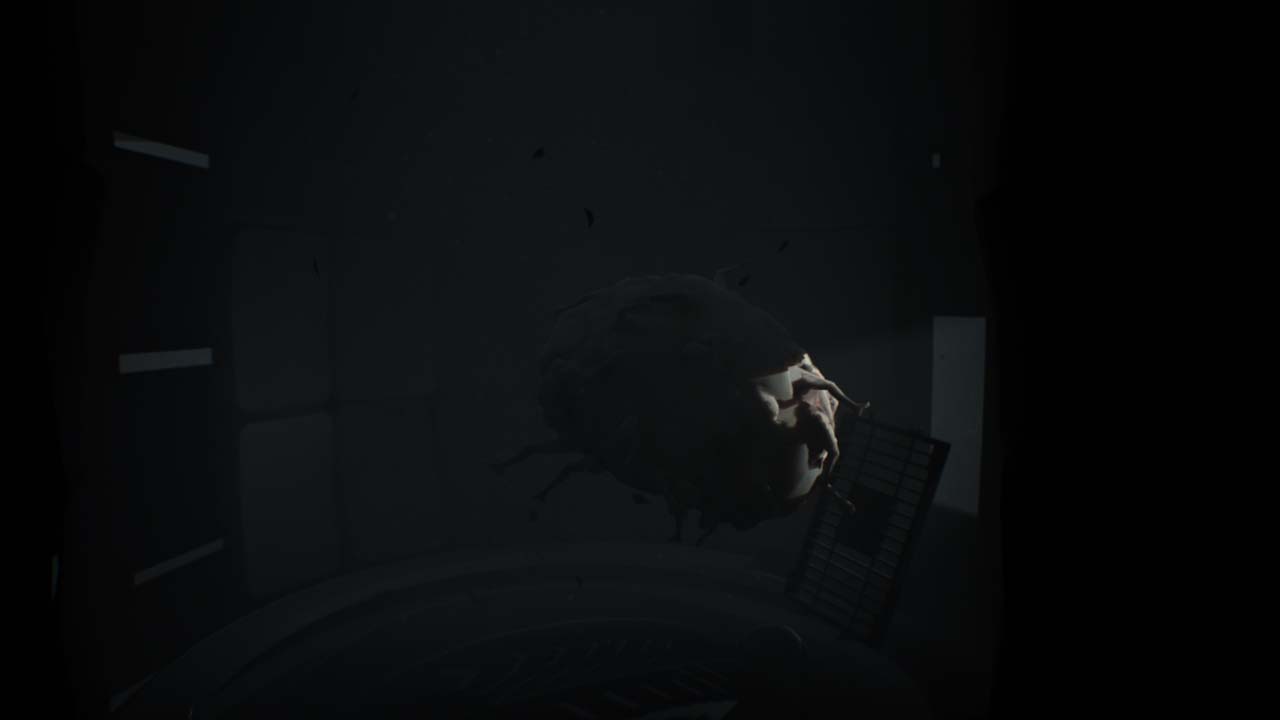
There's a hanging box in the next room with a whole bunch of people in the background. Once you grab the box, a trap door will open. They try to trap you in a underwater room. Start pulling off the side panels. The lower right wall has a grate behind it. Rip it open and swim to the surface. Burst through the wall on the right to reach the ending.
The next level of puzzles.
Take a break from your day by playing a puzzle or two! We’ve got SpellTower, Typeshift, crosswords, and more.


