
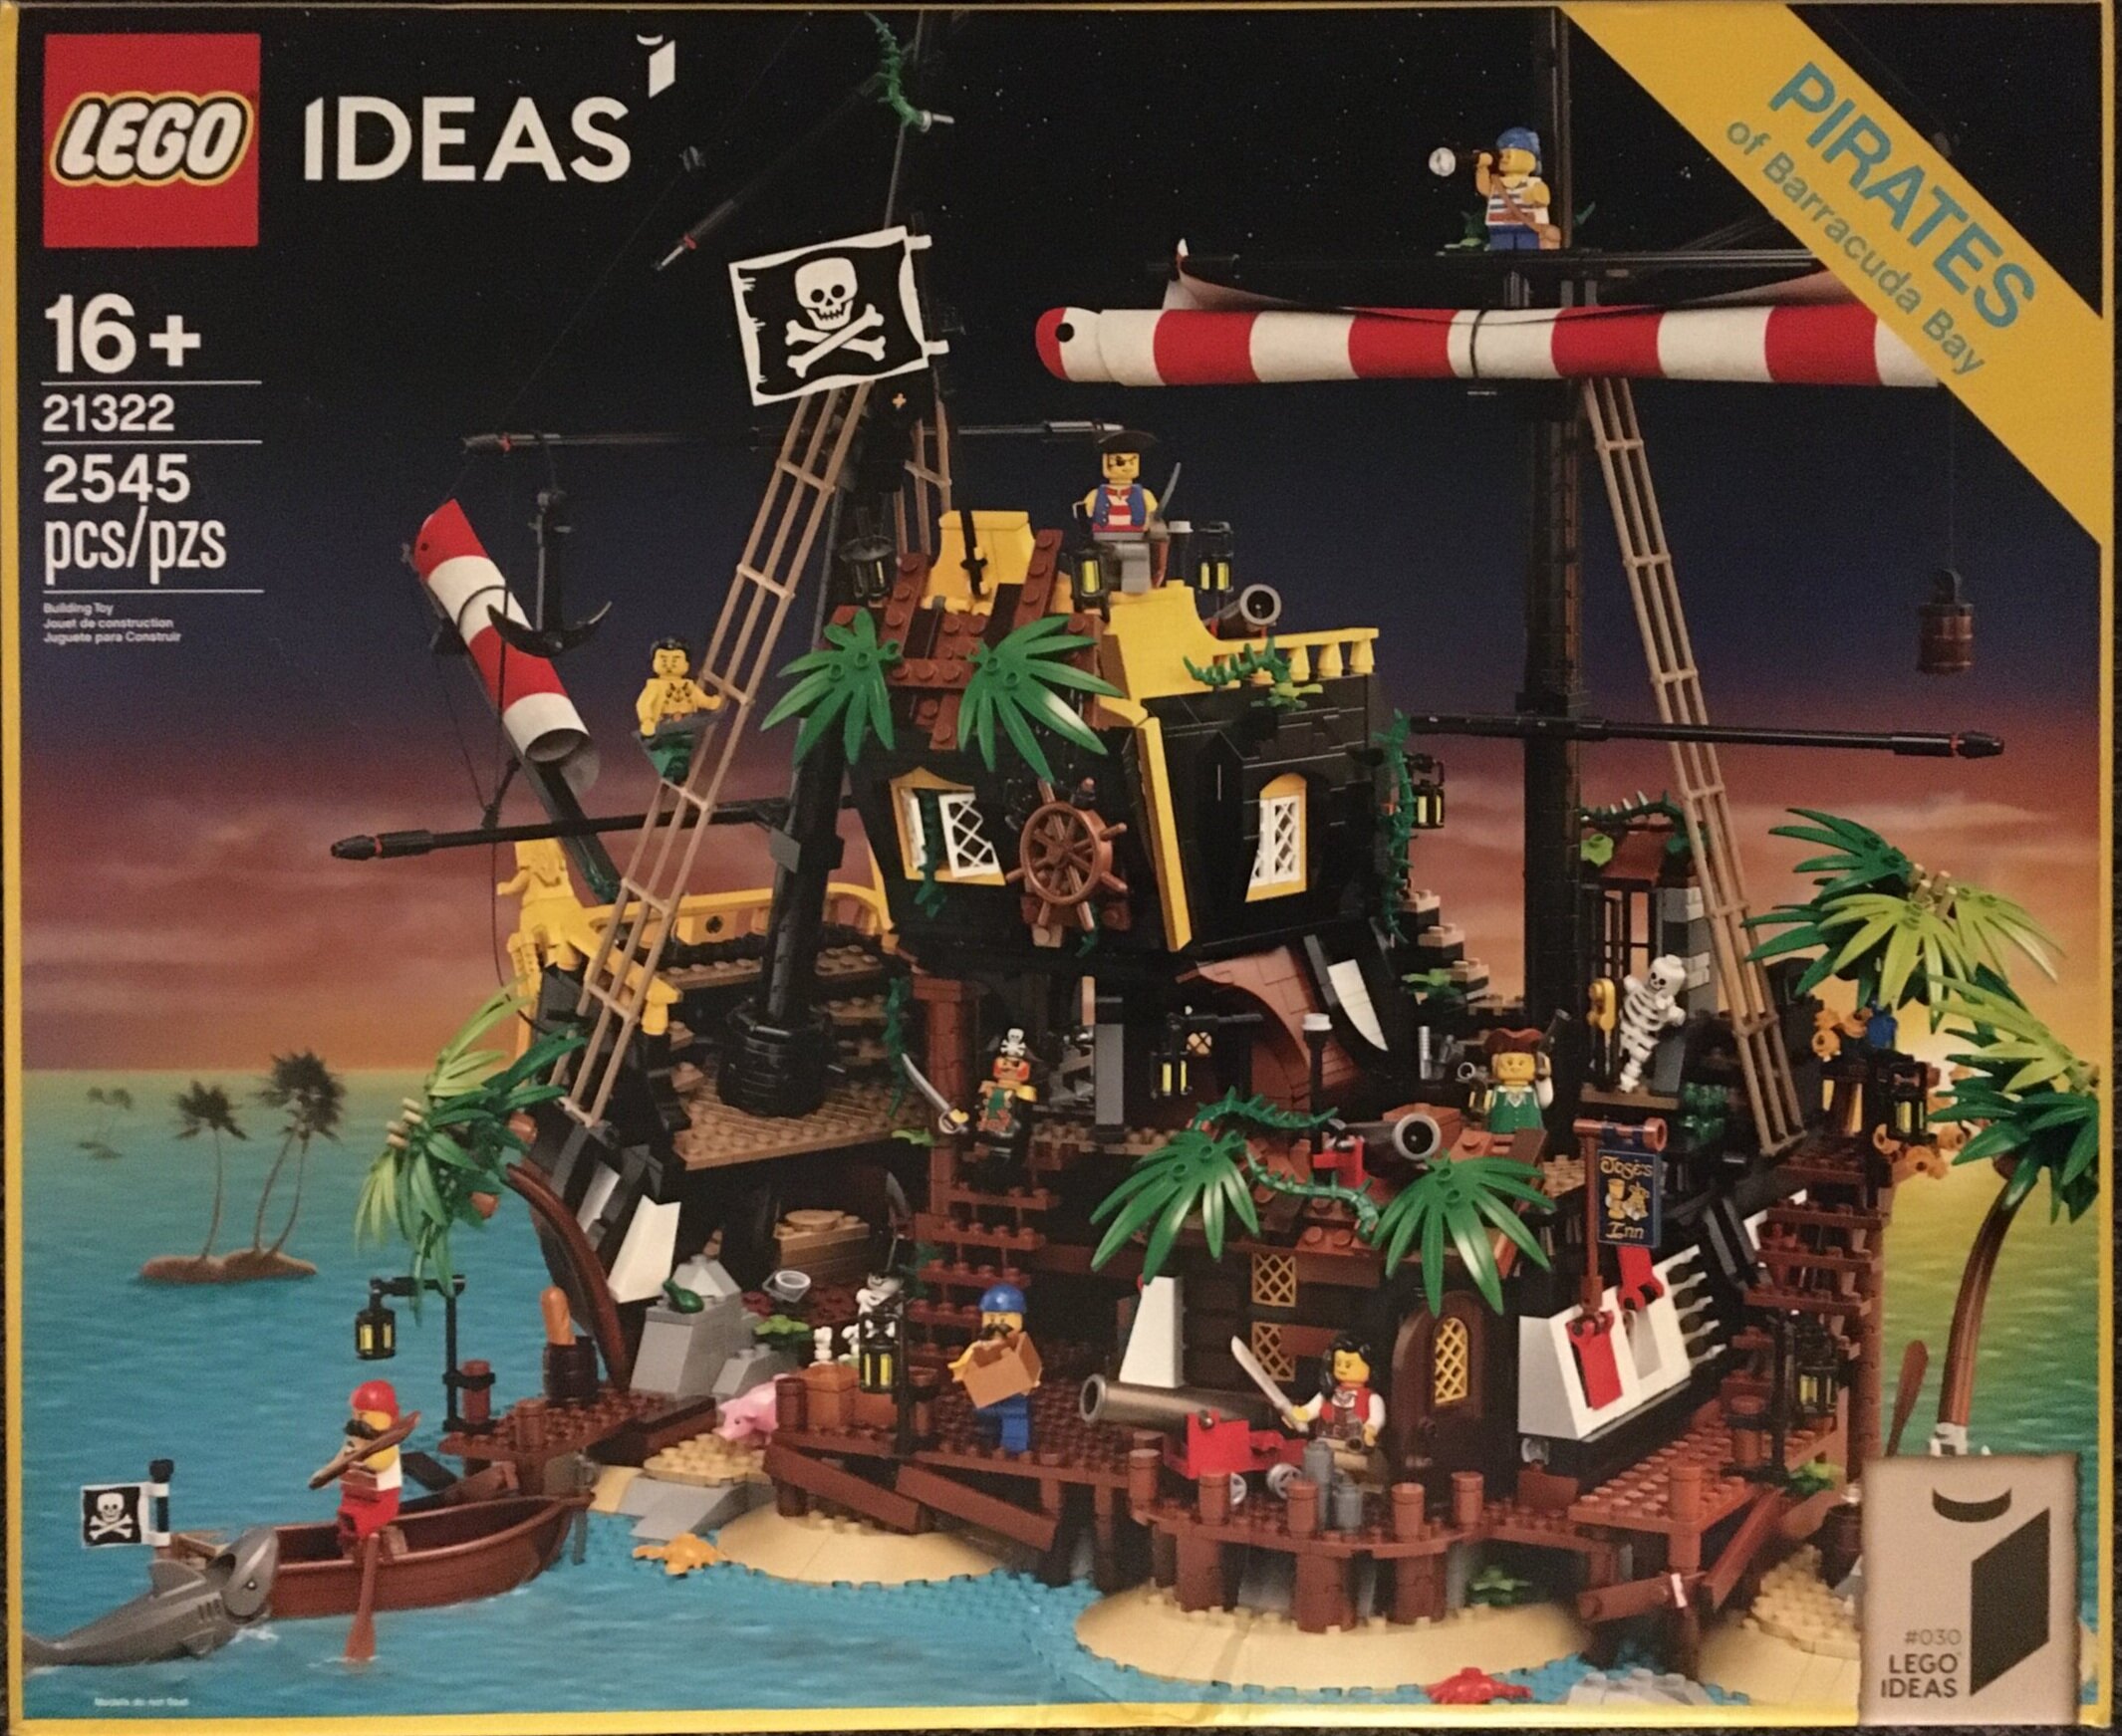
It’s the 30th LEGO® Ideas set and a throwback to the classic Pirates theme from the 1980s and 1990s… The Pirates of Barracuda Bay was released in the US on 1 April 2020. It contains 2,545 pieces, contains 10 minifigures and retails for $199.99. At that rate, it is $0.079/piece.
I recall playing with Pirate themed sets as a kid and this set played right into that nostalgia with similar minifigures, the skull and cross bone flags, and even the parrot. The front of the box is even designed to look similar to the original Pirates sets. The fan designer for this set is Pablo Sanchez of Spain and he had that same idea for this set where it would be a chance to highlight the past theme that he played with as a kid.
Before I move on with the review, you can see the LEGO® Designer video here.
Onto the review… as mentioned the front of the box has the Ideas branding, but also looks like the historical Pirates sets from back in the day. Awesome! The back shows some of the details of the set, gives dimensions, and shows that you can assemble the set into a ship.

The sides of the box… the US version gives the French and Spanish names and includes a grouping of the minifigures.


I counted 25 numbered bags labeled one through 15. There are three unnumbered bags and then two large axles not in bags. There is a 459 page instruction book. It includes info on the story behind the set, details on the fan designer, details on the LEGO® designers, details on the minifigure crew, and then the instructions.


The sails are included in a separate package, but mine was shoved in the bag. This didn’t seem to be a problem as you roll up some of the sails for the initial build anyways. Also, and I haven’t tried it yet, I read on another blog that you can use an iron to flatten out the sails when you want to attach them to the ship part of the build. I’d recommend placing a towel or another cloth over the top first before ironing just to be safe. I wouldn’t go super hot either. Has anyone tried this yet?

I’m not going to go into great detail about each bag, but I tried to put pictures of most of the steps in so you could see how it comes together.
Bag one builds part of the island and includes a small boat and Port (one of the Broadside Brothers). I like the new palm tree design which includes minifigure heads as coconuts. There are also a few brick formations which appear to be ancient native sculptures from whatever island the crew has landed on.
Bag two adds some decking and starts to assemble the first part of the ship (middle section). The ship comes with some large BURP type pieces (Google it if you don’t know BURP). While some may prefer to build out a ship, I’m okay with the larger pieces as it makes the ship structurally more sound in my opinion.


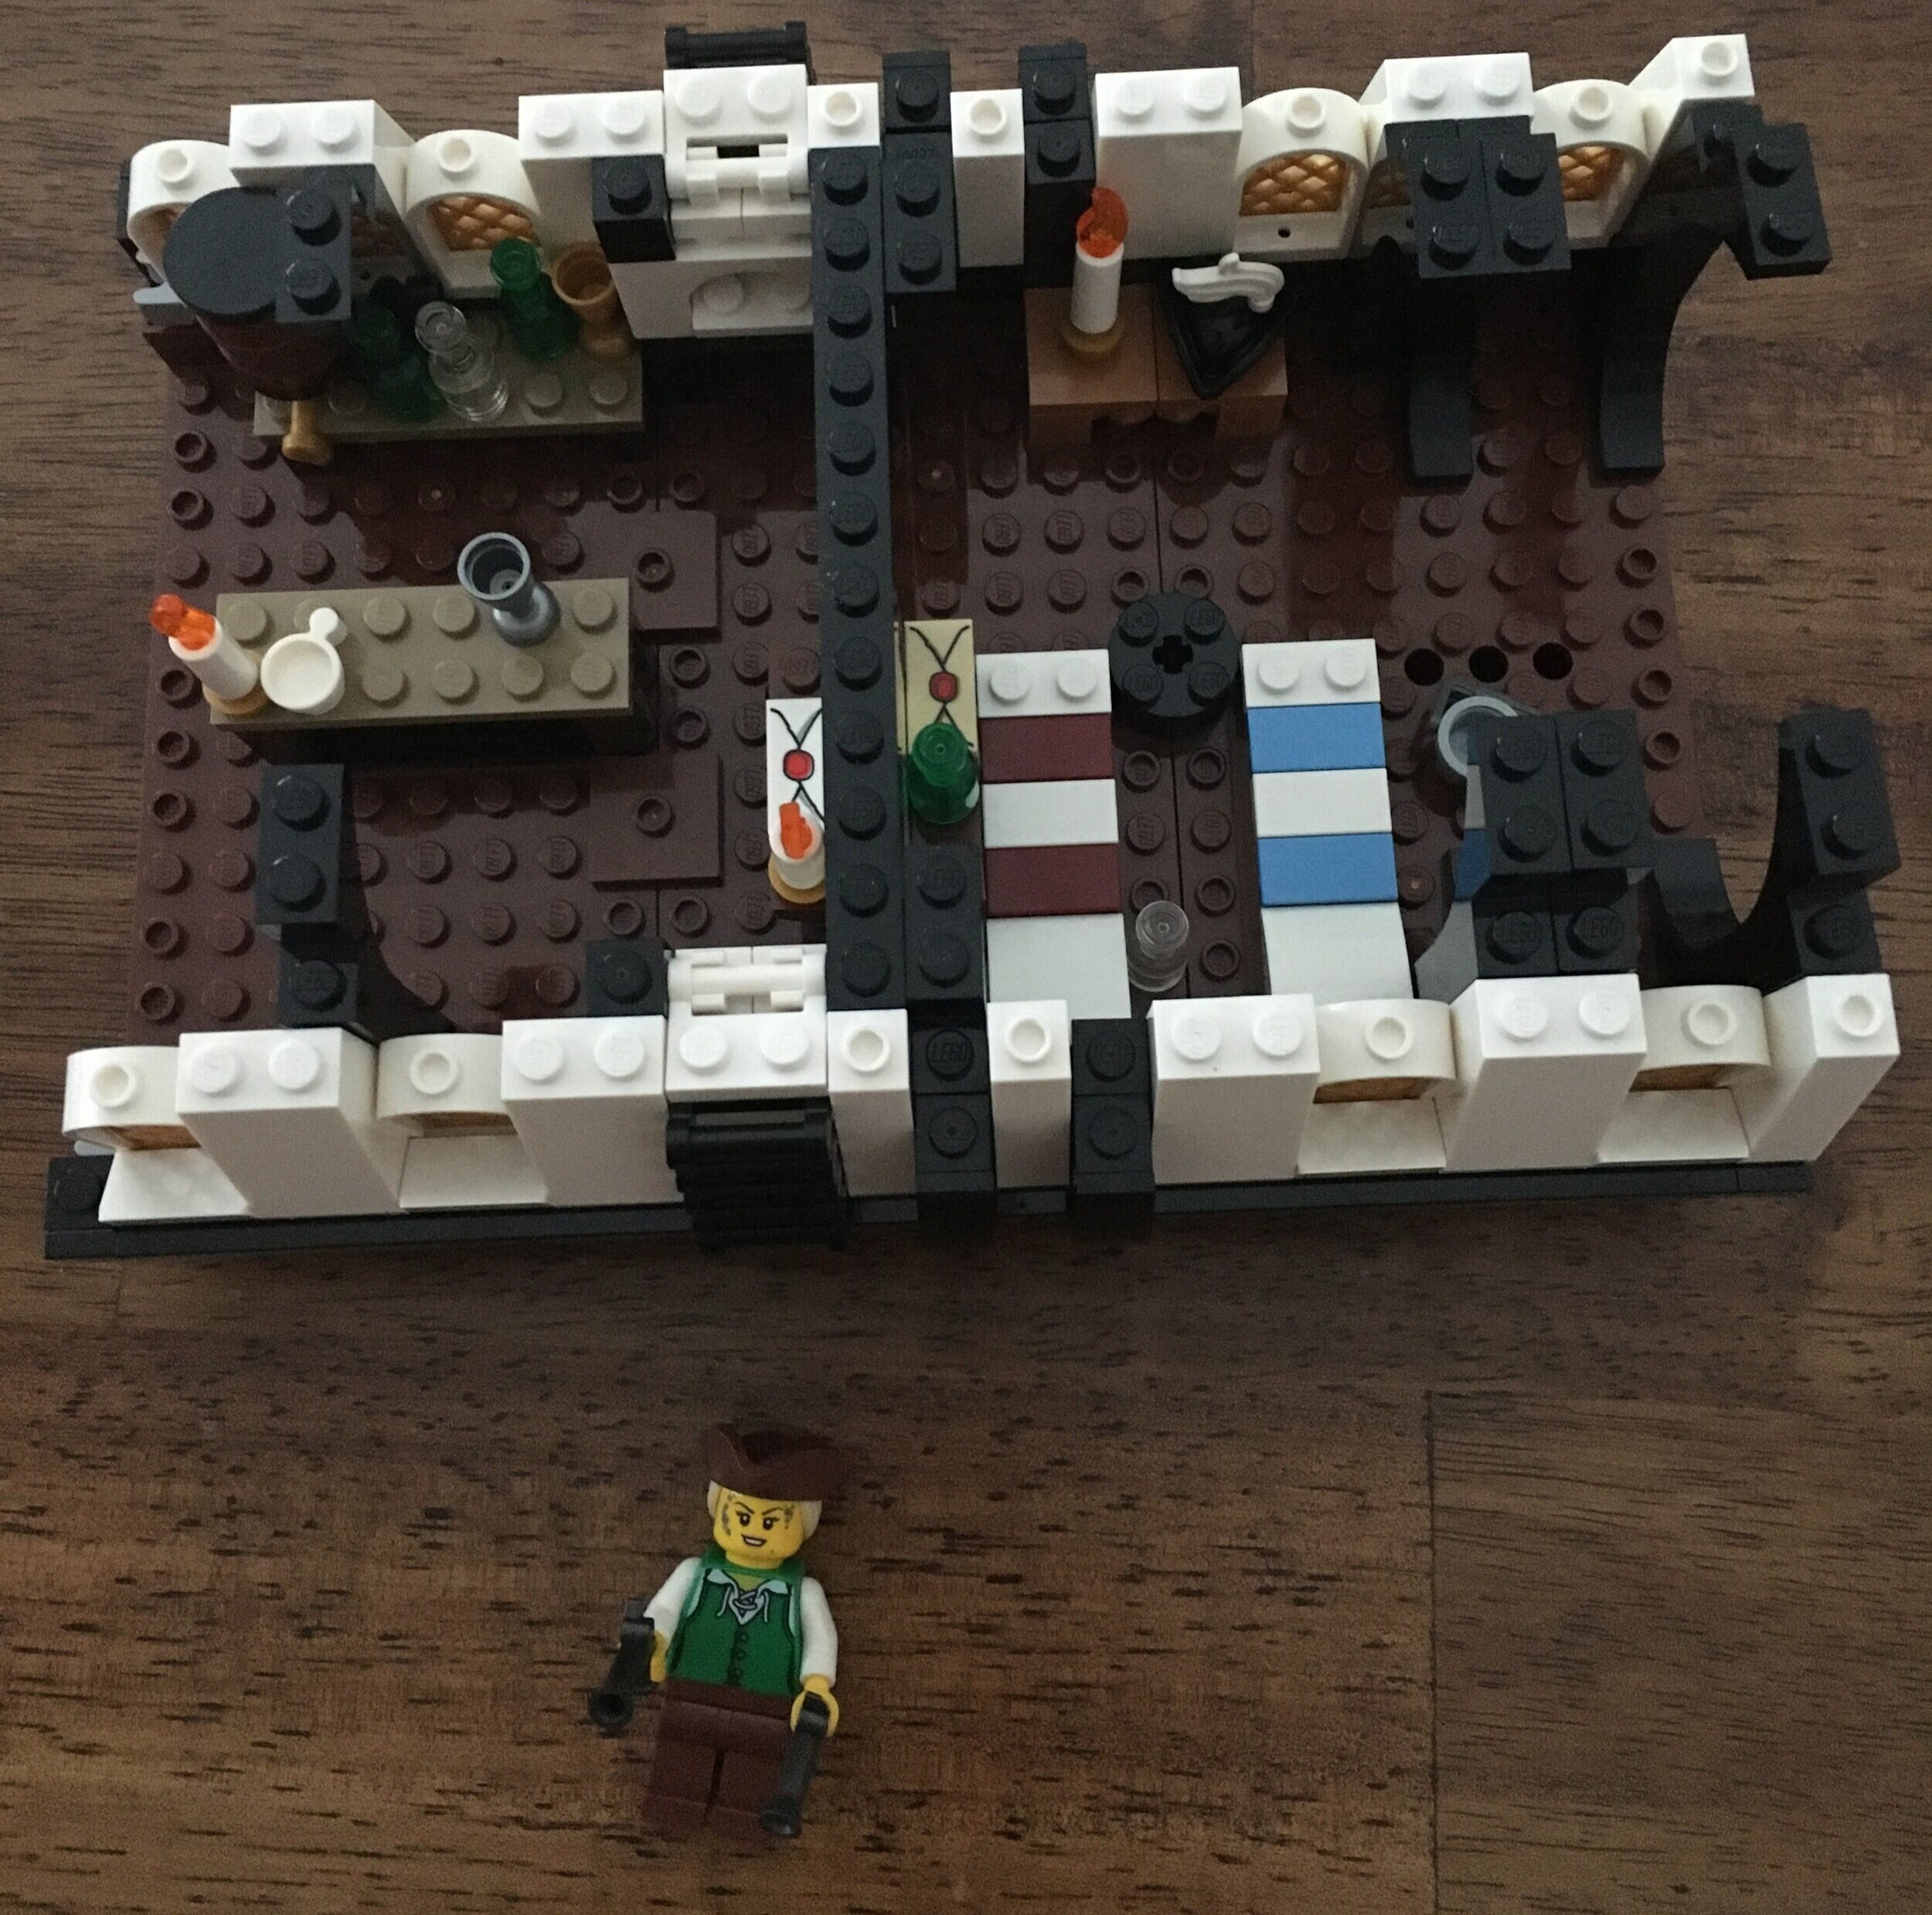
Next up is the interior of the center part of the ship. It includes a few beds, an eating area with some extra cups and bottles, and some candles for light. This bag comes with the first female member of the crew named Robin Loot. Back in the day they were full up male crews so I like the addition of female pirates.
Bag four finishes up the interior and mostly covers the top. It also adds some of the plants that have grown since the crew has been stuck there. The cannon port holes are now windows. It works for the island build, but it would have been cool to have enough cannons for the ship when you re-build it later.
Of note, there is a printed flag piece that says “Jose’s Inn” in reference to the fan builder’s father who introduced him to the Pirate theme back in the day.


The fifth bag finishes up the center section of the ship. It adds the masts and rigging for the crew to climb up. I am a big fan of the large sized pirate flag. This section of the ship attaches to the island section and the set starts to come together. This bag also includes Jack “Dark Shark” Doubloons who is a small minifig (short legs) member of the crew.
No complaints so far and it has been a great set to put together. I sadly didn’t have a lot of time to sit and crank it out so this was built over a few days. I learned that this is not a set to pick up and put down multiple times. Easy to put back together though.


The sixth bag builds the other part of the island with another palm tree, some decking, another crab, and a pig eating some 1x1 round plates. It also includes a shark which seems to match the design of the original sharks from back in the day.

The seventh bag finishes up the island portion. It adds some food storage with a baguette, some bananas, and a pineapple. It also includes some tools and extra oars. This bag includes a skeleton wearing the original imperial army hat who is hidden under one of the decks. The minifigure here is Tattooga according to the instructions.
On the building technique front, There is a wall built with a window and the builder angled the window so it is not square with the bricks. It is slightly angled and the spaces are filled in well with bricks. You can see the window in the second picture below.


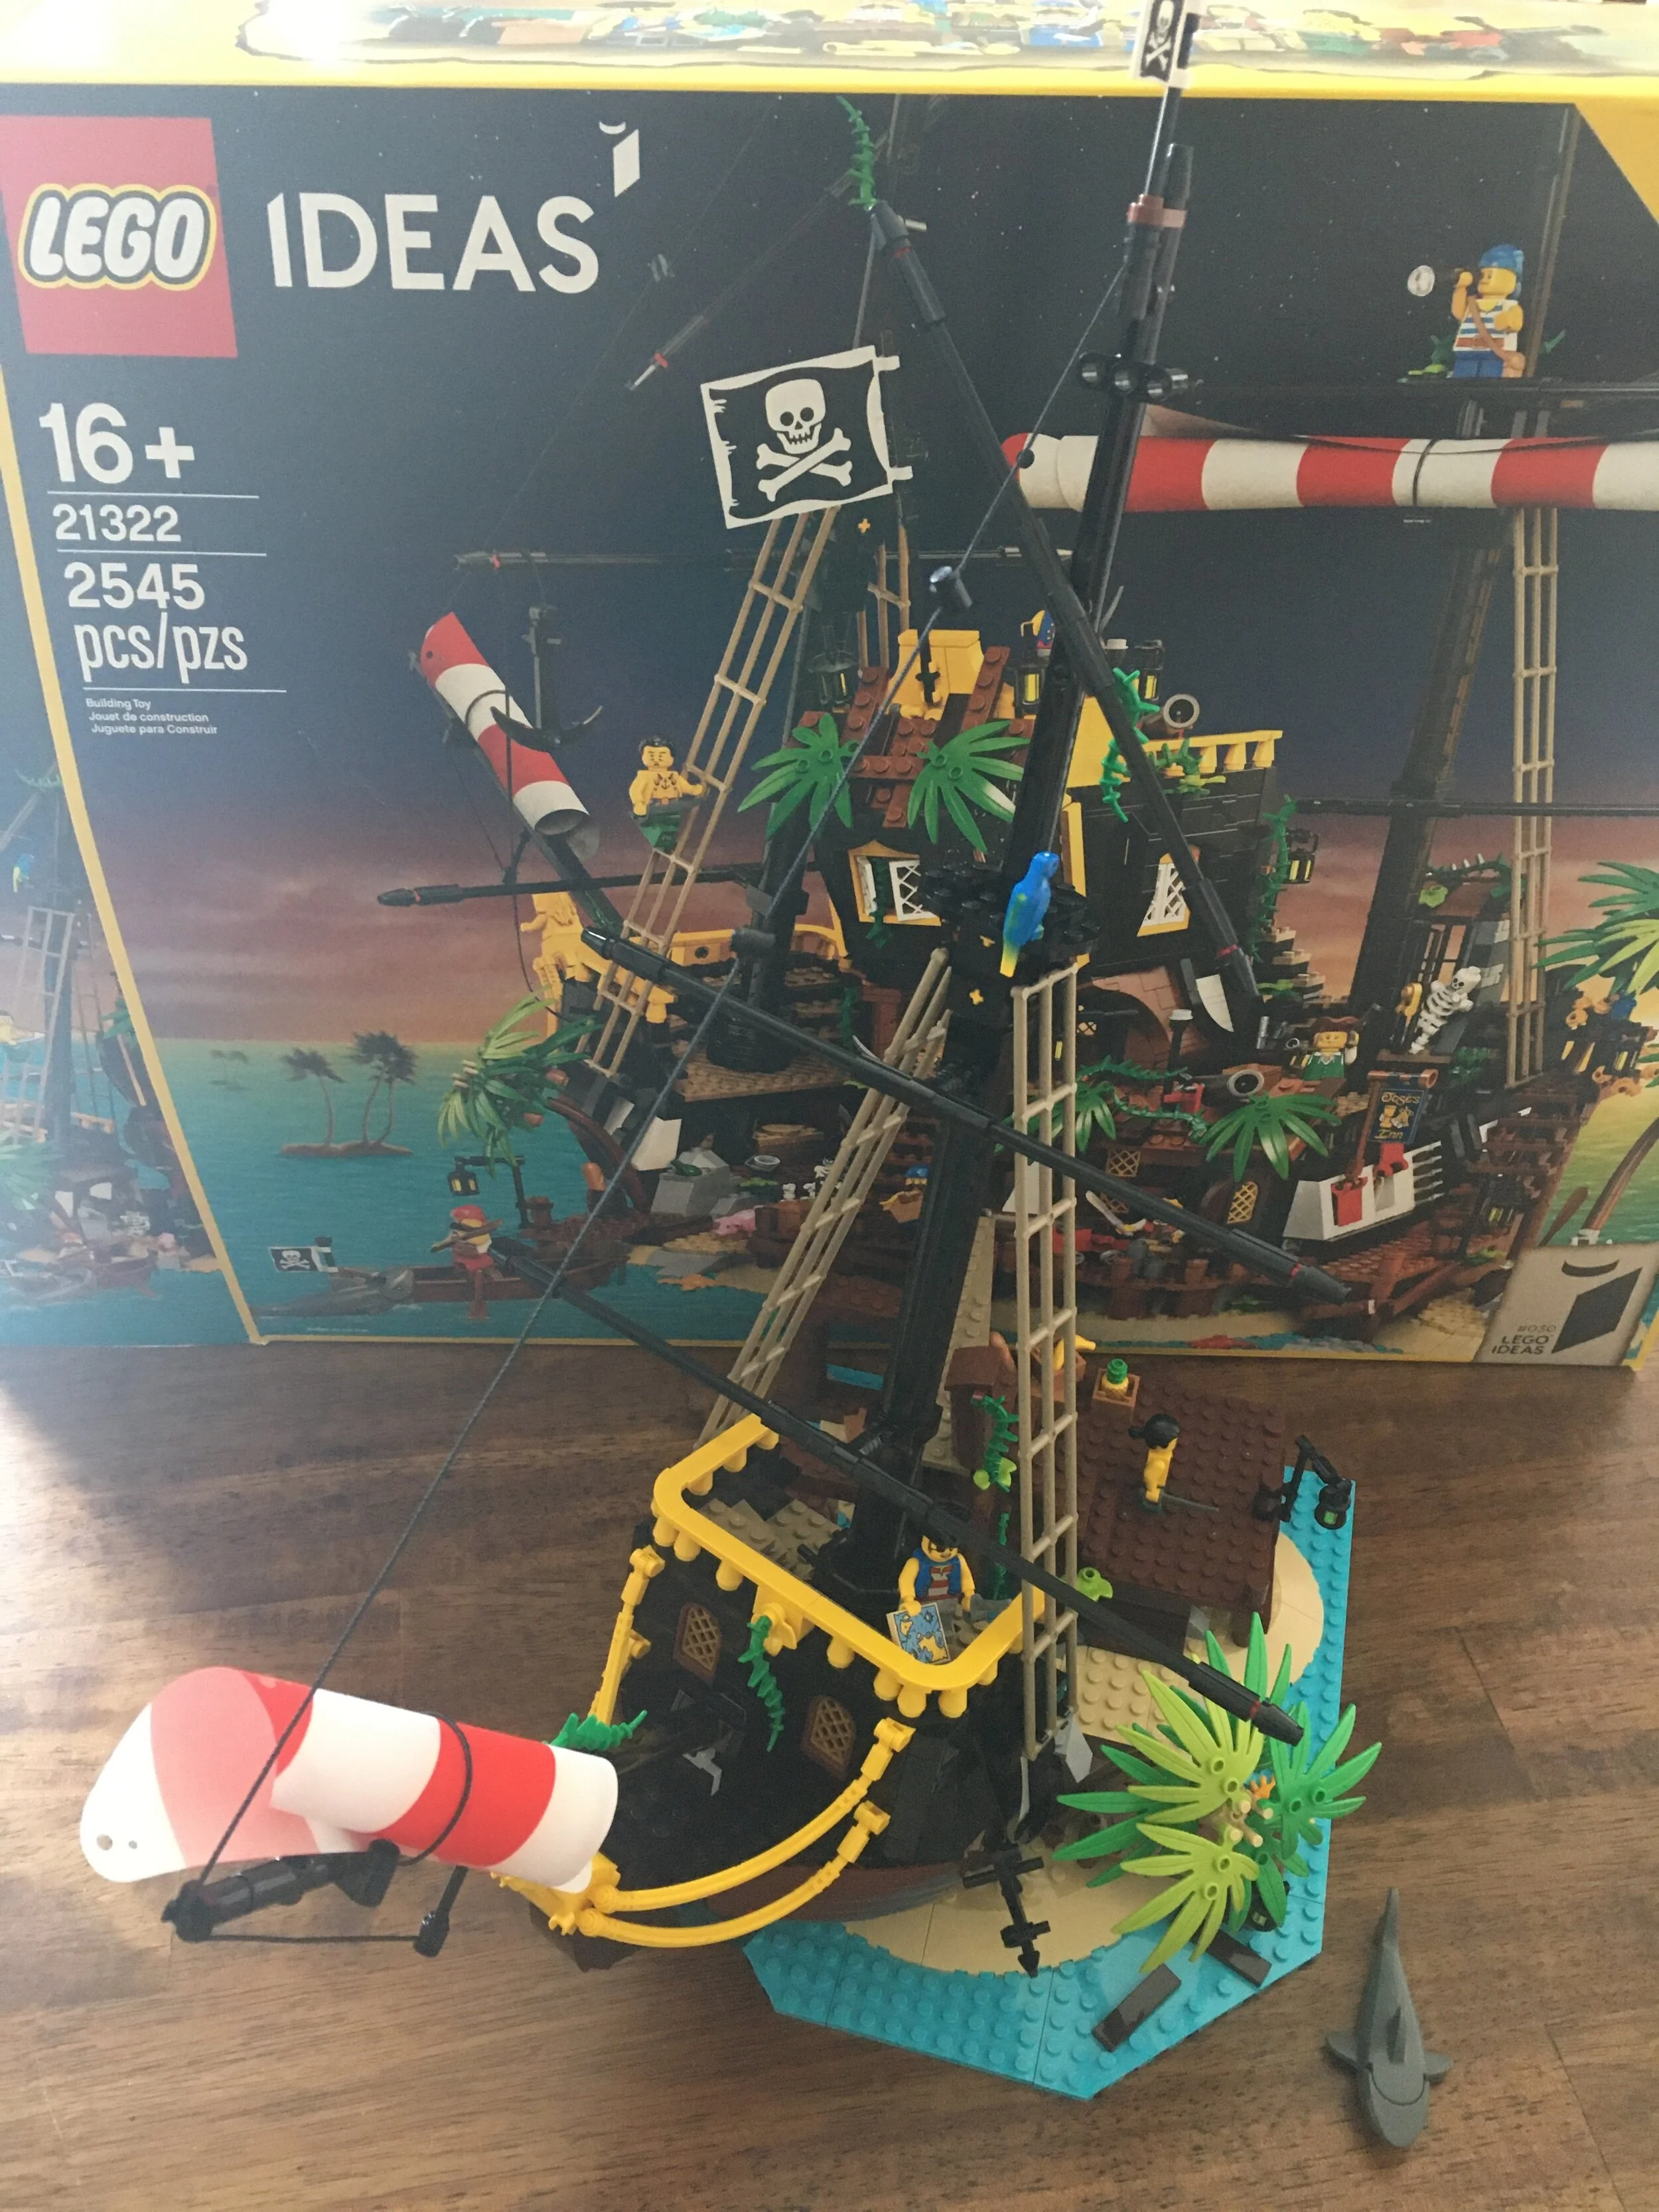
Bags eight and nine build the bow of the ship (front). It starts with a BURP piece and that is built up with some additional pieces to make it more ornate. The yellow railings with the black really make it stand out. An anchor is attached here and you can move it up or down which is a fun detail.


The tenth bag finishes the bow with another mast, a parrot, the minifigure "Quartermaster Riggins, and a partial minifigure as the front figurehead. You get a smaller pirate flag on the top of the mast.
You also finally use up the last of the long Technic axles. This was a good thing as I was done digging through the box to try and find them.
Bags 11 and 12 build the stern of the ship. Bag 11 includes the pirate Starboard.


Bags 13 and 14 wrap up the stern build. This includes Captain Redbeard’s office which is rather ornate and includes a bust statue, a treasure chest, a fancy desk chair and desk, and a map. There is a fold down bed which doesn’t seem to fit with the rest of the office, but we’ll take it. There is another large pirate flag on the back of the ship which is great. Bag 14 comes with the pirate Lady Anchor. It adds a top to Capt Redbeard’s office and a door. The steering column is on top, but the wheel itself is dangled off the ship on the back. There’s also another cannon on this section of the ship.

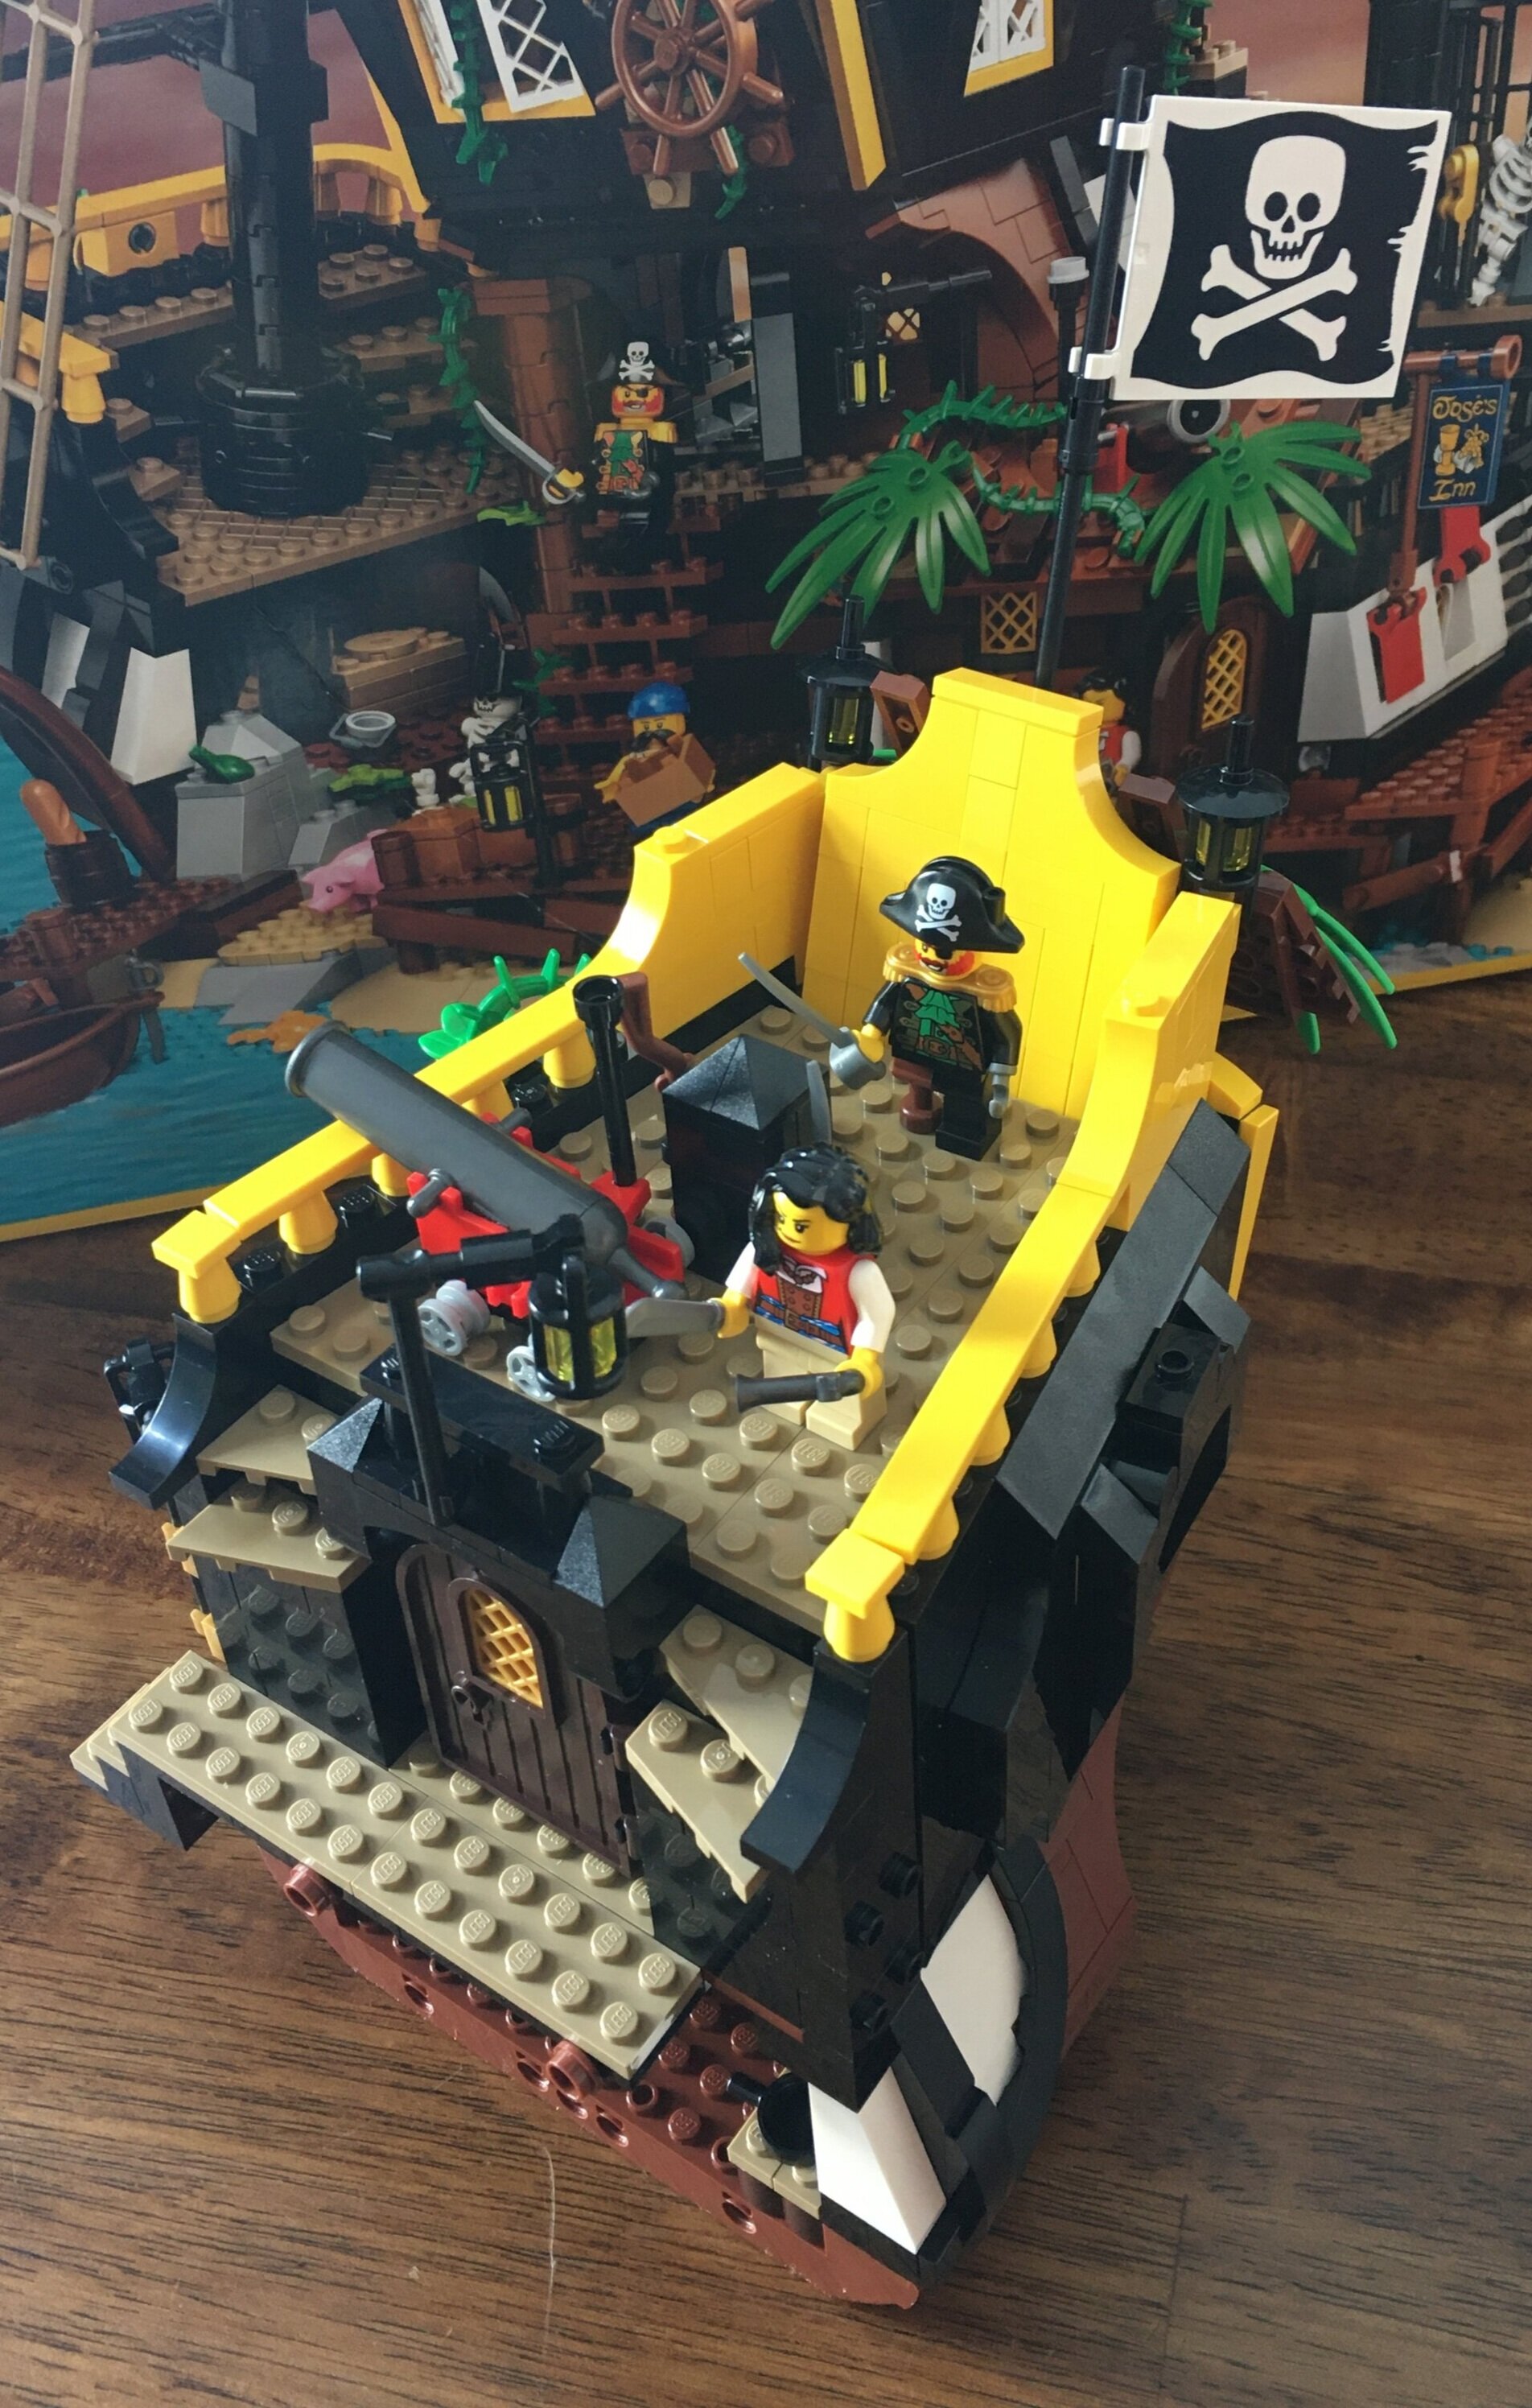
And then you put the stern on the second island section and connect the two sections and it looks awesome! I will do a separate post for bag 15 and the ship, but up to #14, this was an incredible build. I enjoyed the techniques, piece usage, the creativity in some of the things hidden in the set, and the story behind the set. The set has a lot of pieces and the price per piece isn’t bad, but $200 is a bunch to spend on a set. I used VIP points I’d been saving up so it was easier to swallow the cost, but something to consider going forward (especially if you have your eyes on some of the other bigger sets recently released).
This set has a lot of potential for expansion, re-build, and adding to larger pirate scenes. Well done LEGO and thank you!
You can see my post on build 15 and the island hideout turned ship here. .
