Simple Step : Manage MS Office 2013 with GPO in Windows Server 2012 R2
In this post, let go though a simple step how you as a Server Administrator can manage Microsoft Office 2013 in your infrastructure using GPO.
I know sometimes its really hard to manage MS Office 2013 especially when there are certain requirement, security policy or even certain function need to be customize for our user @ group.
This is where you need .adml and .admx files to manage MS Office 2013 with Group Policy.
Lets get started…
1 – Before we proceed, make sure you download .admx / .adml files from Microsoft website (this are the files that you need to configure any group policy for MS Office 2013.
2 – Once you successfully download the admx/adml files, 1st lets copy all the .adml file and paste it in C:\Windows\PolicyDefinitions\en-US folder…


3 – Next, copy admx files and paste it in C:\Windows\PolicyDefinitions folder…


4 – Next, lets start to configure the MS Office 2013 policy…
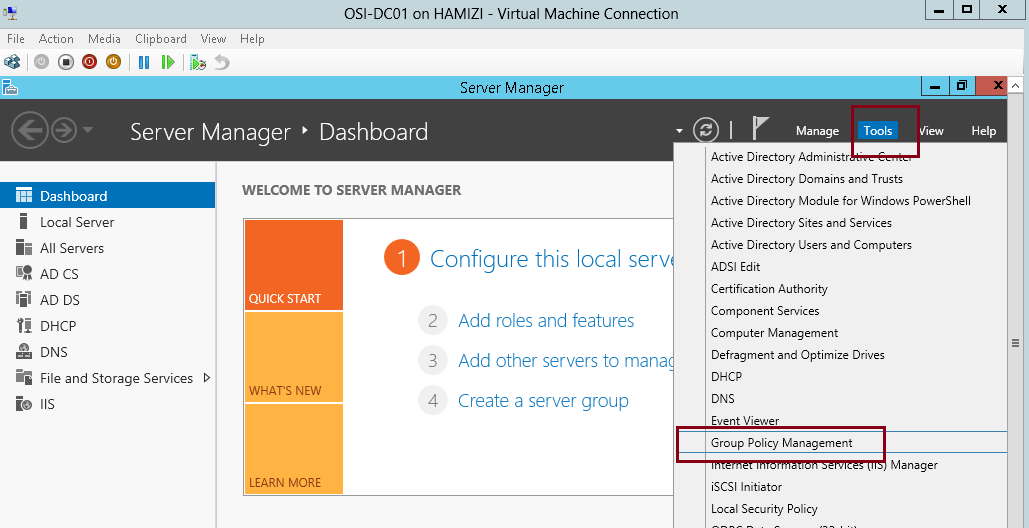
– On the Domain Server, open Server Manager, click Tools and then click Group Policy Management…
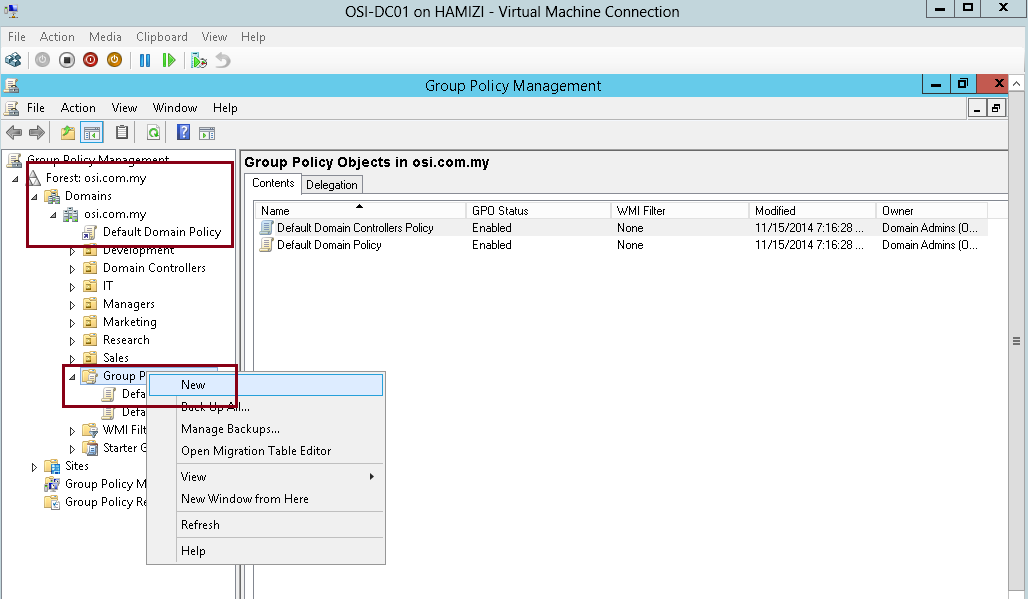
5 – On the Group Policy Management console, right Group Policy Objects, and then click New…
6 – In the New GPO box, type MS Office 2013 into the Name field, and then click OK…

7 – Next, right-click the MS Office 2013 Group Policy Object (GPO), and then click Edit…

8 – Under User Configuration, expand Policies then expand Administrative Templates: Policy definitions (ADMX files) retrieved from the local computer, here you can see a list of MS Office 2013 policy that you can modified.

9 – Now lets try to modified few policy…
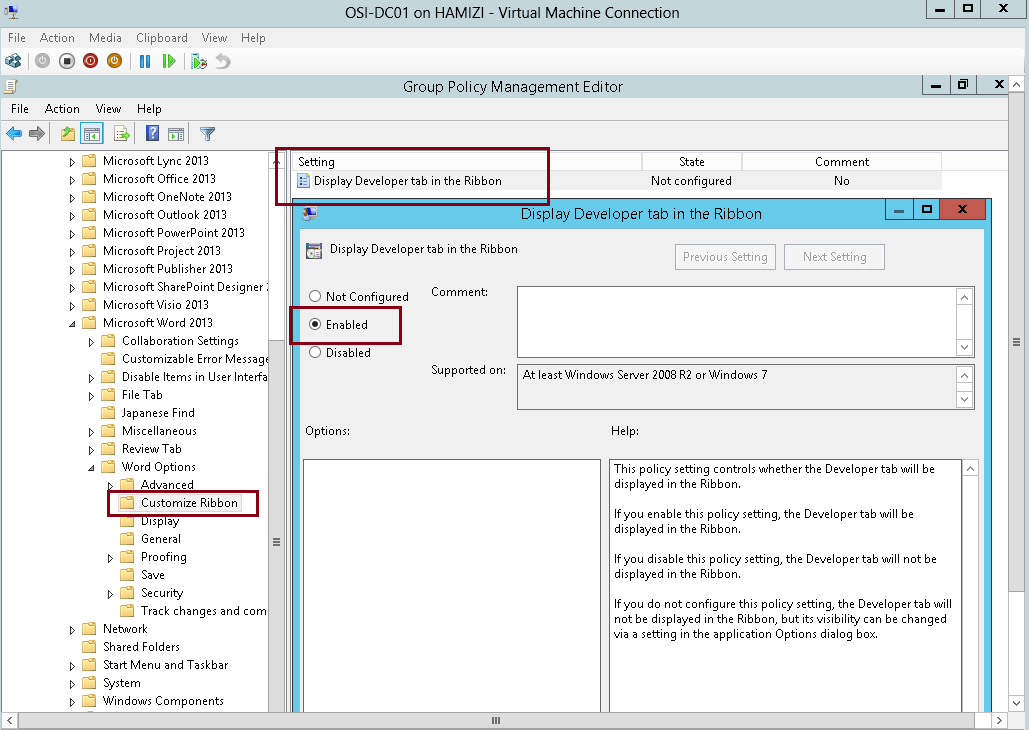
– expand Microsoft Word 2013, then expand Word Options, and then click Customize Ribbon, next on the right pane, double-click the Display Developer tab in the Ribbon setting…
– In the Display Developer tab in the Ribbon box, click the Enabled button, and then click OK…
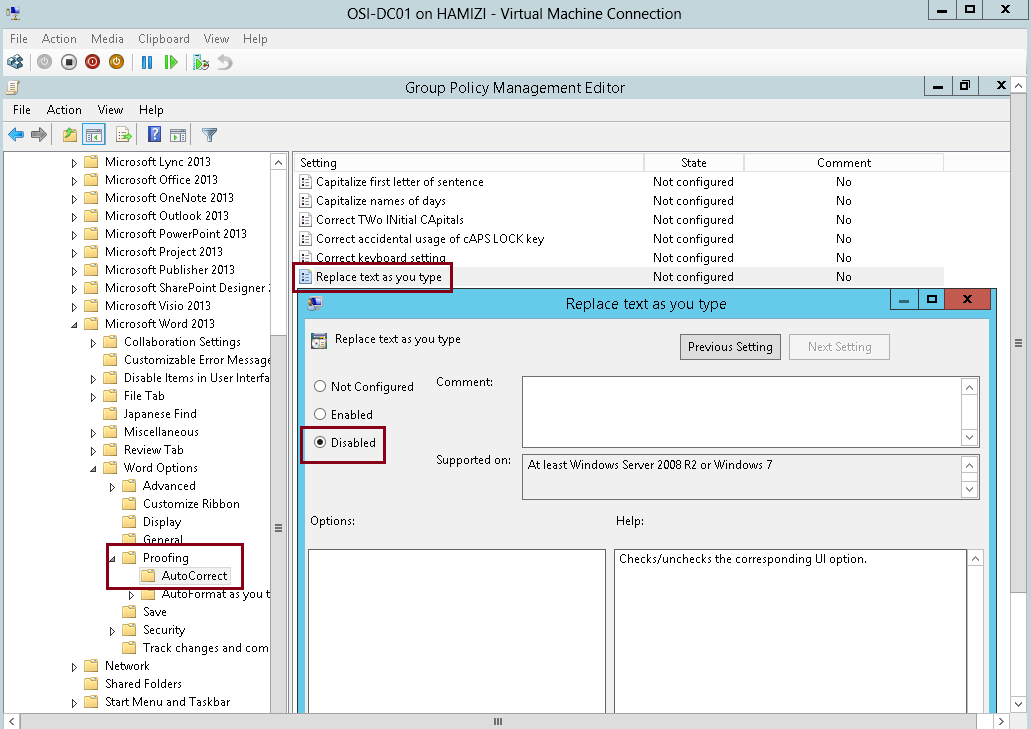
10 – Next, lets try 1 more policy, expand Proofing, and then click AutoCorrect..
– In the right pane, double-click the Replace text as you type setting, click Disabled, and then click OK…
11 – Next, lets link this MS Office GPO to our domain…
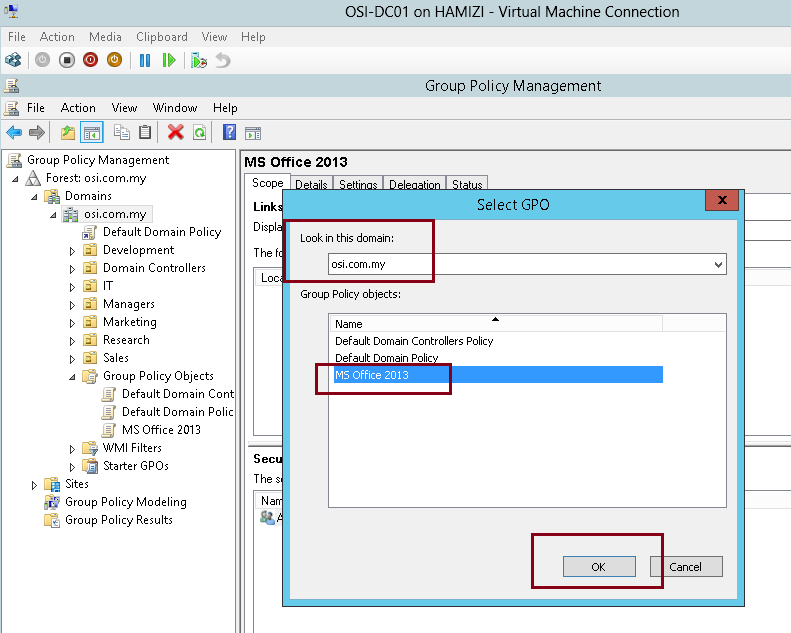
– right-click the osi.com.my domain, and then click Link an Existing GPO…

12 – Next, in the Select GPO box, click the MS Office 2013 GPO, and then click OK…
13 – Now lets verify that the settings have been applied, for this demo, i’m using my Windows 8.1 client to retrieve the MS office 2013 policy…

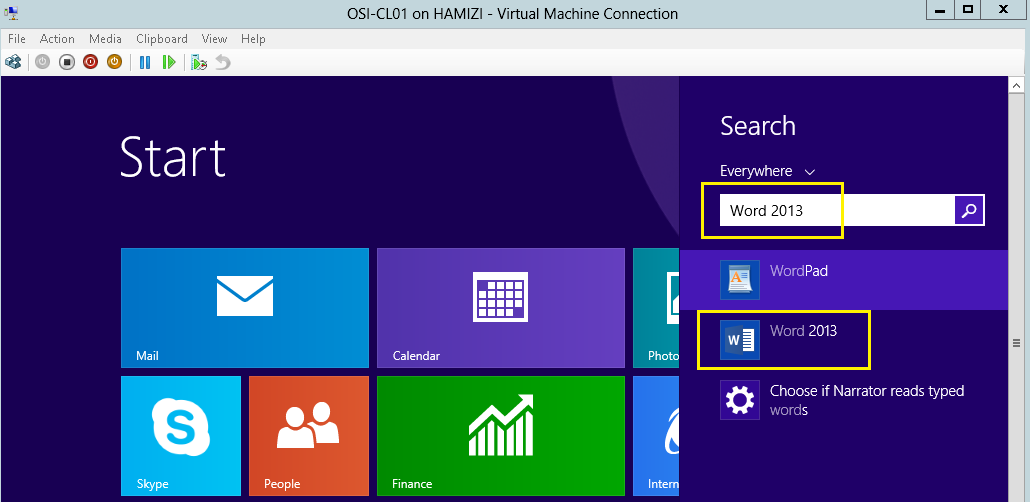
14 – Once you successfully log in to your domain client PC, search and open MS Word 2013…
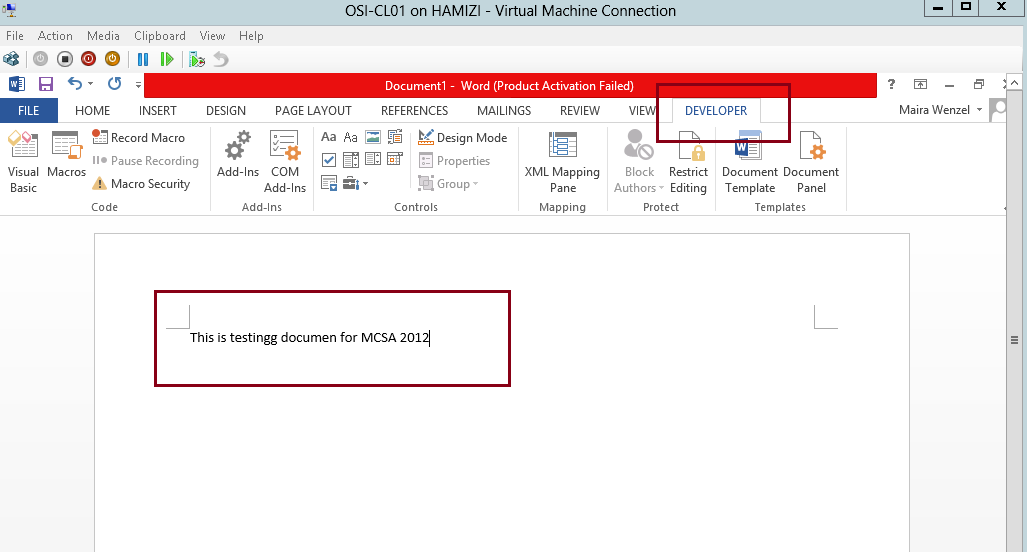
15 – Once the MS Word 2013 open, check the ribbon to verify that the Developer tab is visible and also try type a few misspelled words to verify that Microsoft Word is not auto correcting the misspelled words as you type.
Orait, that’s all for now, i recommend that you explorer more on the MS Office 2013 GPO because a lot of nice things you can customize. Good luck…..